はじめに
前回はFlutter Widget of the Weekの「#3 Wrap」、「#4 AnimatedContainer」、「#5 Opacity」を紹介しました。
今回はその続きで「#6 FutureBuilder」、「#7 FadeTransition」、「#8 FloatingActionButton」の3つです。
前回の記事はこちら
Flutter Widget of the Week
環境
- Flutter 2.8.0
記事にした時点でのバージョンです。GitHubに公開しているのは常に最新の安定版(stable)を使う予定です。
#6 FutureBuilder
FutureBuilderとは
DartはFutureを使うことにより非同期処理が行なえます。
ウィジェット上でそんな非同期処理を使いたい場合はFutureBuilderを使います。
使い方は非同期処理をfutureに設定し、builderに表示したいウィジェットを設定します。
ConnectionStateでfutureの状況を確認し、futureがビジーな場合は読み込み中等のウィジェットを表示します。
処理が終わった際はエラーが起きていないかを確認したほうがよいそうです。
サンプルコード
import 'package:flutter/material.dart';
class SamplePage006 extends StatefulWidget {
const SamplePage006({
Key? key,
}) : super(key: key);
@override
_SamplePage006State createState() => _SamplePage006State();
}
class _SamplePage006State extends State<SamplePage006> {
@override
Widget build(BuildContext context) {
return Scaffold(
appBar: AppBar(
title: const Text('FutureBuilder'),
),
body: SafeArea(
child: Center(
child: Column(
mainAxisAlignment: MainAxisAlignment.center,
children: [
const Text('FutureBuilder Success'),
FutureBuilder(
future: _successFuture(),
builder: (context, snapshot) {
if (snapshot.connectionState == ConnectionState.done) {
if (snapshot.hasError) {
return Row(
mainAxisAlignment: MainAxisAlignment.center,
children: [
const Icon(
Icons.info,
color: Colors.red,
),
Text(snapshot.error?.toString() ?? ''),
],
);
}
return Row(
mainAxisAlignment: MainAxisAlignment.center,
children: [
const Icon(
Icons.check_circle,
color: Colors.green,
),
Text(snapshot.data?.toString() ?? ''),
],
);
} else {
return const CircularProgressIndicator();
}
},
),
const SizedBox(height: 20),
const Text('FutureBuilder Error'),
FutureBuilder(
future: _failureFuture(),
builder: (context, snapshot) {
if (snapshot.connectionState == ConnectionState.done) {
if (snapshot.hasError) {
return Row(
mainAxisAlignment: MainAxisAlignment.center,
children: [
const Icon(
Icons.info,
color: Colors.red,
),
Text(snapshot.error?.toString() ?? ''),
],
);
}
return Row(
mainAxisAlignment: MainAxisAlignment.center,
children: [
const Icon(
Icons.check_circle,
color: Colors.green,
),
Text(snapshot.data?.toString() ?? ''),
],
);
} else {
return const CircularProgressIndicator();
}
},
),
],
),
),
),
);
}
Future<String> _successFuture() async {
await Future.delayed(const Duration(seconds: 2), () {});
return 'Success!!';
}
Future<String> _failureFuture() async {
await Future.delayed(const Duration(seconds: 2), () {});
try {
throw Exception('Error');
} on Exception catch (e) {
return Future.error(e);
}
}
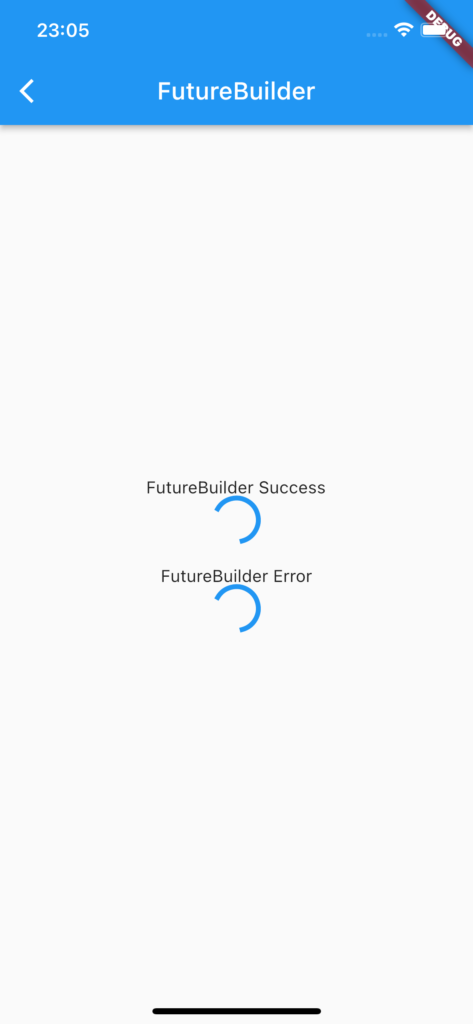
}結果
読込中はこんな感じ。
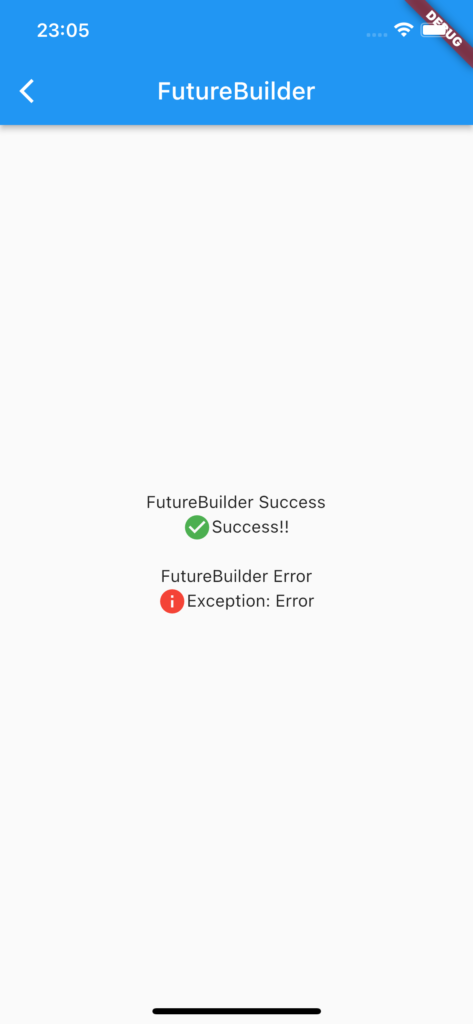
処理が終わったらこんな感じになります。
動画
公式リファレンス

#7 FadeTransition
FadeTransitionとは
シンプルなフェードイン・フェードアウトを実現するのにおすすめなのがFadeTransitionです。
使い方は、まずAnimationControllerを作成し、Animationを作成します。
作成したFadeTransitionウィジェットのopacityにそのAnimationを設定することで、FadeTransitionのchildに設定したウィジェットがフェードイン・フェードアウトするようになります。
アニメーションを再生するにはAnimationControllerのforwardを呼び出します。
またAnimationControllerを1つだけ使う際はSingleTickerProviderStateMixinをMixinします。
2つ以上の場合はTickerProviderStateMixinをMixinします。
サンプルコード
import 'package:flutter/material.dart';
class SamplePage007 extends StatefulWidget {
const SamplePage007({
Key? key,
}) : super(key: key);
@override
_SamplePage007State createState() => _SamplePage007State();
}
class _SamplePage007State extends State<SamplePage007>
with SingleTickerProviderStateMixin {
late AnimationController _animationController;
late Animation<double> _animation;
@override
void initState() {
super.initState();
_animationController = AnimationController(
vsync: this,
duration: const Duration(seconds: 2),
);
_animation = Tween<double>(
begin: 0,
end: 1,
).animate(_animationController);
}
@override
void dispose() {
_animationController.dispose();
super.dispose();
}
@override
Widget build(BuildContext context) {
return Scaffold(
appBar: AppBar(
title: const Text('FadeTransition'),
),
body: SafeArea(
child: Center(
child: FadeTransition(
opacity: _animation,
child: const FlutterLogo(
size: 100,
),
),
),
),
floatingActionButton: FloatingActionButton(
onPressed: () {
if (!_animationController.isCompleted ||
!_animationController.isAnimating) {
_animationController.forward();
}
},
child: const Icon(Icons.play_arrow),
),
);
}
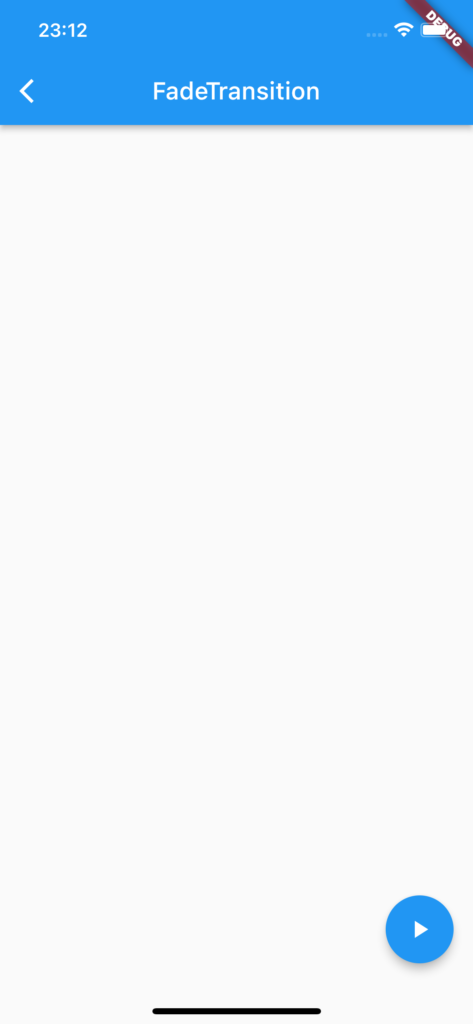
}結果
ボタンを押してアニメーションを再生すると。。。
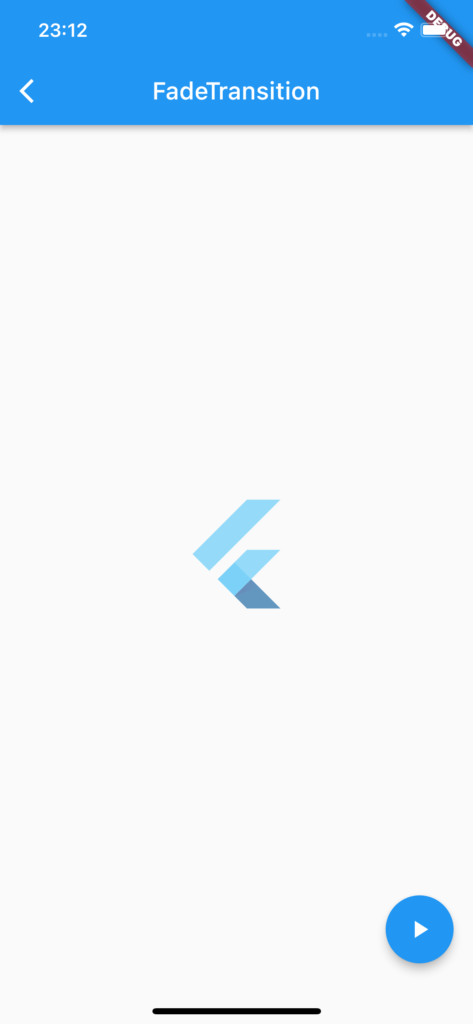
2秒間かけて、Flutterのロゴがフェードインしてきます。
動画
公式リファレンス
#8 FloatingActionButton
FloatingActionButtonとは
画面上の上に配置するボタンです。
さらにFloatingActionButtonを追加するのは簡単でScaffoldに追加するだけです。
またFloatingActionButtonLocationを使えば、BottomNavigationBarに埋め込めることができます。
サンプルコード
import 'package:flutter/material.dart';

class SamplePage008 extends StatefulWidget {
  const SamplePage008({
    Key? key,
  }) : super(key: key);

  @override
  _SamplePage008State createState() => _SamplePage008State();
}

class _SamplePage008State extends State<SamplePage008> {
  bool toggle = false;

  @override
  Widget build(BuildContext context) {
    return Scaffold(
      appBar: AppBar(
        title: const Text('FloatingActionButton'),
      ),
      body: const Center(
        child: Text('FloatingActionButton Sample'),
      ),
      bottomNavigationBar: BottomAppBar(
        color: Colors.yellow,
        child: Container(height: 50),
      ),
      floatingActionButtonLocation: toggle
          ? FloatingActionButtonLocation.centerDocked
          : FloatingActionButtonLocation.endFloat,
      floatingActionButton: FloatingActionButton(
        onPressed: () {
          setState(() {
            toggle = !toggle;
          });
        },
        child: const Icon(Icons.loop),
      ),
    );
  }
}
結果
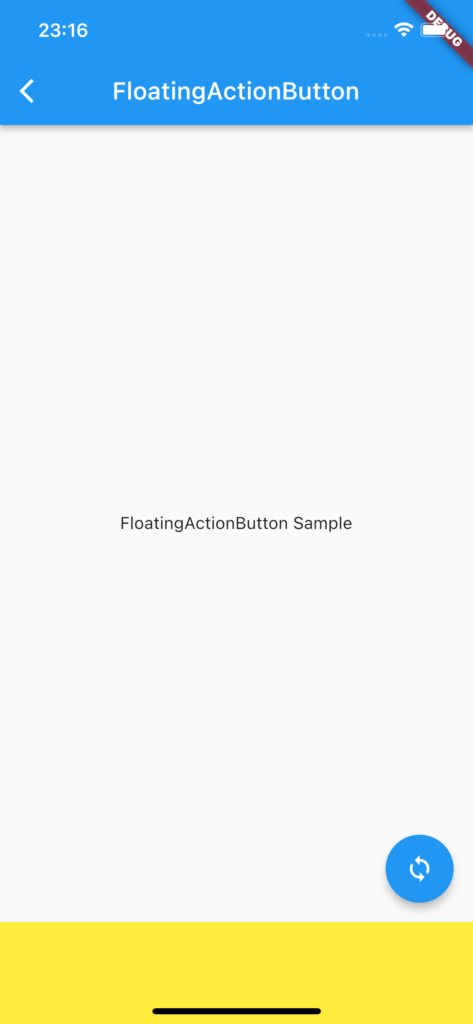
通常は右下がFloatingActionButtonの位置ですが。。。
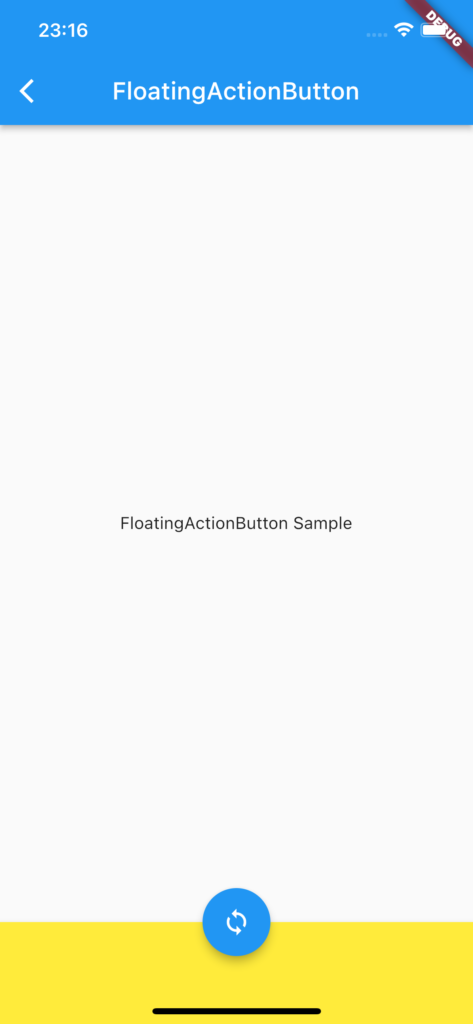
設定によっては真ん中にしてBottomNavigationBarにも埋め込むことができます。
動画
公式リファレンス

さいごに
Animation系はあんまり使わないなぁ。

コメント