はじめに
前回にiOSに続き、今回はAndroidのネイティブ画面であるActivityをFlutterから表示させる方法を紹介しようと思います。
またサンプルをGitHubに公開していますので、参考にしてみてください。
解説
前回のiOS編の時にも書きましたが公式のドキュメントの方でわかりやすく説明してくれているので是非一読してみてください。

環境
- Flutter 1.22.4
- Android Studio 4.1.1
※Android StudioでFlutterプロジェクトを開発している想定で記述します。
実装方法
Flutter側にMethodChannelを追加
ここは前回のiOS編と全く同じコードです。前回と同じ「com.sample.samle/sample」、メソッド名「sample」を使います。
iOS同様にAndroid側のネイティブ側でも必ず合わせる必要があります。
MethodChannel _channel = const MethodChannel('com.sample.sample/sample');

Future _launchNativeScreen() async {
  await _channel.invokeMethod('sample');
}
Android用プロジェクトを開く
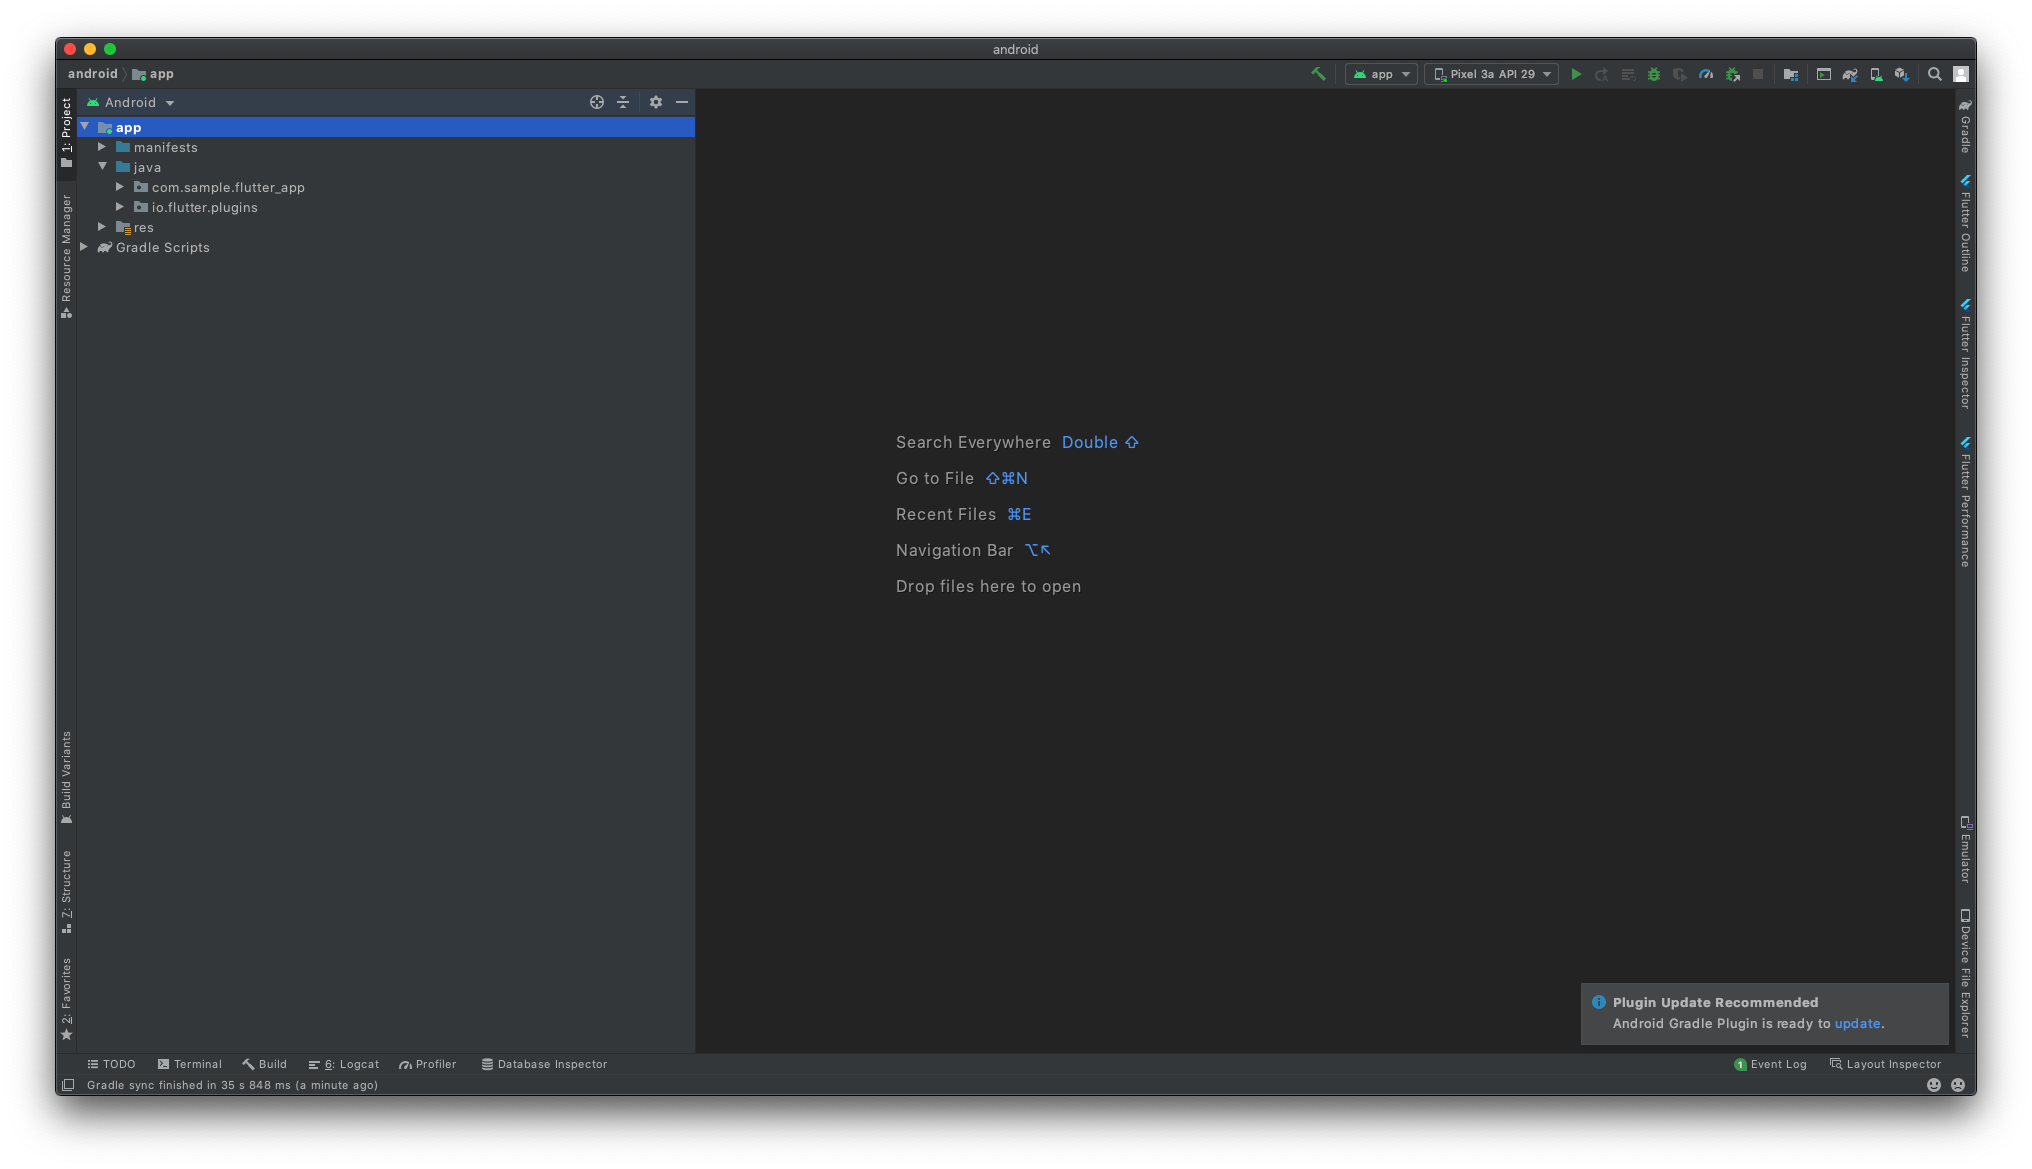
次に現在Flutterプロジェクトを開いているAndroid Studioとは別にAndroid用プロジェクトをAndroid Studioで開きます。現状のFlutterプロジェクトのままでもコードは書けますがActivityの追加やプラグインの追加等が自動で行われないので、Android用プロジェクトを開きます。
開き方はandroid[fluter_app_android]フォルダを右クリックして[Flutter]→[Open Android module in Android Studio]をクリックするだけです。
.png)
開き始めは何も表示されませんが時間が経つと以下のような表記に変わります。
Activityを追加
次にActivityを追加します。
javaフォルダの右クリックして[New]→[Activity]→[Empty Activity]をクリックします。
.png)
クリックするとダイアログが出てくるので以下の設定で[Finish]
- Activity Name : SampleActivity
- Generate a Layout File : チェックあり
- Layout Name : activity_sample
- Launcher Activity : チェックなし
- Package name : Flutter側で設定したPackage名と合わせて下さい。
- Source Language : Kotlin
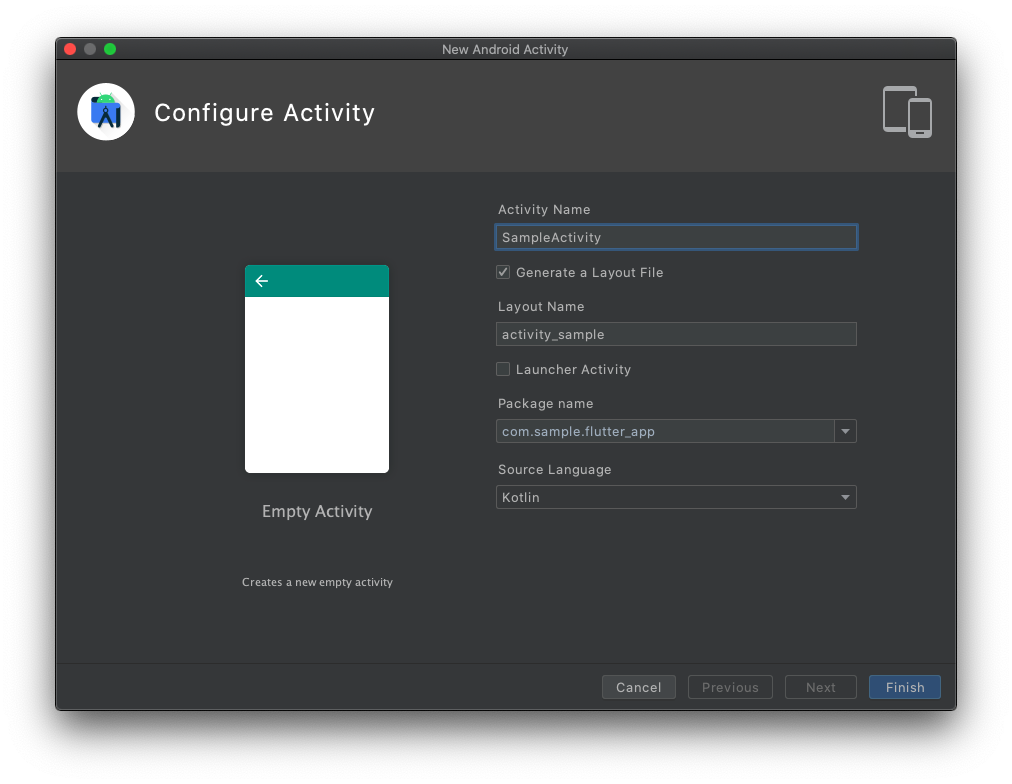
この手順を踏むことでActivityのクラスファイルやレイアウトファイルが自動で追加されます。
画面の作成とKotlinコードとの紐付け
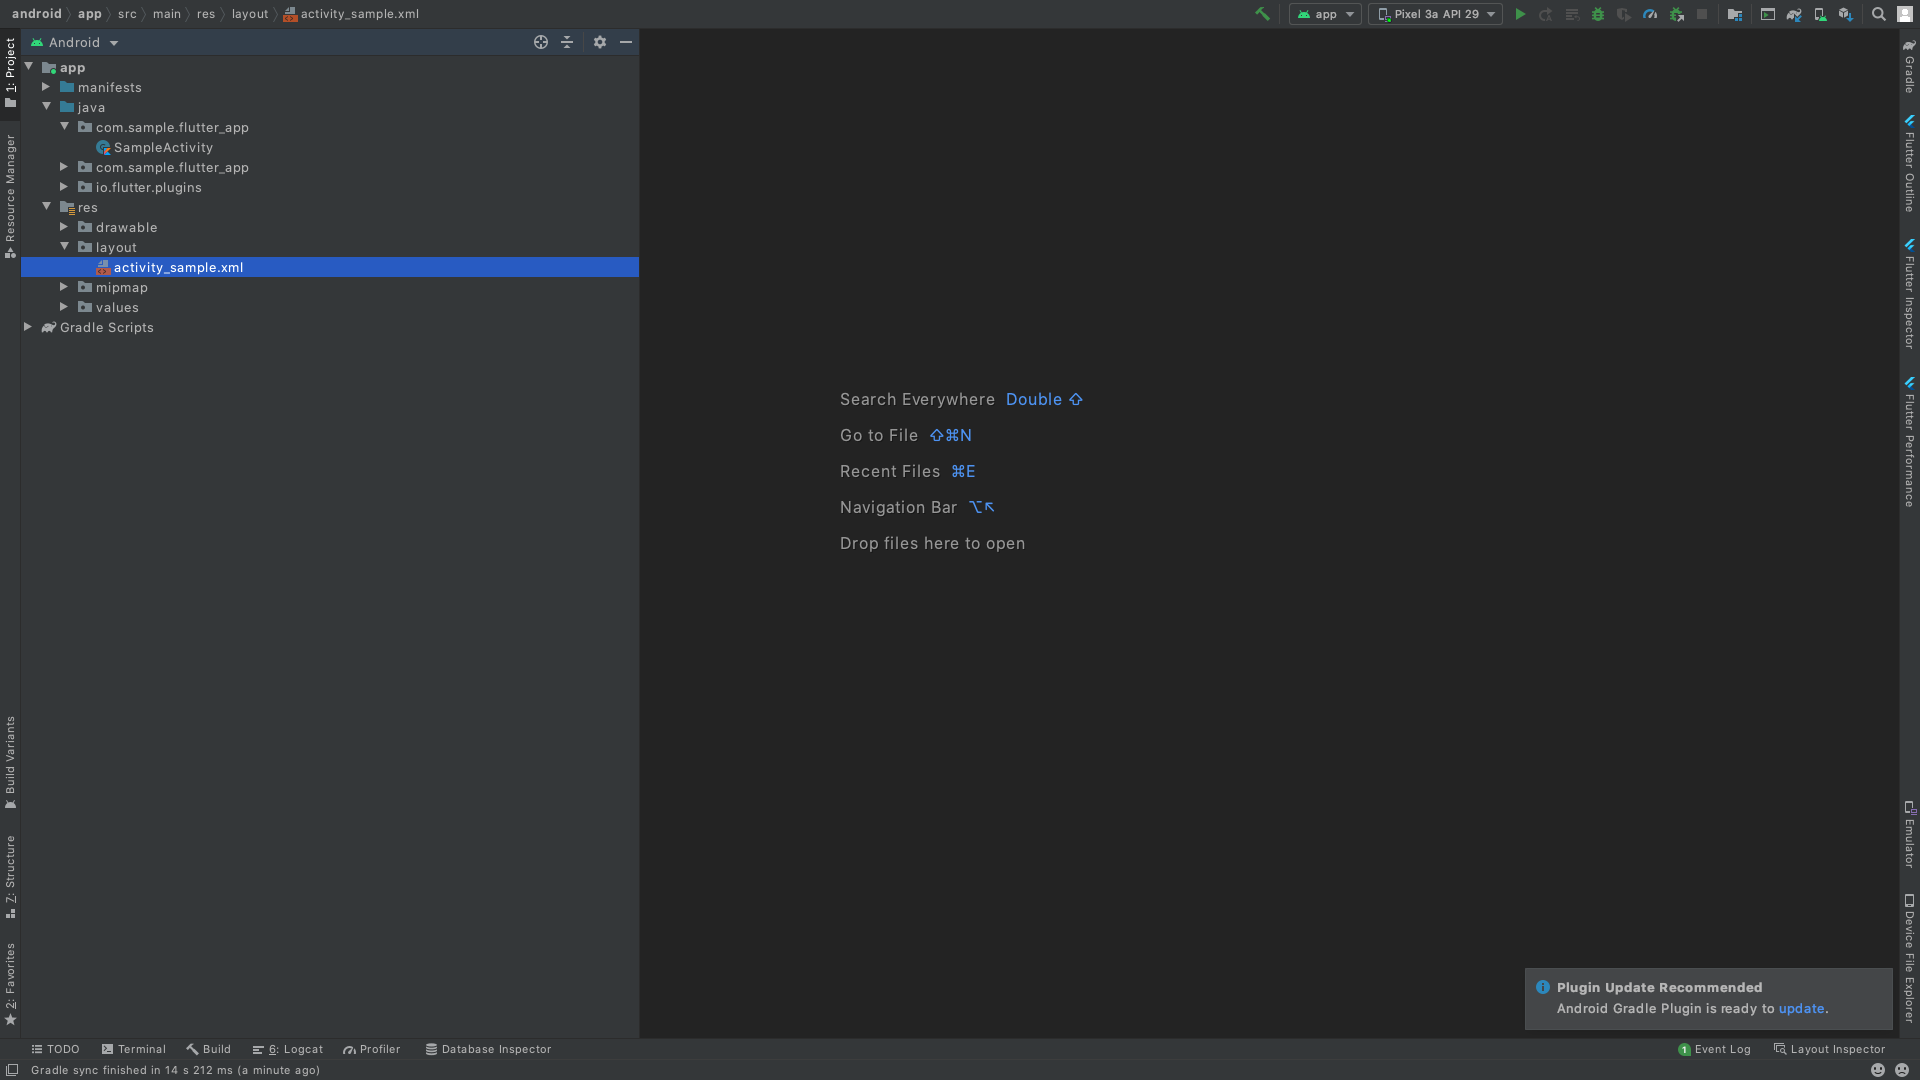
まずは画面を作成します。activity_sample.xmlが今回表示する画面のレイアウトファイルです。詳しくは説明しませんが画面に「SampleActivity」の文字と閉じるボタンを追加します。
activity_sample.xml
<?xml version="1.0" encoding="utf-8"?>
<androidx.constraintlayout.widget.ConstraintLayout xmlns:android="http://schemas.android.com/apk/res/android"
    xmlns:app="http://schemas.android.com/apk/res-auto"
    xmlns:tools="http://schemas.android.com/tools"
    android:layout_width="match_parent"
    android:layout_height="match_parent"
    tools:context=".SampleActivity">

    <TextView
        android:id="@+id/tvName"
        android:layout_width="wrap_content"
        android:layout_height="wrap_content"
        android:text="SampleActivity"/>

    <Button
        android:id="@+id/btClose"
        android:layout_width="wrap_content"
        android:layout_height="wrap_content"
        android:layout_marginTop="8dp"
        android:text="Close"
        app:layout_constraintTop_toBottomOf="@+id/tvName"/>

</androidx.constraintlayout.widget.ConstraintLayout>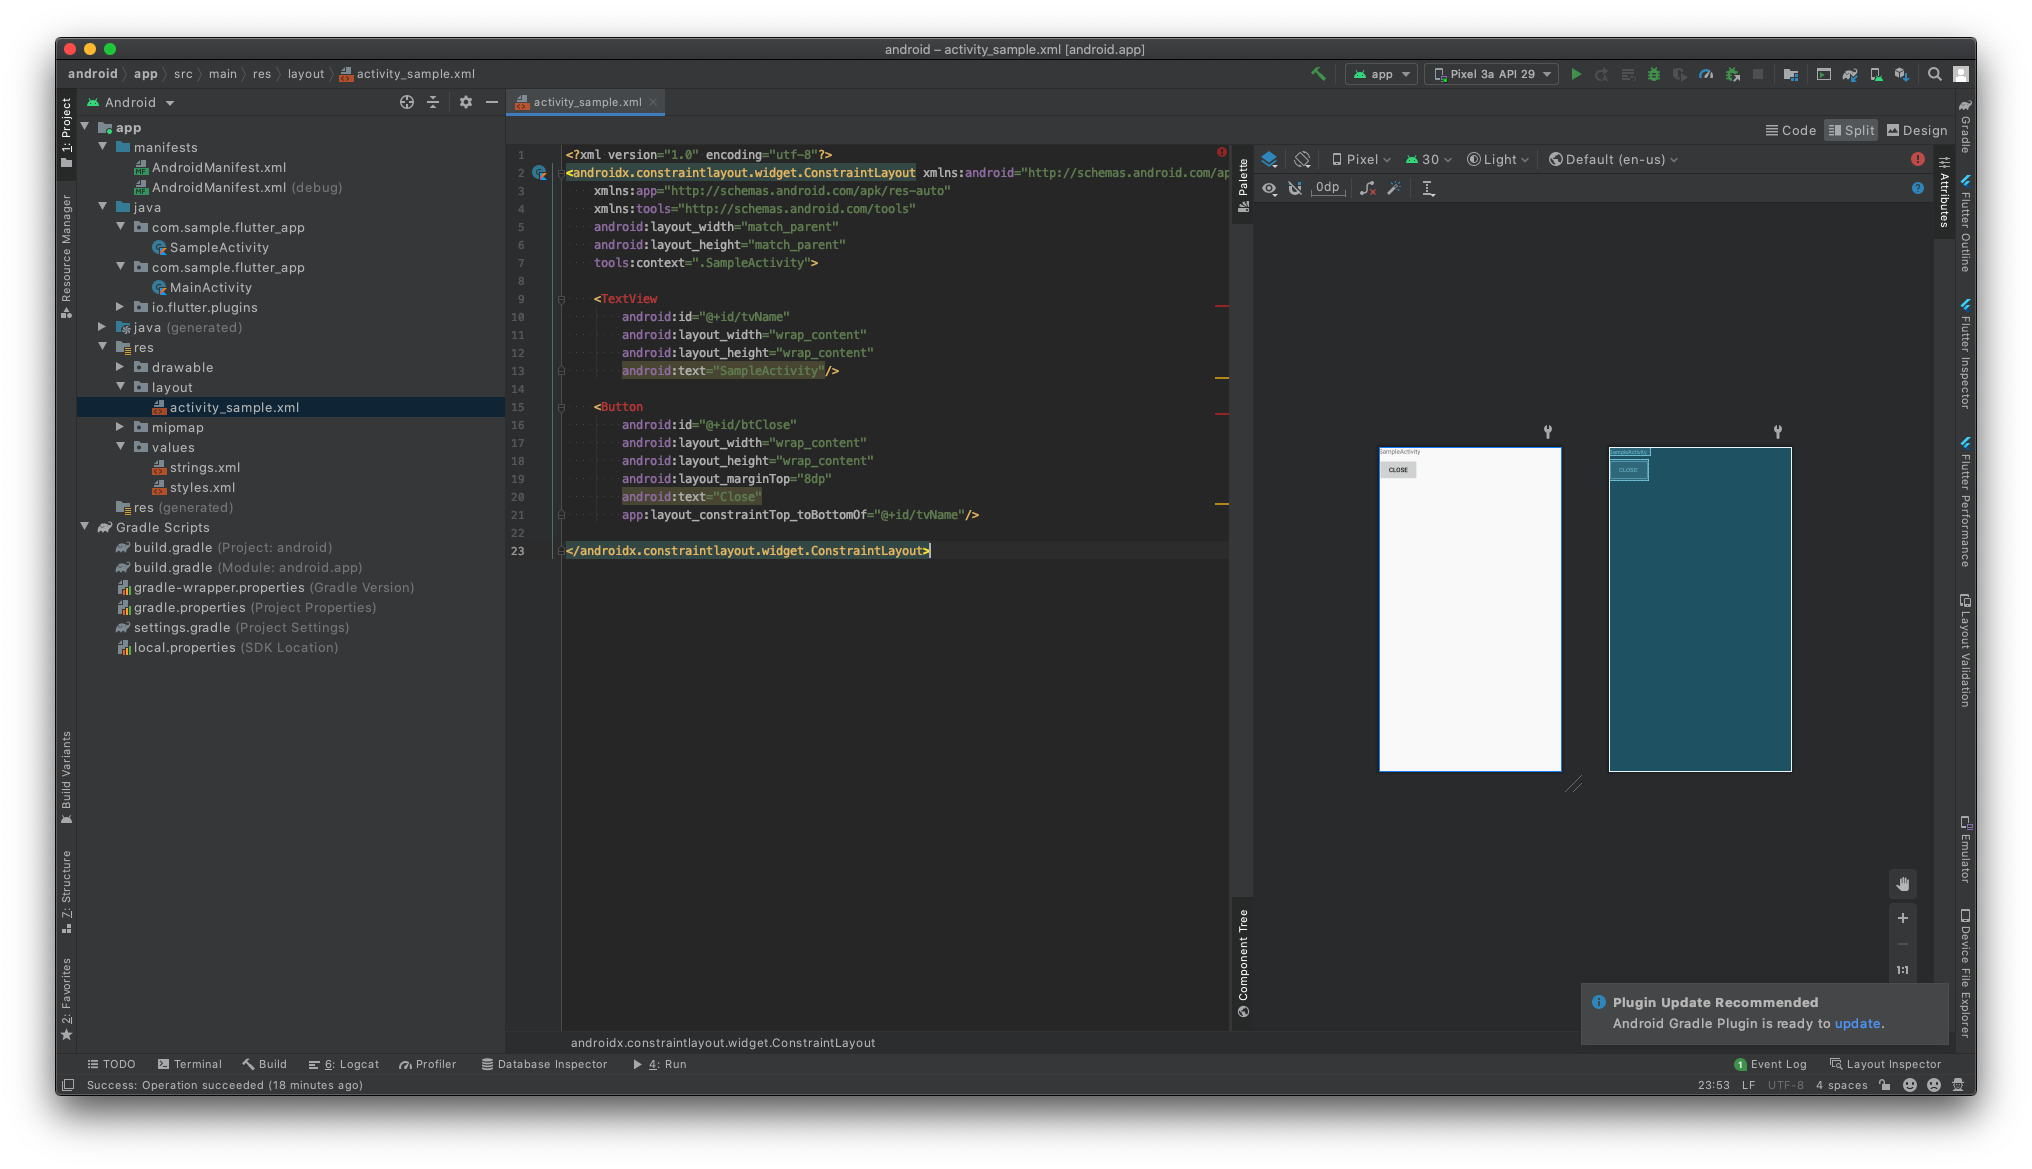
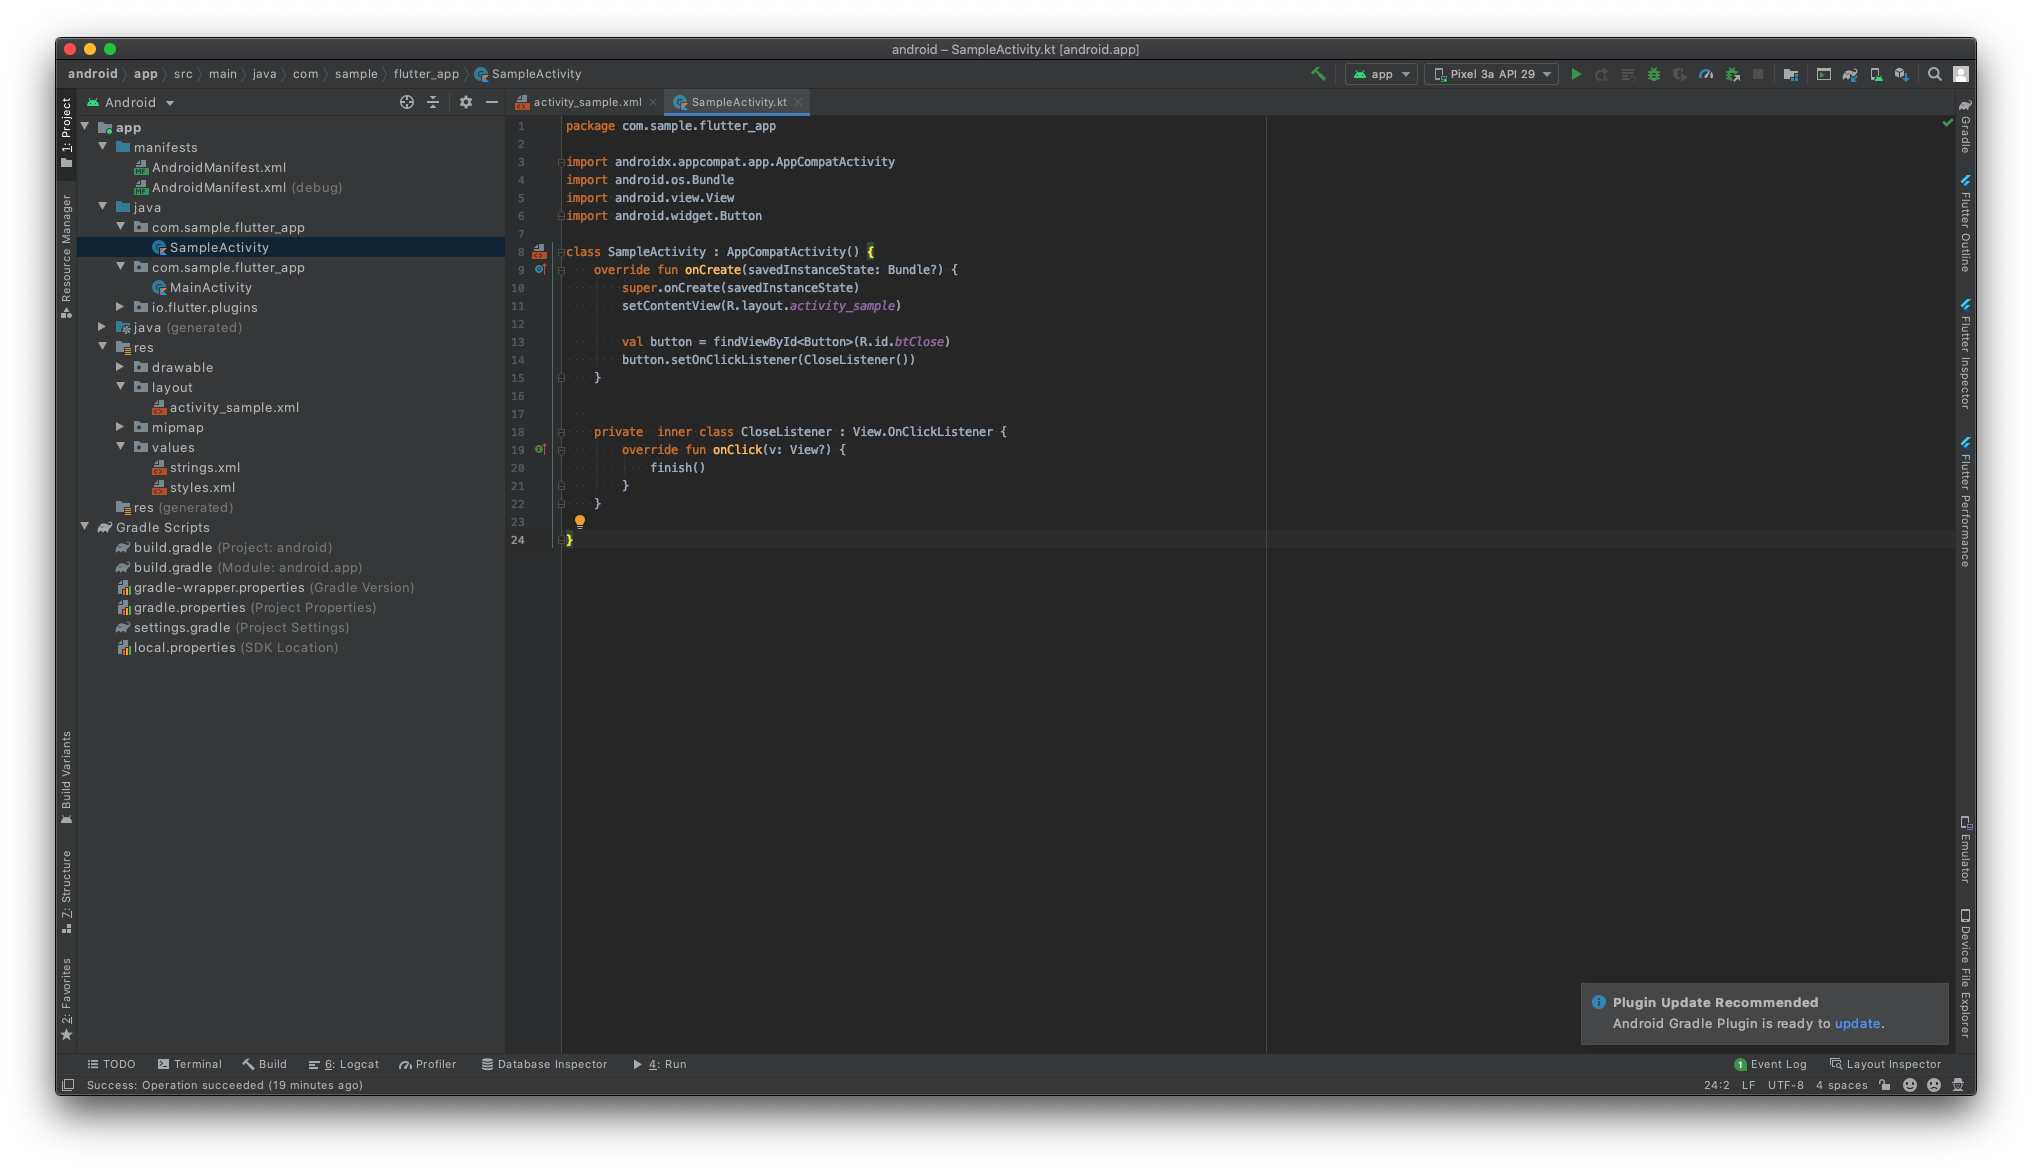
上記でボタンを追加しましたが、現状押しても何も起きないのでボタンにイベントリスナーを登録します。SampleActivity.ktが先程のレイアウトファイルとリンクされています。
SampleActivity.kt
package com.sample.flutter_app

import androidx.appcompat.app.AppCompatActivity
import android.os.Bundle
import android.view.View
import android.widget.Button

class SampleActivity : AppCompatActivity() {
    override fun onCreate(savedInstanceState: Bundle?) {
        super.onCreate(savedInstanceState)
        setContentView(R.layout.activity_sample)

        val button = findViewById<Button>(R.id.btClose)
        button.setOnClickListener(CloseListener())
    }


    private inner class CloseListener : View.OnClickListener {
        override fun onClick(v: View?) {
            finish()
        }
    }

}時々コードが赤く表示される時があります。その場合はimport等がうまくいっていないのが原因です。同じコードを書くとAndroid Studioがコード補完をしてくれて必要なファイルをimportしてくれるので、赤く表示された場合は手入力からのコード補完を使ってください。
Native側にMethodChannelを追加
iOSと同じくAndroid側のNativeの部分にもFlutter側で設定したチャンネル名とメソッド名を使ってMethodChannelに登録します。
MainActivity.kt
package com.sample.flutter_app

import android.content.Intent
import io.flutter.embedding.android.FlutterActivity
import io.flutter.embedding.engine.FlutterEngine
import io.flutter.plugin.common.MethodCall
import io.flutter.plugin.common.MethodChannel
import io.flutter.plugins.GeneratedPluginRegistrant

class MainActivity: FlutterActivity() {
    override fun configureFlutterEngine(flutterEngine: FlutterEngine) {
        super.configureFlutterEngine(flutterEngine)
        GeneratedPluginRegistrant.registerWith(flutterEngine)
        setAndroidChannel(flutterEngine)
    }

    private fun setAndroidChannel(flutterEngine: FlutterEngine) {
        var channel = MethodChannel(flutterEngine.dartExecutor.binaryMessenger, "com.sample.sample/sample")
        channel.setMethodCallHandler { methodCall: MethodCall, result: MethodChannel.Result ->
            if (methodCall.method == "sample") {
                var intent = Intent(this, SampleActivity::class.java)
                startActivity(intent)
            }
            else {
                result.notImplemented()
            }
        }
    }
}

iOSで実装した方の場合、ここまできたら「後は実行するだけだろ?」と思っているかもしれませんが、まだ罠があります。
この段階でFlutter側のAndroid Studioに戻ってアプリを実行してNativeの画面を呼び出すとアプリが以下のようなログでクラッシュします。
handleWindowVisibility: no activity for token android.os.BinderProxy@f4ec1da
Shutting down VM
FATAL EXCEPTION: main
Process: com.sample.flutter_app, PID: 1643
java.lang.RuntimeException: Unable to start activity ComponentInfo{com.sample.flutter_app/com.sample.flutter_app.SampleActivity}: java.lang.IllegalStateException: You need to use a Theme.AppCompat theme (or descendant) with this activity.
at android.app.ActivityThread.performLaunchActivity(ActivityThread.java:3270)
at android.app.ActivityThread.handleLaunchActivity(ActivityThread.java:3409)
at android.app.servertransaction.LaunchActivityItem.execute(LaunchActivityItem.java:83)
at android.app.servertransaction.TransactionExecutor.executeCallbacks(TransactionExecutor.java:135)
at android.app.servertransaction.TransactionExecutor.execute(TransactionExecutor.java:95)
at android.app.ActivityThread$H.handleMessage(ActivityThread.java:2016)
at android.os.Handler.dispatchMessage(Handler.java:107)
at android.os.Looper.loop(Looper.java:214)
at android.app.ActivityThread.main(ActivityThread.java:7356)
at java.lang.reflect.Method.invoke(Native Method)
at com.android.internal.os.RuntimeInit$MethodAndArgsCaller.run(RuntimeInit.java:492)
at com.android.internal.os.ZygoteInit.main(ZygoteInit.java:930)
Caused by: java.lang.IllegalStateException: You need to use a Theme.AppCompat theme (or descendant) with this activity.
at androidx.appcompat.app.AppCompatDelegateImpl.createSubDecor(AppCompatDelegateImpl.java:843)
at androidx.appcompat.app.AppCompatDelegateImpl.ensureSubDecor(AppCompatDelegateImpl.java:806)
at androidx.appcompat.app.AppCompatDelegateImpl.setContentView(AppCompatDelegateImpl.java:693)
at androidx.appcompat.app.AppCompatActivity.setContentView(AppCompatActivity.java:170)
at com.sample.flutter_app.SampleActivity.onCreate(SampleActivity.kt:11)
at android.app.Activity.performCreate(Activity.java:7802)
at android.app.Activity.performCreate(Activity.java:7791)
at android.app.Instrumentation.callActivityOnCreate(Instrumentation.java:1299)
at android.app.ActivityThread.performLaunchActivity(ActivityThread.java:3245)
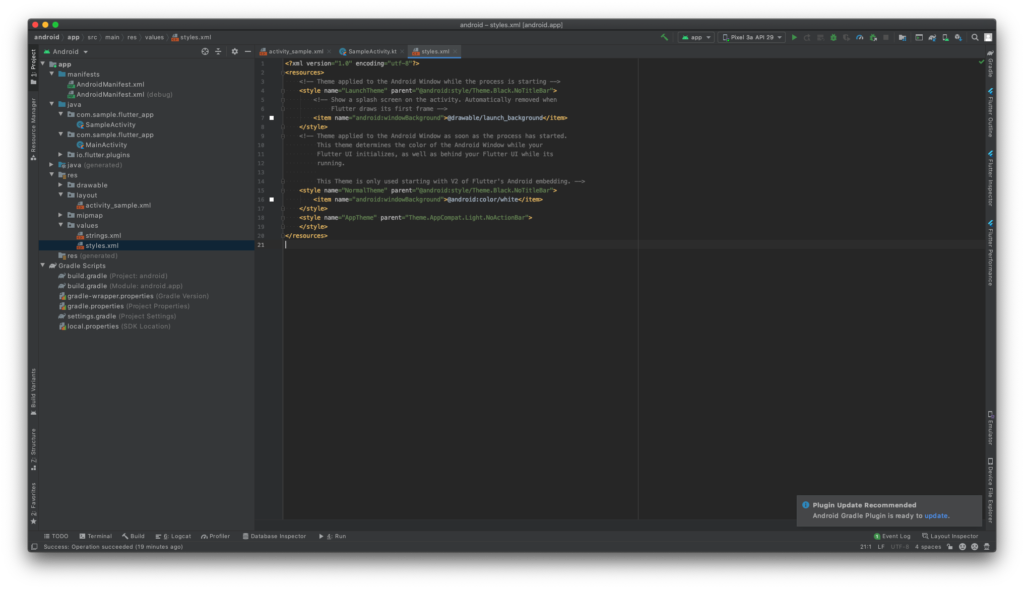
... 11 moreテーマの設定
追加したSampleActivityにはテーマが設定されておりません。テーマが設定されていないと上記のようにクラッシュします。
styles.xml
<?xml version="1.0" encoding="utf-8"?>
<resources>
    <!-- Theme applied to the Android Window while the process is starting -->
    <style name="LaunchTheme" parent="@android:style/Theme.Black.NoTitleBar">
        <!-- Show a splash screen on the activity. Automatically removed when
             Flutter draws its first frame -->
        <item name="android:windowBackground">@drawable/launch_background</item>
    </style>
    <!-- Theme applied to the Android Window as soon as the process has started.
         This theme determines the color of the Android Window while your
         Flutter UI initializes, as well as behind your Flutter UI while its
         running.

         This Theme is only used starting with V2 of Flutter's Android embedding. -->
    <style name="NormalTheme" parent="@android:style/Theme.Black.NoTitleBar">
        <item name="android:windowBackground">@android:color/white</item>
    </style>
    <style name="AppTheme" parent="Theme.AppCompat.Light.NoActionBar">
    </style>
</resources>
AndroidManifest.xml
...
    <application
        android:name="io.flutter.app.FlutterApplication"
        android:icon="@mipmap/ic_launcher"
        android:label="flutter_app">
        <activity
            android:name=".SampleActivity"
            android:theme="@style/AppTheme">
        </activity>
        <activity
            android:name=".MainActivity"
...
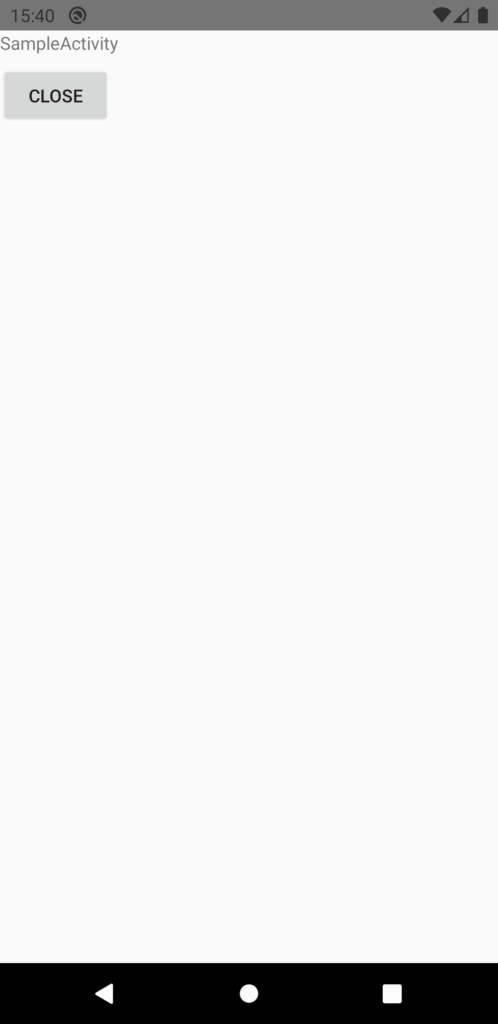
これで実装終わりです!
結果
無事表示されました!
さいごに
Android側はiOS側と比べると罠が多くて苦労しました。。。自分で調べた時はほとんどのコードが古く参考になりませんでした。
もしお困りの方がいましたらお試し下さい。
コメント