はじめに
前回の記事でUnityの通信処理を書いたので、今回はFlutterでの通信処理のサンプルです。
環境
- Flutter 2.5.2
- http 0.13.4
実装方法
プラグインの最新バージョンを確認
下記のサイトにアクセスし、バージョンを確認します。
http | Dart package
A composable, multi-platform, Future-based API for HTTP requests.
pub.dev
記事作成の時点では0.13.4が最新バージョンでした。

プラグインのインストール
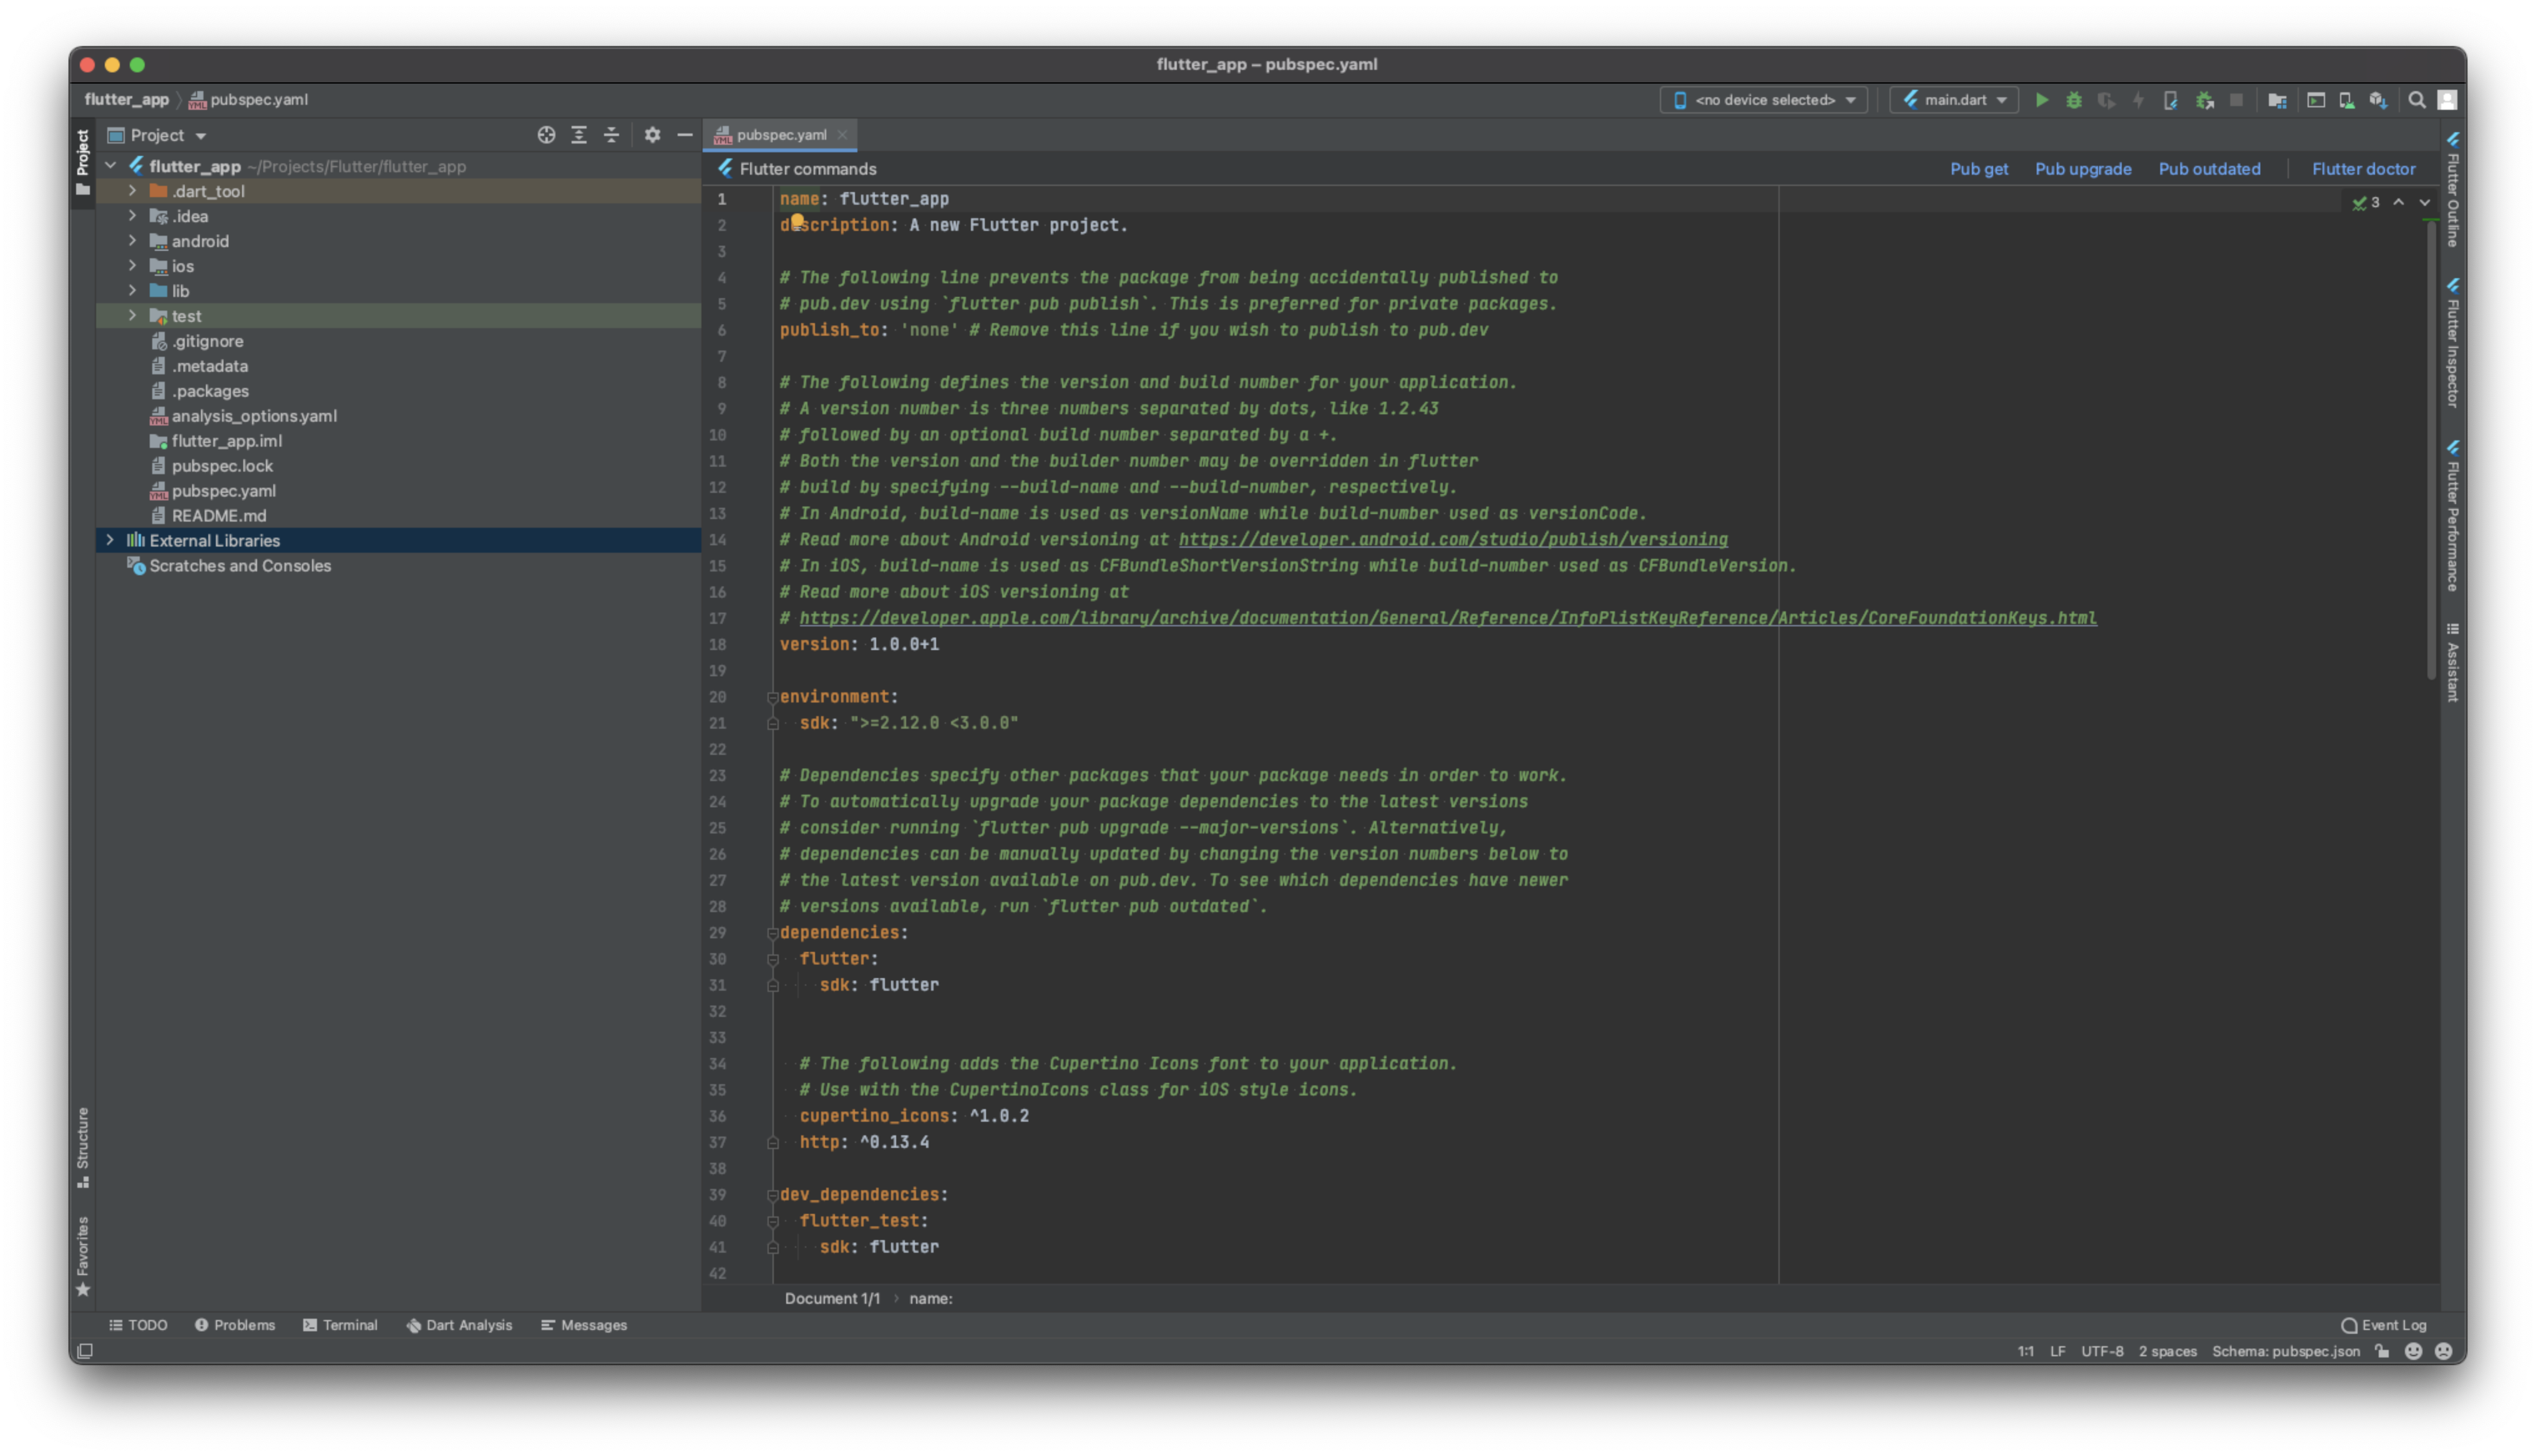
pubspec.yamlのdependenciesに「http: ^0.13.4」を追記します。
または常に最新版を使う設定の「http: any」を追記します。
environment:
  sdk: ">=2.12.0 <3.0.0"

# Dependencies specify other packages that your package needs in order to work.
# To automatically upgrade your package dependencies to the latest versions
# consider running `flutter pub upgrade --major-versions`. Alternatively,
# dependencies can be manually updated by changing the version numbers below to
# the latest version available on pub.dev. To see which dependencies have newer
# versions available, run `flutter pub outdated`.
dependencies:
  flutter:
    sdk: flutter


  # The following adds the Cupertino Icons font to your application.
  # Use with the CupertinoIcons class for iOS style icons.
  cupertino_icons: ^1.0.2
http: ^0.13.4その後、プロジェクト配下で「flutter pub get」コマンドを実行
よくわからない場合はAndroid Studioでpubspec.yamlファイルを開くと右上に「Pub get」ボタンがあるのでそれを押して下さい。
サンプルコード
サンプルコードです。
前回同様、気象庁のWebAPIからお天気データを取得してResponseというクラスにパースしています。
import 'dart:convert';
import 'package:flutter/material.dart';
import 'package:http/http.dart' as http;
void main() {
runApp(const MyApp());
}
class MyApp extends StatelessWidget {
const MyApp({
Key? key,
}) : super(key: key);
@override
Widget build(BuildContext context) {
return MaterialApp(
title: 'Flutter Demo',
theme: ThemeData(
primarySwatch: Colors.blue,
),
home: const MyHomePage(title: 'Flutter Demo Home Page'),
);
}
}
class MyHomePage extends StatefulWidget {
const MyHomePage({Key? key, required this.title}) : super(key: key);
final String title;
@override
State<MyHomePage> createState() => _MyHomePageState();
}
class _MyHomePageState extends State<MyHomePage> {
Future<void> _onPressed() async {
var url = Uri.parse(
'https://www.jma.go.jp/bosai/forecast/data/overview_forecast/130000.json');
var request = await http.get(url);
if (request.statusCode != 200) {
return;
}
// 日本語が文字化けするので、bodyBytesからUTF-8でデコードする。
var json = const Utf8Decoder().convert(request.bodyBytes);
// JSONの文字列をMapへ変更
var map = jsonDecode(json);
// MapデータからResponseクラスのFactoryを利用しResponseのインスタンスを生成.
var response = Response.fromJson(map);
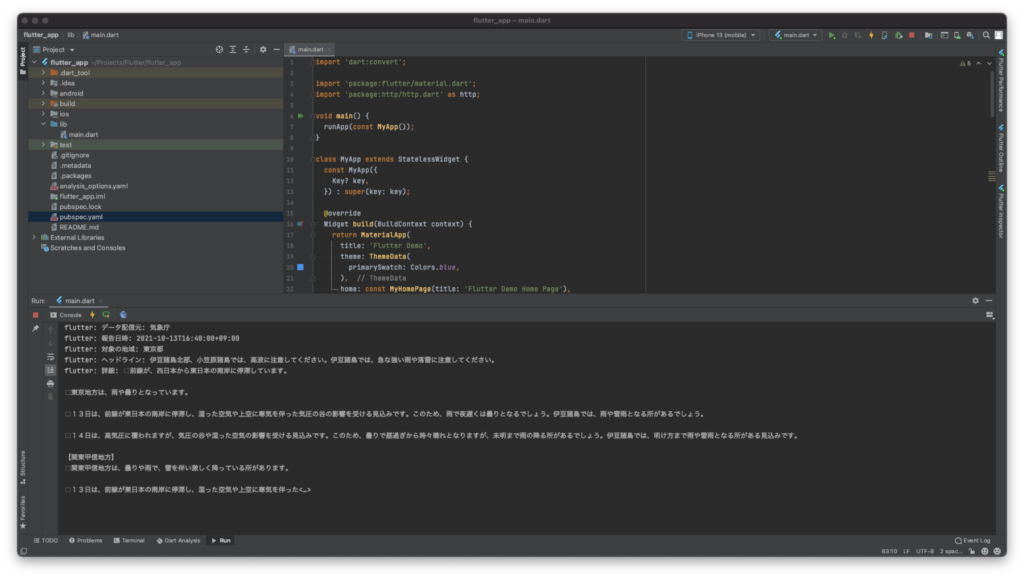
print("データ配信元: ${response.publishingOffice}");
print("報告日時: ${response.reportDatetime}");
print("対象の地域: ${response.targetArea}");
print("ヘッドライン: ${response.headlineText}");
print("詳細: ${response.text}");
}
@override
Widget build(BuildContext context) {
return Scaffold(
appBar: AppBar(
title: Text(widget.title),
),
body: const Center(
child: Text(
'Test',
),
),
floatingActionButton: FloatingActionButton(
onPressed: _onPressed,
child: const Icon(Icons.wb_sunny),
), // This trailing comma makes auto-formatting nicer for build methods.
);
}
}
class Response {
Response({
required this.publishingOffice,
required this.reportDatetime,
required this.targetArea,
required this.headlineText,
required this.text,
});
String publishingOffice;
String reportDatetime;
String targetArea;
String headlineText;
String text;
factory Response.fromJson(Map<String, dynamic> json) => Response(
publishingOffice: json['publishingOffice'] as String,
reportDatetime: json['reportDatetime'] as String,
targetArea: json['targetArea'] as String,
headlineText: json['headlineText'] as String,
text: json['text'] as String,
);
}結果
正しく取得することができました。
さいごに
UTF-8でデコードするのをよく忘れます。
コメント