はじめに
前回はFlutter Widget of the Weekの「#142 flutter_lints」、「#143 firebase_storage」、「#144 flutter_animate」を紹介しました。
今回はその続きで「#145 firebase_crashlytics」、「#146 Draggable(Take 2)」、「#147 CallbackShortcuts」の3つです。
前回の記事はこちら
またGitHubにも公開しています。
GitHub - nobushiueshi/flutter_widget_of_the_week
Contribute to nobushiueshi/flutter_widget_of_the_week development by creating an account on GitHub.
Flutter Widget of the Week
環境
- Flutter 3.19.6
記事にした時点でのバージョンです。GitHubに公開しているのは常に最新の安定版(stable)を使う予定です。
#145 firebase_crashlytics
firebase_crashlyticsとは?
軽量・リアルタイムのクラッシュレポート機能を提供しているFirebase Crashlyticsというサービスのパッケージです。
サンプルコード
void main() async {
  WidgetsFlutterBinding.ensureInitialized();
  // Firebase.
  await Firebase.initializeApp(
    options: DefaultFirebaseOptions.currentPlatform,
  );
  // Firebase Crashlytics.
  FlutterError.onError = (errorDetails) {
    FirebaseCrashlytics.instance.recordFlutterFatalError(errorDetails);
  };
  // Pass all uncaught asynchronous errors that aren't handled by the Flutter
  // framework to Crashlytics
  PlatformDispatcher.instance.onError = (error, stack) {
    FirebaseCrashlytics.instance.recordError(error, stack, fatal: true);
    return true;
  };

  runApp(const MyApp());
}
import 'package:flutter/material.dart';
class SamplePage145 extends StatefulWidget {
const SamplePage145({
super.key,
});
@override
State<SamplePage145> createState() => _SamplePage145State();
}
class _SamplePage145State extends State<SamplePage145> {
@override
Widget build(BuildContext context) {
return Scaffold(
appBar: AppBar(
title: const Text('firebase_crashlytics'),
centerTitle: true,
),
body: SafeArea(
child: Center(
child: FilledButton.icon(
label: const Text('Force Crash'),
icon: const Icon(Icons.error),
onPressed: () {
throw Exception();
},
),
),
),
);
}
}結果
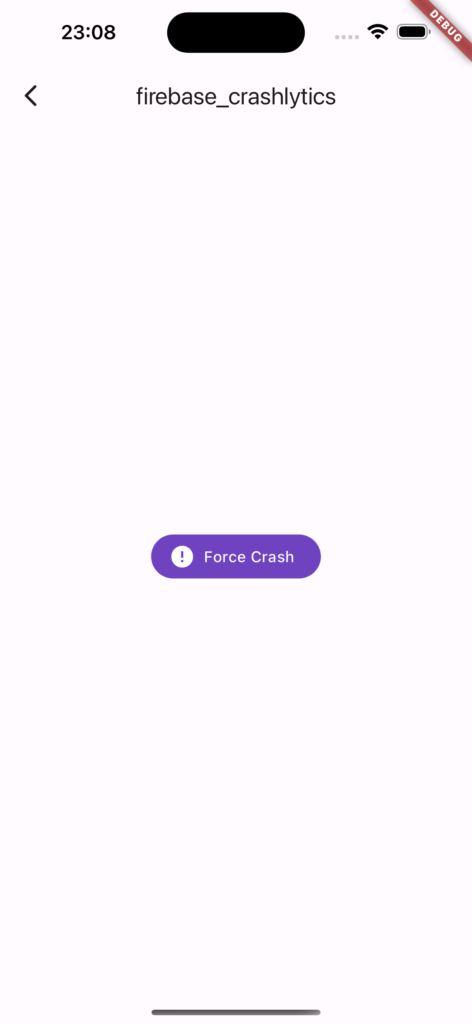
画面のボタンを押し、クラッシュを発生させます。
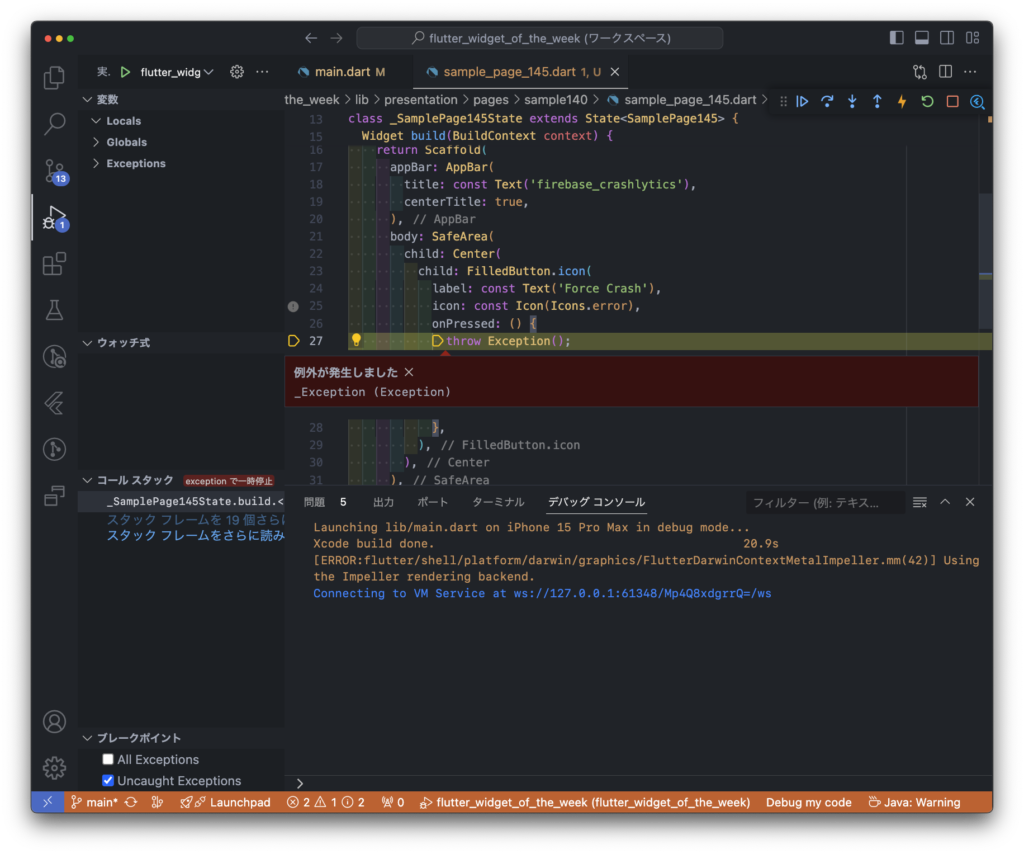
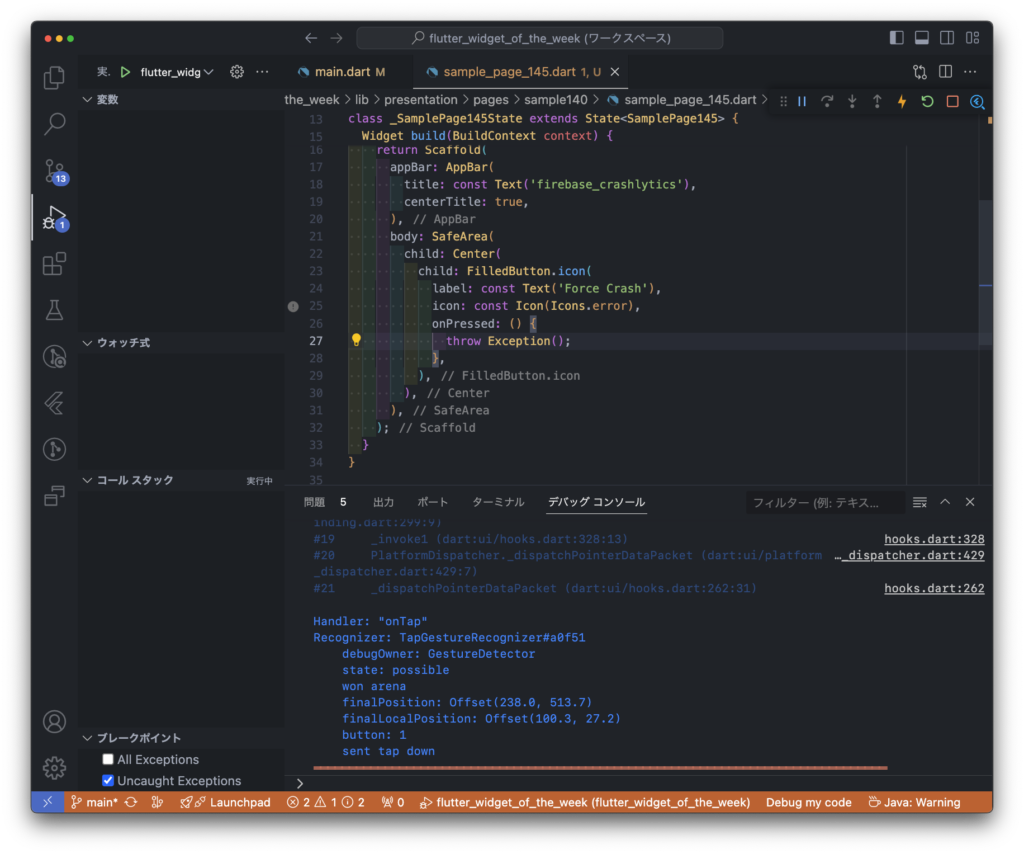
Visual Studio Code上でもクラッシュしたのがわかると思います。
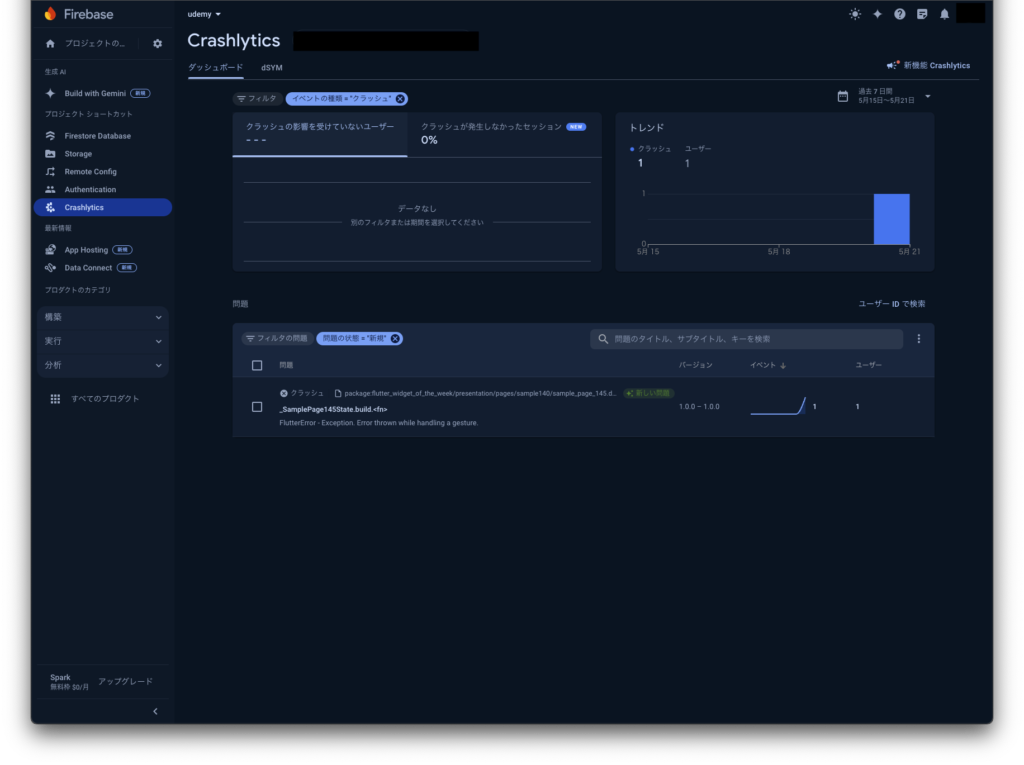
Firebase Crashlyticsを見るとクラッシュのレポートが表示されているのがわかります。
動画
公式リファレンス

firebase_crashlytics | Flutter package
Flutter plugin for Firebase Crashlytics. It reports uncaught errors to the Firebase console.
#146 Draggable(Take 2)
Draggable(Take 2)とは?
ドラッグアンドドロップを実現できるウィジェットです。なぜか2回目の登場です。
前回の記事はこちら
サンプルコード
import 'package:flutter/material.dart';

class SamplePage146 extends StatefulWidget {
  const SamplePage146({
    super.key,
  });

  @override
  State<SamplePage146> createState() => _SamplePage146State();
}

class _SamplePage146State extends State<SamplePage146> {
  Color _selectedColor = Colors.white;

  @override
  Widget build(BuildContext context) {
    return Scaffold(
      appBar: AppBar(
        title: const Text('Draggable(Take 2)'),
        centerTitle: true,
      ),
      body: SafeArea(
        child: Column(
          children: [
            Container(
              width: double.infinity,
              height: 120,
              color: Colors.grey[100],
              child: const Row(
                mainAxisAlignment: MainAxisAlignment.spaceEvenly,
                children: [
                  _SamplePage146Draggable(
                    color: Colors.blue,
                  ),
                  _SamplePage146Draggable(
                    color: Colors.yellow,
                  ),
                  _SamplePage146Draggable(
                    color: Colors.red,
                  ),
                ],
              ),
            ),
            Expanded(
              child: ColoredBox(
                color: _selectedColor,
                child: Center(
                  child: DragTarget<Color>(
                    onWillAcceptWithDetails: (value) =>
                        value.data != _selectedColor,
                    onAcceptWithDetails: (value) {
                      setState(() {
                        _selectedColor = value.data;
                      });
                    },
                    builder: (context, candidates, rejects) {
                      return Container(
                        width: 100,
                        height: 100,
                        decoration: BoxDecoration(
                          border: Border.all(),
                          color: Colors.white,
                        ),
                        child: const Center(
                          child: Text('ここに\nドラッグ'),
                        ),
                      );
                    },
                  ),
                ),
              ),
            ),
          ],
        ),
      ),
    );
  }
}

class _SamplePage146Draggable extends StatelessWidget {
  const _SamplePage146Draggable({
    this.color,
  });

  final Color? color;

  @override
  Widget build(BuildContext context) {
    return Draggable<Color>(
      data: color,
      childWhenDragging: _SamplePage146Child(
        color: color,
        child: const Text('ドラッグ中'),
      ),
      feedback: _SamplePage146Child(
        color: color,
        child: const Icon(Icons.face),
      ),
      child: _SamplePage146Child(
        color: color,
        child: const Text('通常'),
      ),
    );
  }
}

class _SamplePage146Child extends StatelessWidget {
  const _SamplePage146Child({
    this.color,
    this.child,
  });

  final Color? color;
  final Widget? child;

  @override
  Widget build(BuildContext context) {
    return Container(
      width: 100,
      height: 100,
      color: color,
      child: Center(child: child),
    );
  }
}
結果
結果は前回と全く一緒なので割愛します。
動画
公式リファレンス
Draggable class - widgets library - Dart API
API docs for the Draggable class from the widgets library, for the Dart programming language.
#147 CallbackShortcuts
CallbackShortcutsとは?
キーボードのショートカットを追加できるWidgetです。
Shortcuts/Actions/Intentsと違い、キーボードバインディングをコールバックに直接マッピングできるのでActionsやIntentsが不要なので実装しやすいです。
ただし、より高度な実装にはShortcutsのほうが適しています。
サンプルコード
import 'package:flutter/material.dart';
import 'package:flutter/services.dart';

class SamplePage147 extends StatefulWidget {
  const SamplePage147({
    super.key,
  });

  @override
  State<SamplePage147> createState() => _SamplePage147State();
}

class _SamplePage147State extends State<SamplePage147> {
  int count = 0;

  @override
  Widget build(BuildContext context) {
    return Scaffold(
      appBar: AppBar(
        title: const Text('CallbackShortcuts'),
        centerTitle: true,
      ),
      body: SafeArea(
        child: Center(
          child: CallbackShortcuts(
            bindings: <ShortcutActivator, VoidCallback>{
              const SingleActivator(LogicalKeyboardKey.keyU, control: true):
                  () {
                setState(() {
                  count = count + 1;
                });
              },
              const SingleActivator(LogicalKeyboardKey.keyD, control: true):
                  () {
                setState(() {
                  count = count - 1;
                });
              },
            },
            child: Focus(
              autofocus: true,
              child: Column(
                mainAxisSize: MainAxisSize.min,
                children: [
                  Text('count: $count'),
                  const SizedBox(height: 40),
                  const Text('ここにフォーカスがある時にCtrl + Uでカウントアップ'),
                  const Text('ここにフォーカスがある時にCtrl + Dでカウントダウン'),
                ],
              ),
            ),
          ),
        ),
      ),
    );
  }
}
結果
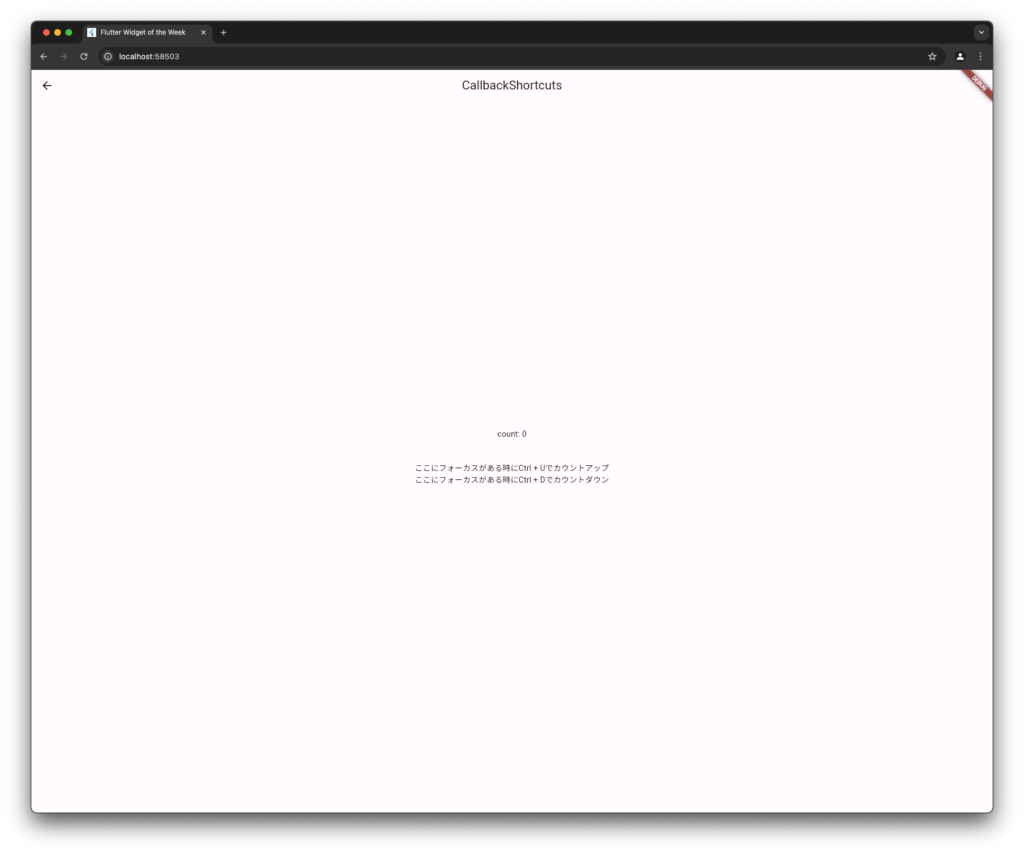
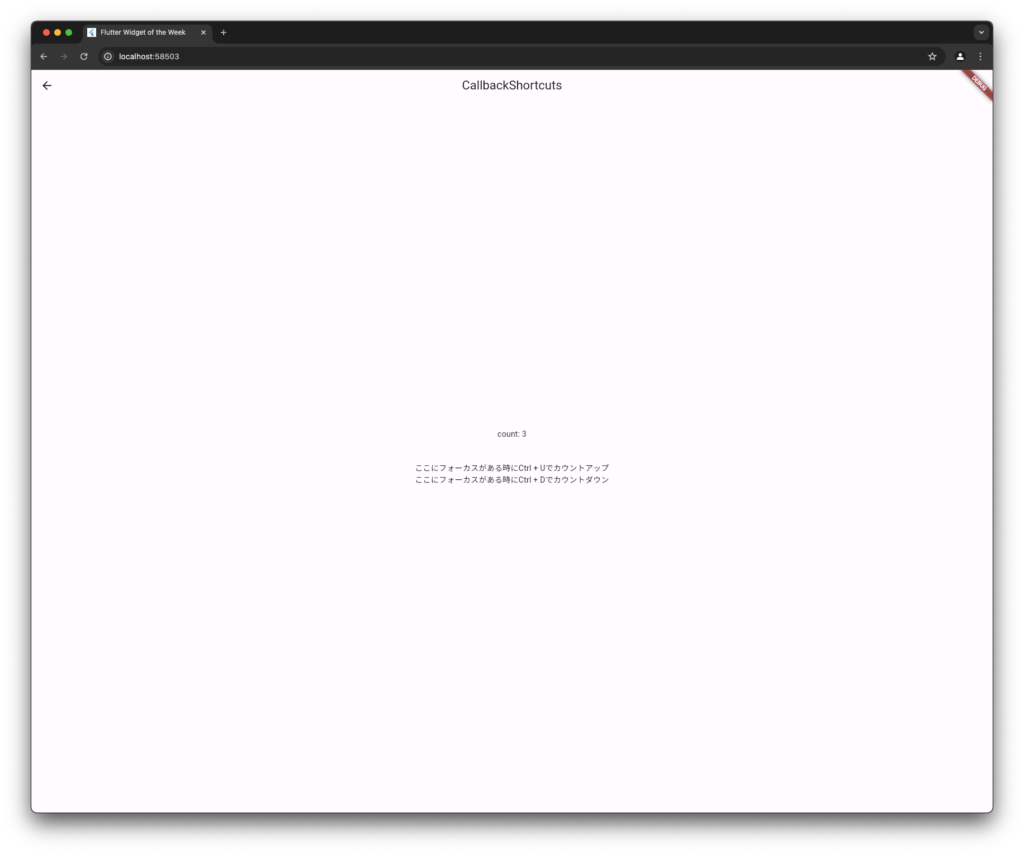
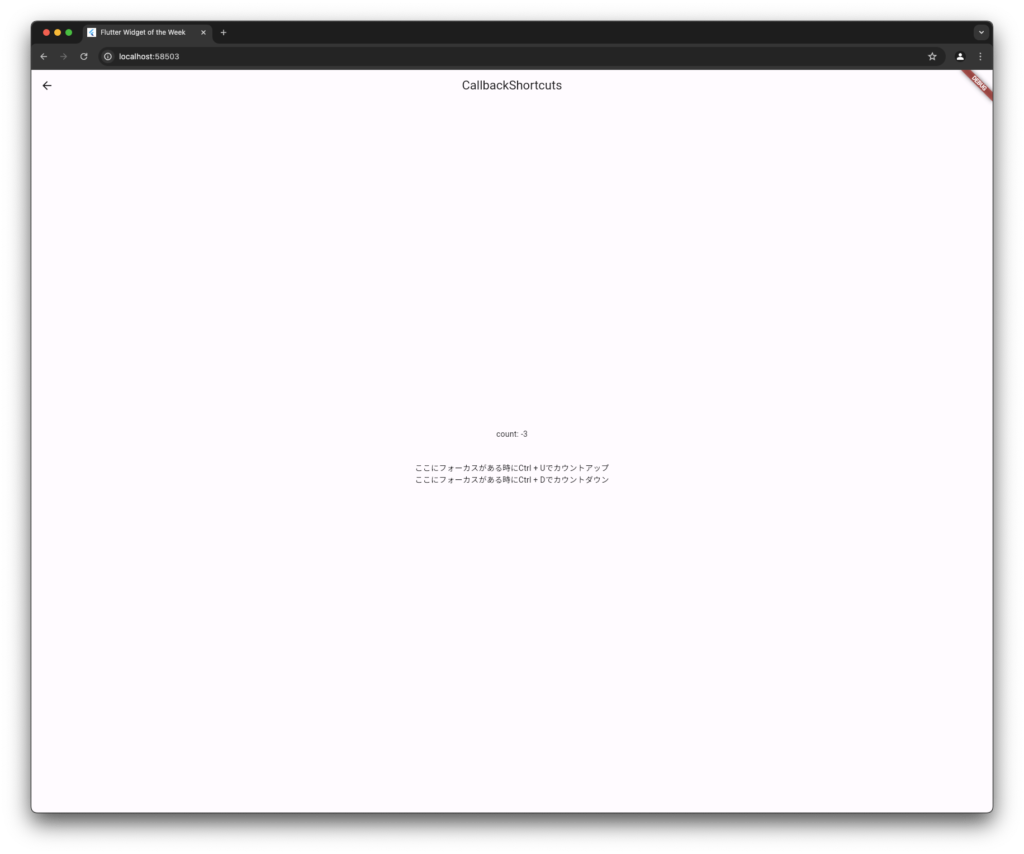
Ctrl + D、Ctrl + Uで簡単に操作ができるようになりました。
動画
公式リファレンス
CallbackShortcuts class - widgets library - Dart API
API docs for the CallbackShortcuts class from the widgets library, for the Dart programming language.
さいごに
サボってしまった。。。
おすすめ参考書
リンク
GitHub - nobushiueshi/flutter_widget_of_the_week
Contribute to nobushiueshi/flutter_widget_of_the_week development by creating an account on GitHub.



コメント