はじめに
Flutterで画面を確認する際に様々な解像度があり日々苦労している開発者は少なくないと思います。
今回は任意のデバイスで簡単に複数のデバイスのプレビューが確認ができてしまうプラグインを紹介します。
環境
- Flutter 2.5.3
- device_preview 0.8.0
このプラグインで可能なこと
- 任意のデバイスから任意のデバイスをプレビュー
- デバイスの向きを変更
- 動的システム構成の変更(言語、ダークモード、テキストスケーリング)
等、確認がめんどくさい部分がまるっと対応されています。
他にもできることはありますが詳しくはサイトを確認してみてください。
実装方法
プラグインの最新バージョンを確認
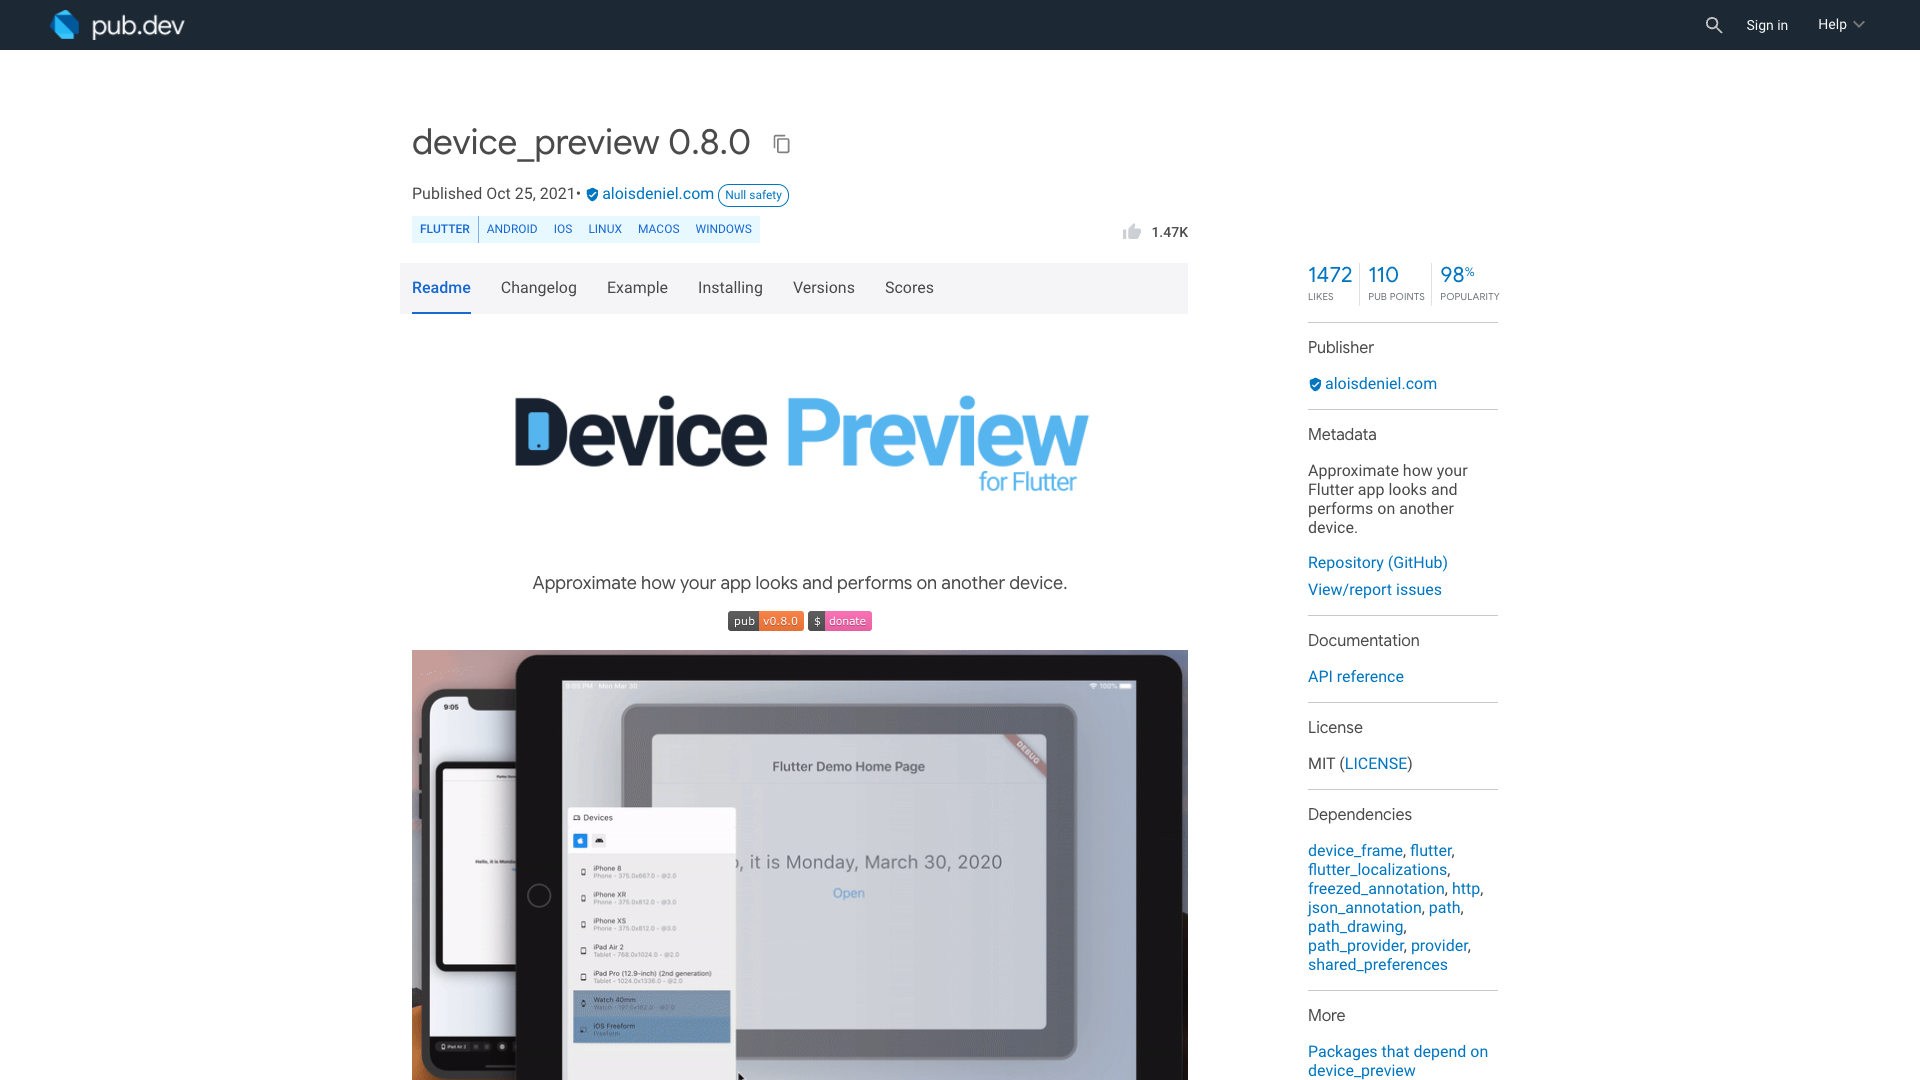
下記のサイトにアクセスし、バージョンを確認します。
device_preview | Flutter package
Approximate how your Flutter app looks and performs on another device.
pub.dev
記事作成の時点では0.8.0が最新バージョンでした。
プラグインのインストール
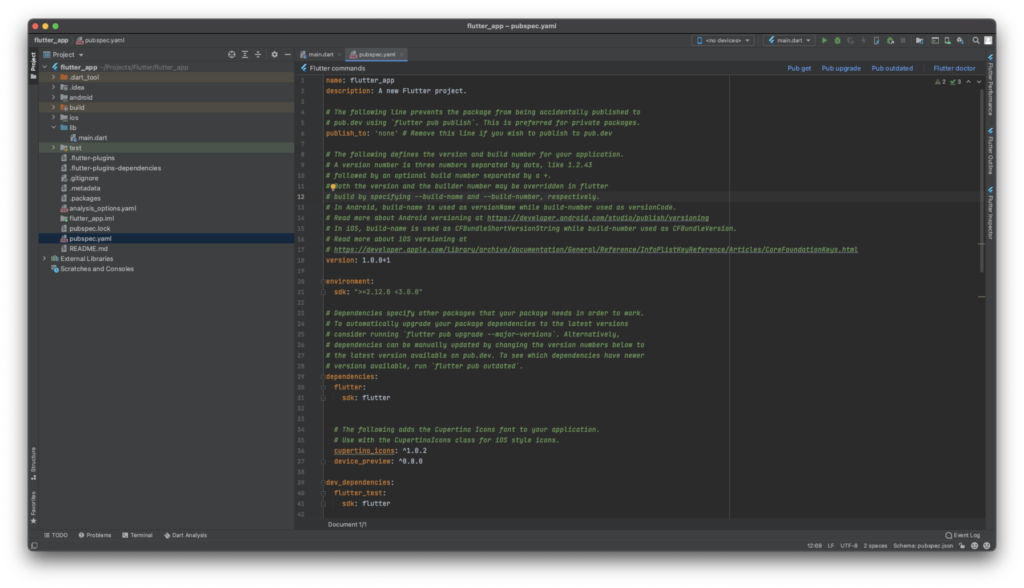
pubspec.yamlのdependenciesに「device_preview: ^0.8.0」を追記します。
または常に最新版を使う設定の「device_preview: any」を追記します。
environment:
  sdk: ">=2.12.0 <3.0.0"

# Dependencies specify other packages that your package needs in order to work.
# To automatically upgrade your package dependencies to the latest versions
# consider running `flutter pub upgrade --major-versions`. Alternatively,
# dependencies can be manually updated by changing the version numbers below to
# the latest version available on pub.dev. To see which dependencies have newer
# versions available, run `flutter pub outdated`.
dependencies:
  flutter:
    sdk: flutter


  # The following adds the Cupertino Icons font to your application.
  # Use with the CupertinoIcons class for iOS style icons.
  cupertino_icons: ^1.0.2
device_preview: ^0.8.0その後、プロジェクト配下で「flutter pub get」コマンドを実行
よくわからない場合はAndroid Studioでpubspec.yamlファイルを開くと右上に「Pub get」ボタンがあるのでそれを押して下さい。
サンプルコード
サンプルコードです。
import 'package:device_preview/device_preview.dart';
import 'package:flutter/foundation.dart';
import 'package:flutter/material.dart';

void main() {
  runApp(
    DevicePreview(
      enabled: !kReleaseMode,
      builder: (context) => const MyApp(),
    ),
  );
}

class MyApp extends StatelessWidget {
  const MyApp({
    Key? key,
  }) : super(key: key);

  @override
  Widget build(BuildContext context) {
    return MaterialApp(
      useInheritedMediaQuery: true,
      locale: DevicePreview.locale(context),
      title: 'Flutter Demo',
      theme: ThemeData(
        primarySwatch: Colors.blue,
      ),
      home: const MyHomePage(title: 'Flutter Demo Home Page'),
    );
  }
}

class MyHomePage extends StatefulWidget {
  const MyHomePage({
    Key? key,
    required this.title,
  }) : super(key: key);

  final String title;

  @override
  State<MyHomePage> createState() => _MyHomePageState();
}

class _MyHomePageState extends State<MyHomePage> {
  int _counter = 0;

  void _incrementCounter() {
    setState(() {
      _counter++;
    });
  }

  @override
  Widget build(BuildContext context) {
    return Scaffold(
      appBar: AppBar(
        title: Text(widget.title),
      ),
      body: Center(
        child: Column(
          mainAxisAlignment: MainAxisAlignment.center,
          children: <Widget>[
            const Text(
              'You have pushed the button this many times:',
            ),
            Text(
              '$_counter',
              style: Theme.of(context).textTheme.headline4,
            ),
          ],
        ),
      ),
      floatingActionButton: FloatingActionButton(
        onPressed: _incrementCounter,
        tooltip: 'Increment',
        child: const Icon(Icons.add),
      ),
    );
  }
}
結果
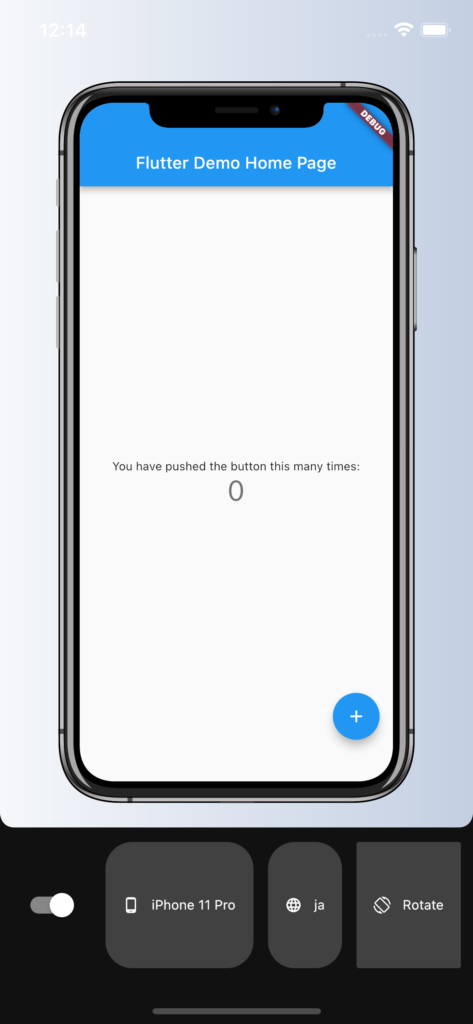
起動するとこんな感じです。画面内をタップするとちゃんと動作します。
iPhon13のシミュレーターで確認しています。
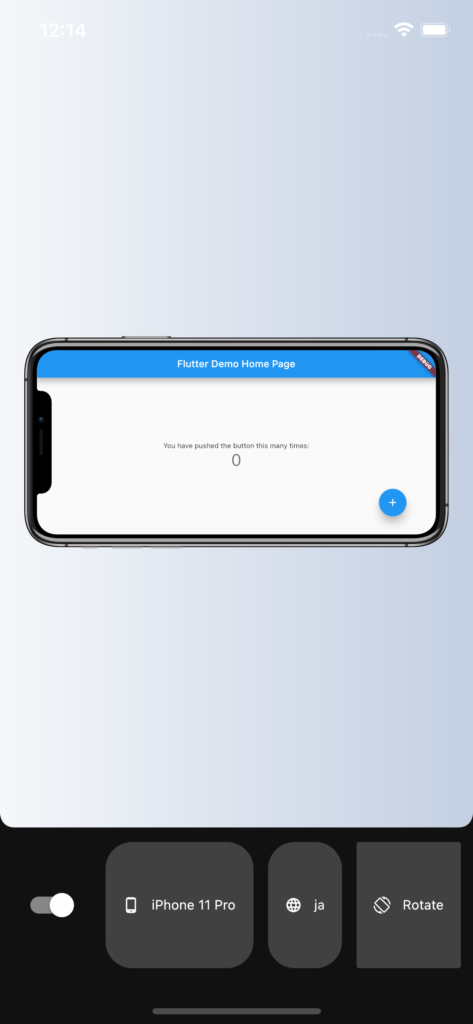
画面を回転させてみたり
テキストを2倍にしてみたり

デバイスをPixel3にしてみたり
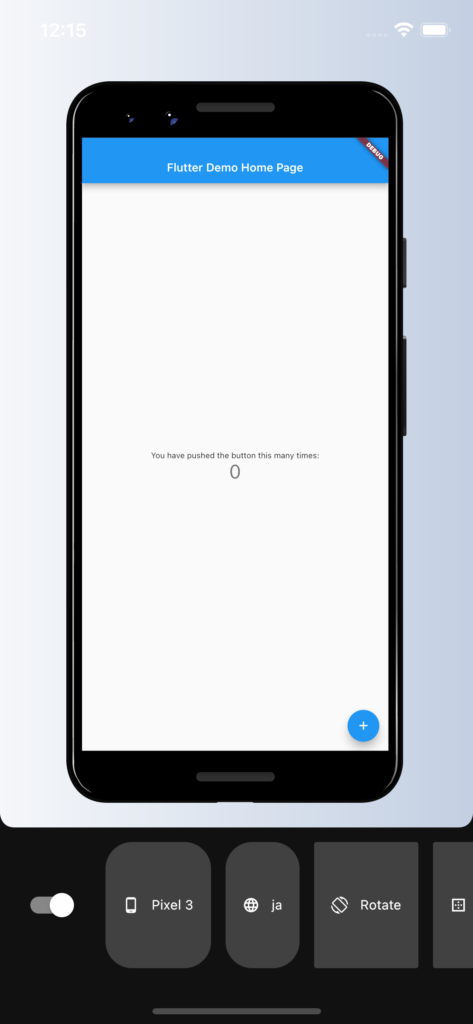
こんな感じで確認ができます。
さいごに
いつも、別のシミュレーターを立ち上げて確認していたので便利。
ただ、もう少しデバイスの種類が欲しい気もします。
コメント