はじめに
Unityでゲーム開発する時に便利なScriptableObject。前回はエディター用拡張コードを書かない方法を紹介しましたが、今回はエディター拡張で行う方法を紹介します。
環境
- Unity 2020.2.7f1
条件
今回のエディター拡張で生成出来るScriptableObjectには下記の条件があるので注意してください。
- ファイル名とクラス名がを同じ
準備
サンプルコード
下記のファイルをEditorフォルダに追加します。Editorフォルダに追加しないと、ビルドした際にエラーになります。
ScriptableObjectTools.cs
using System.Collections;
using System.Collections.Generic;
using System.IO;
using UnityEditor;
using UnityEngine;

public class ScriptableObjectTools
{
    [MenuItem ("Assets/Create/ScriptableObject", true)]
    public static bool Validate()
    {
        foreach (var obj in Selection.objects)
        {
            if (obj.GetType() != typeof(UnityEditor.MonoScript))
            {
                return false;
            }
            if (!obj.ToString().Contains("ScriptableObject"))
            {
                return false;
            }
        }
        return true;
    }

    [MenuItem ("Assets/Create/ScriptableObject", false)]
    public static void CreateScriptableObjects()
    {
        foreach (var obj in Selection.objects)
        {
            Create(obj);
        }
    }

    private static void Create(Object obj)
    {
        var path = AssetDatabase.GetAssetPath(obj);
        var className = Path.GetFileNameWithoutExtension(path);
        var scriptableObject = ScriptableObject.CreateInstance(className);
        var exportPath = Path.ChangeExtension(path, ".asset");
        AssetDatabase.CreateAsset(scriptableObject, exportPath);
        AssetDatabase.SaveAssets();
    }

}
使い方
サンプルコード
今回は説明のため、ScriptableObjectのクラスファイルを2つとScriptableObjectではないクラスファイルを1つ用意します。
TestScriptableObject.cs
using System.Collections;
using System.Collections.Generic;
using UnityEngine;

public class TestScriptableObject : ScriptableObject
{
    [SerializeField] private int userLevel;
    [SerializeField] private string userName;
}
Test2ScriptableObject.cs
using System.Collections;
using System.Collections.Generic;
using UnityEngine;

public class Test2ScriptableObject : ScriptableObject
{
    [SerializeField] private int userLevel;
    [SerializeField] private string userName;
}
Test.cs
using System.Collections;
using System.Collections.Generic;
using UnityEngine;

public class Test : MonoBehaviour
{
    // Start is called before the first frame update
    void Start()
    {

    }

    // Update is called once per frame
    void Update()
    {

    }
}
ScriptableObjectの生成方法
ScriptableObjectのクラスファイルを右クリックし、[Create]→[ScriptableObject]をクリックします。
.png)
するとScriptableObjectが生成されます。
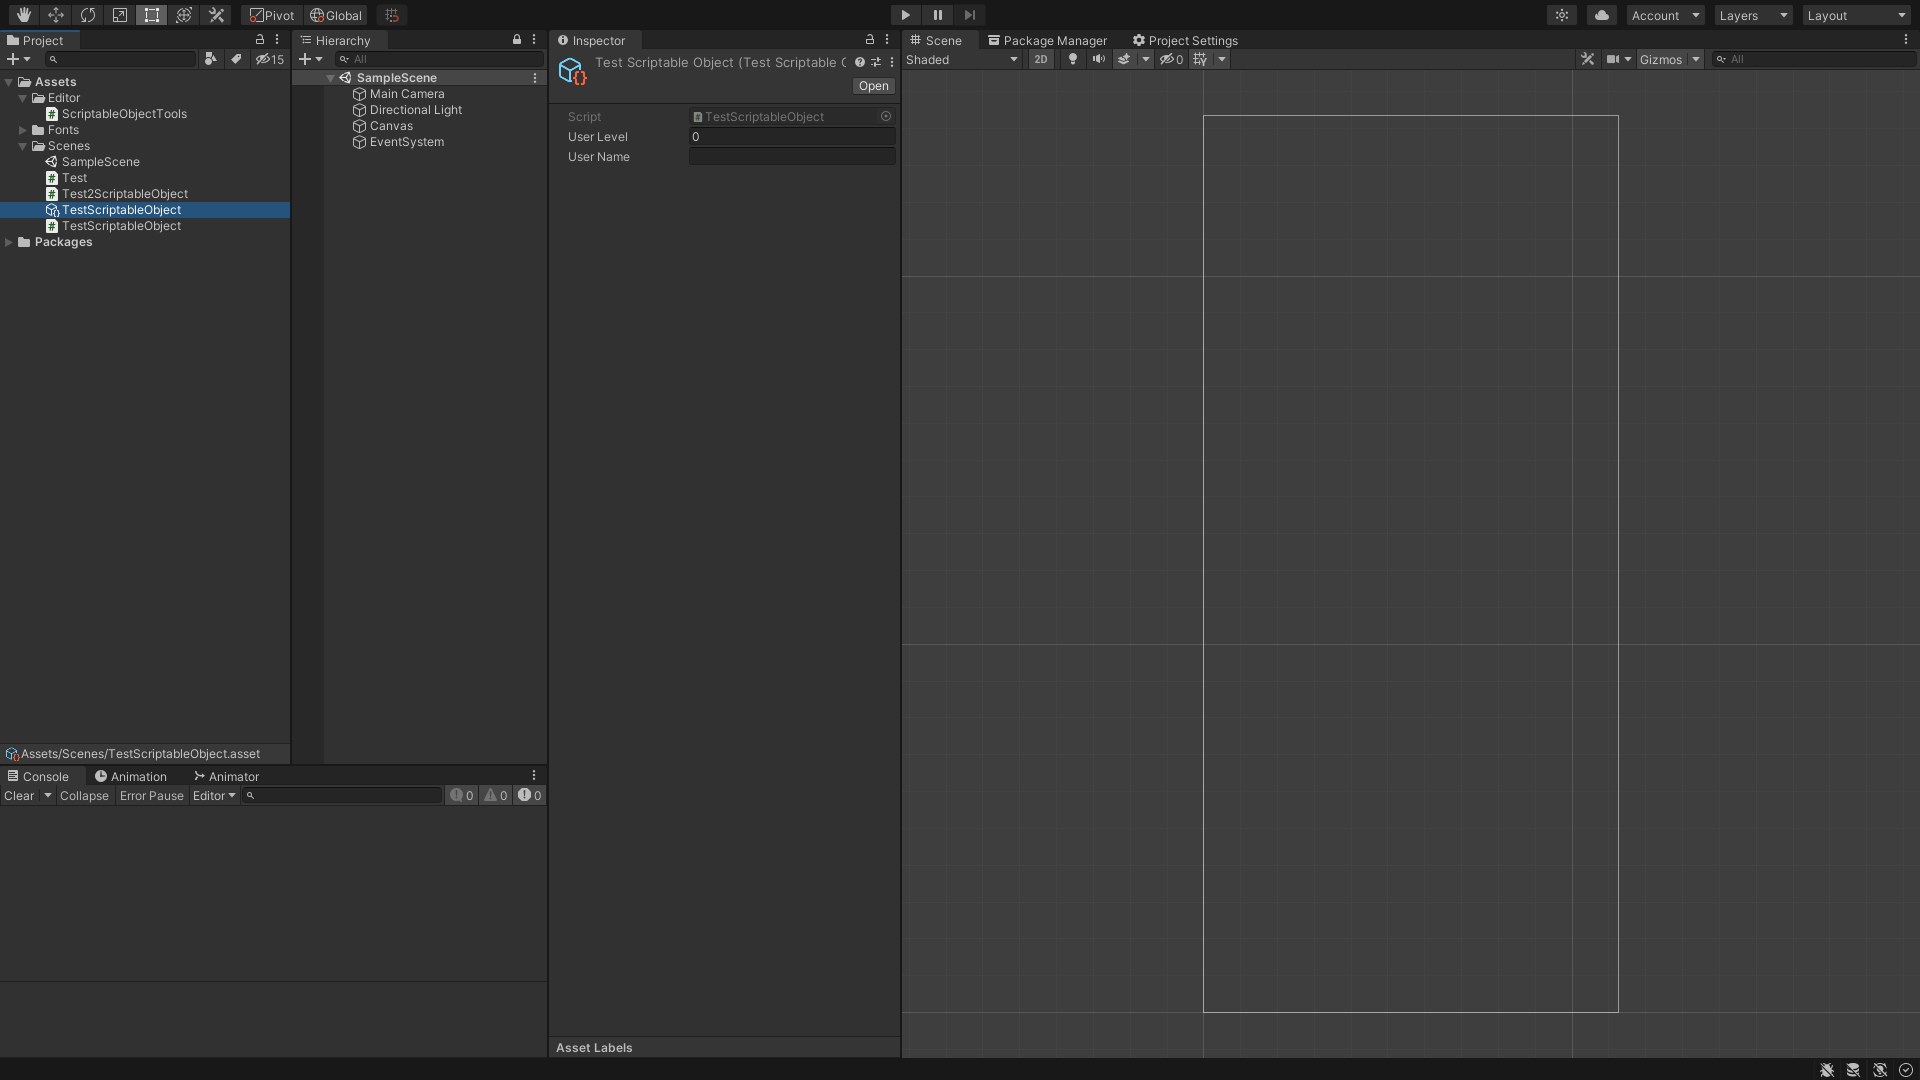
これで終わりです。簡単ですよね?
複数選択にも対応
ScriptableObjectならば複数選択して後に右クリックして、[Create]→[ScriptableObject]をクリックします。
.png)
すると選択したファイルがScriptableObjectが生成されます。
-1024x576.png)
ScriptableObjectのクラスファイルではない場合
選択したファイルの中に、1つでもScriptableObjectのクラスファイルではないものがある場合は[Create]→[ScriptableObject]が選択できないようになっています。
.png)
さいごに
前回に紹介した内容よりもこちらの方がEditor用Windowが増えないのでおすすめです。
コメント