はじめに
Flutterでアプリを開発をしている時に便利なのがプラグイン。
簡単に導入できますし、豊富な機能が公開されています。
ただし、ときどき不具合や自分の思い通りにならない機能等がありプラグインを自分好みにカスタマイズしたいと思う時があると思います。
そんな今回は外部プラグインをカスタマイズする方法を紹介しようと思います。
環境
- Flutter 2.2.3
カスタマイズまでの準備
今回は「webview_flutter」をカスタマイズしていきたいと思います。
「webview_flutter」はflutter.devの公式のプラグインなため、オリジナルのソースコードの場所が少しだけ複雑です。
ソースコードの入手
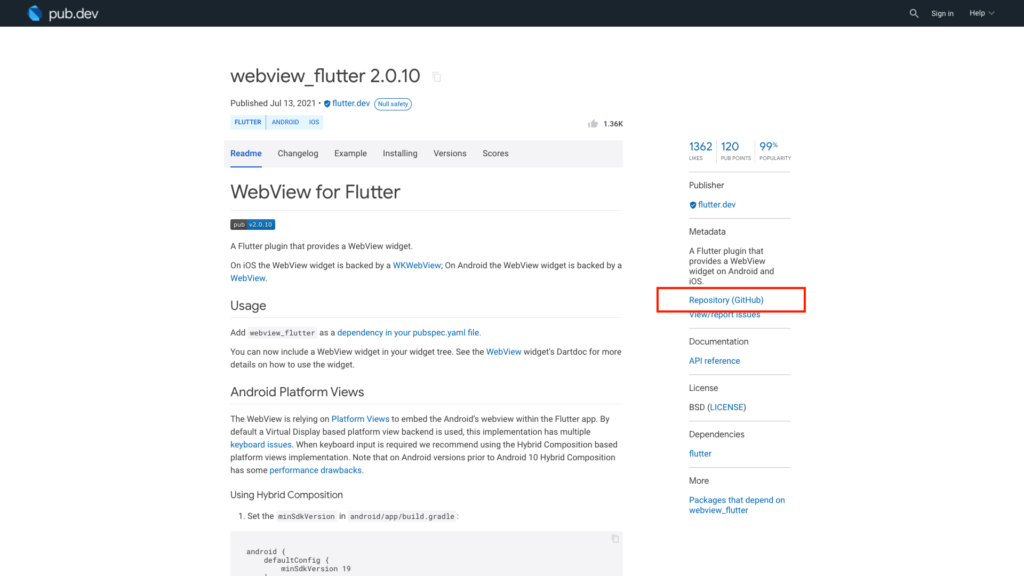
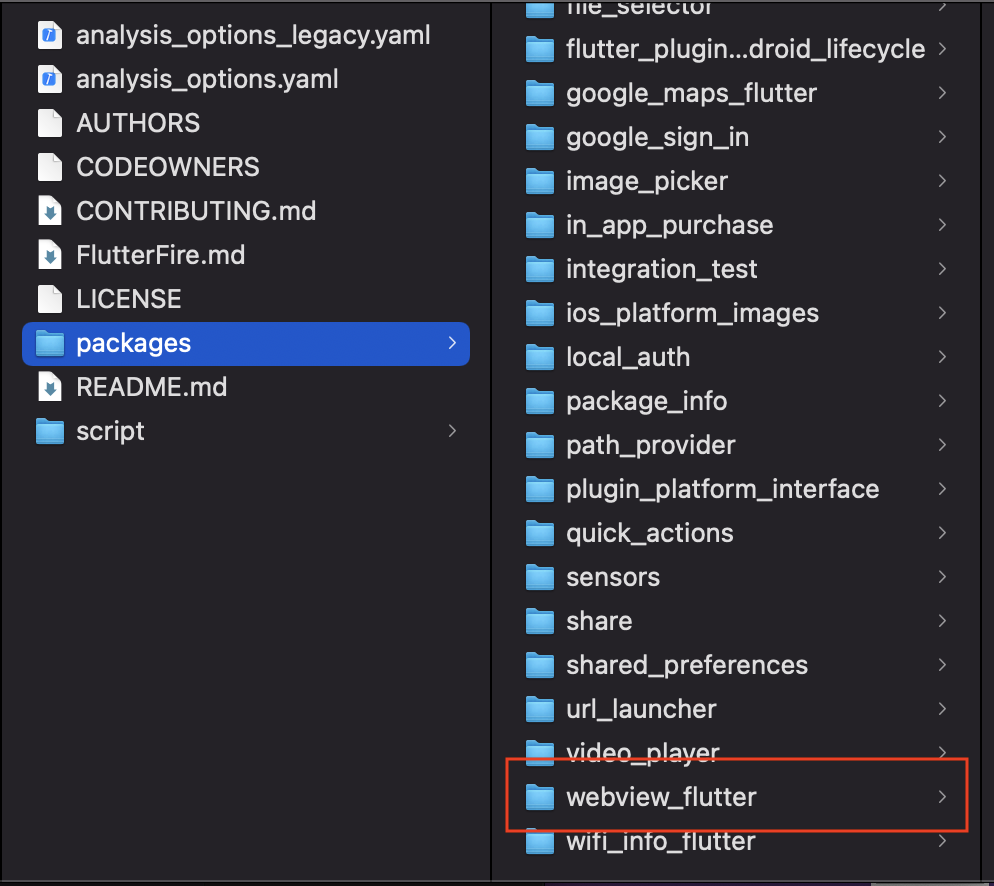
まずはwebview_flutterのソースコードを手に入れるため、下記のサイトに行きます。

pub.devサイトに行ったら、「Repository(GitHub)」をクリックしGitHubへ遷移します。
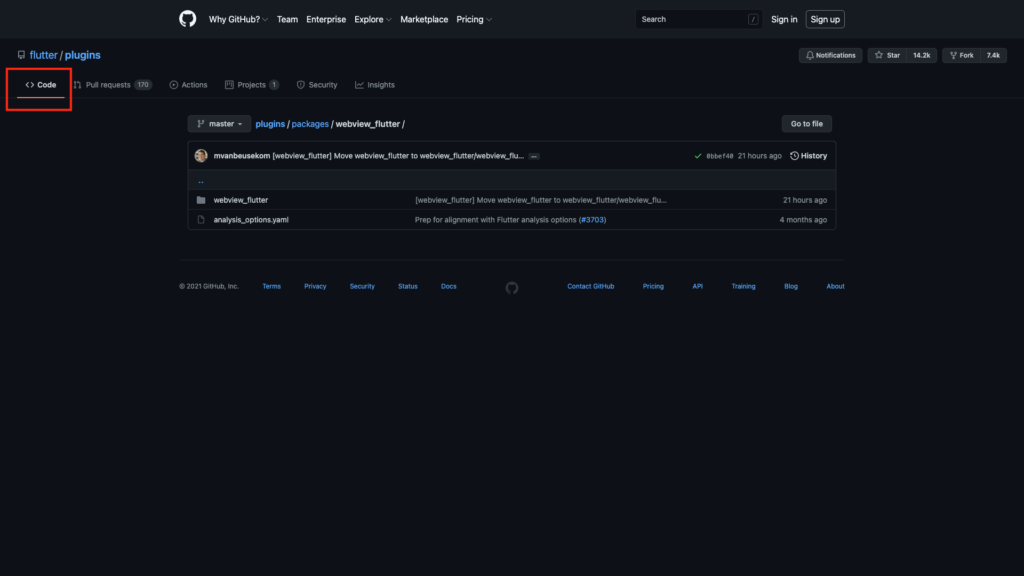
次に「Code」を押し、pluginsのトップ画面へ遷移します。
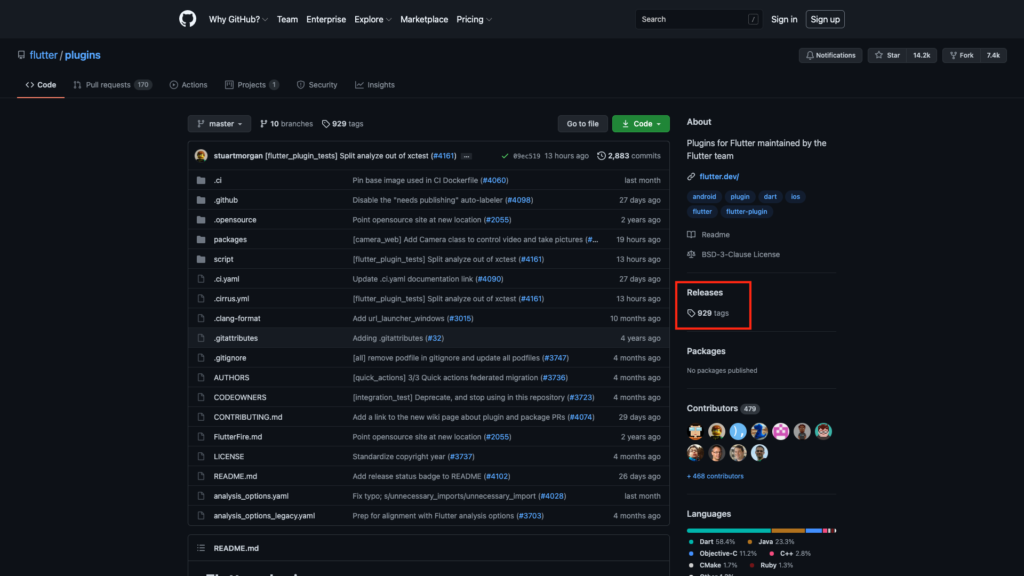
次に「Releases」を押して、正式リリースされているプラグインの一覧画面へ遷移します。
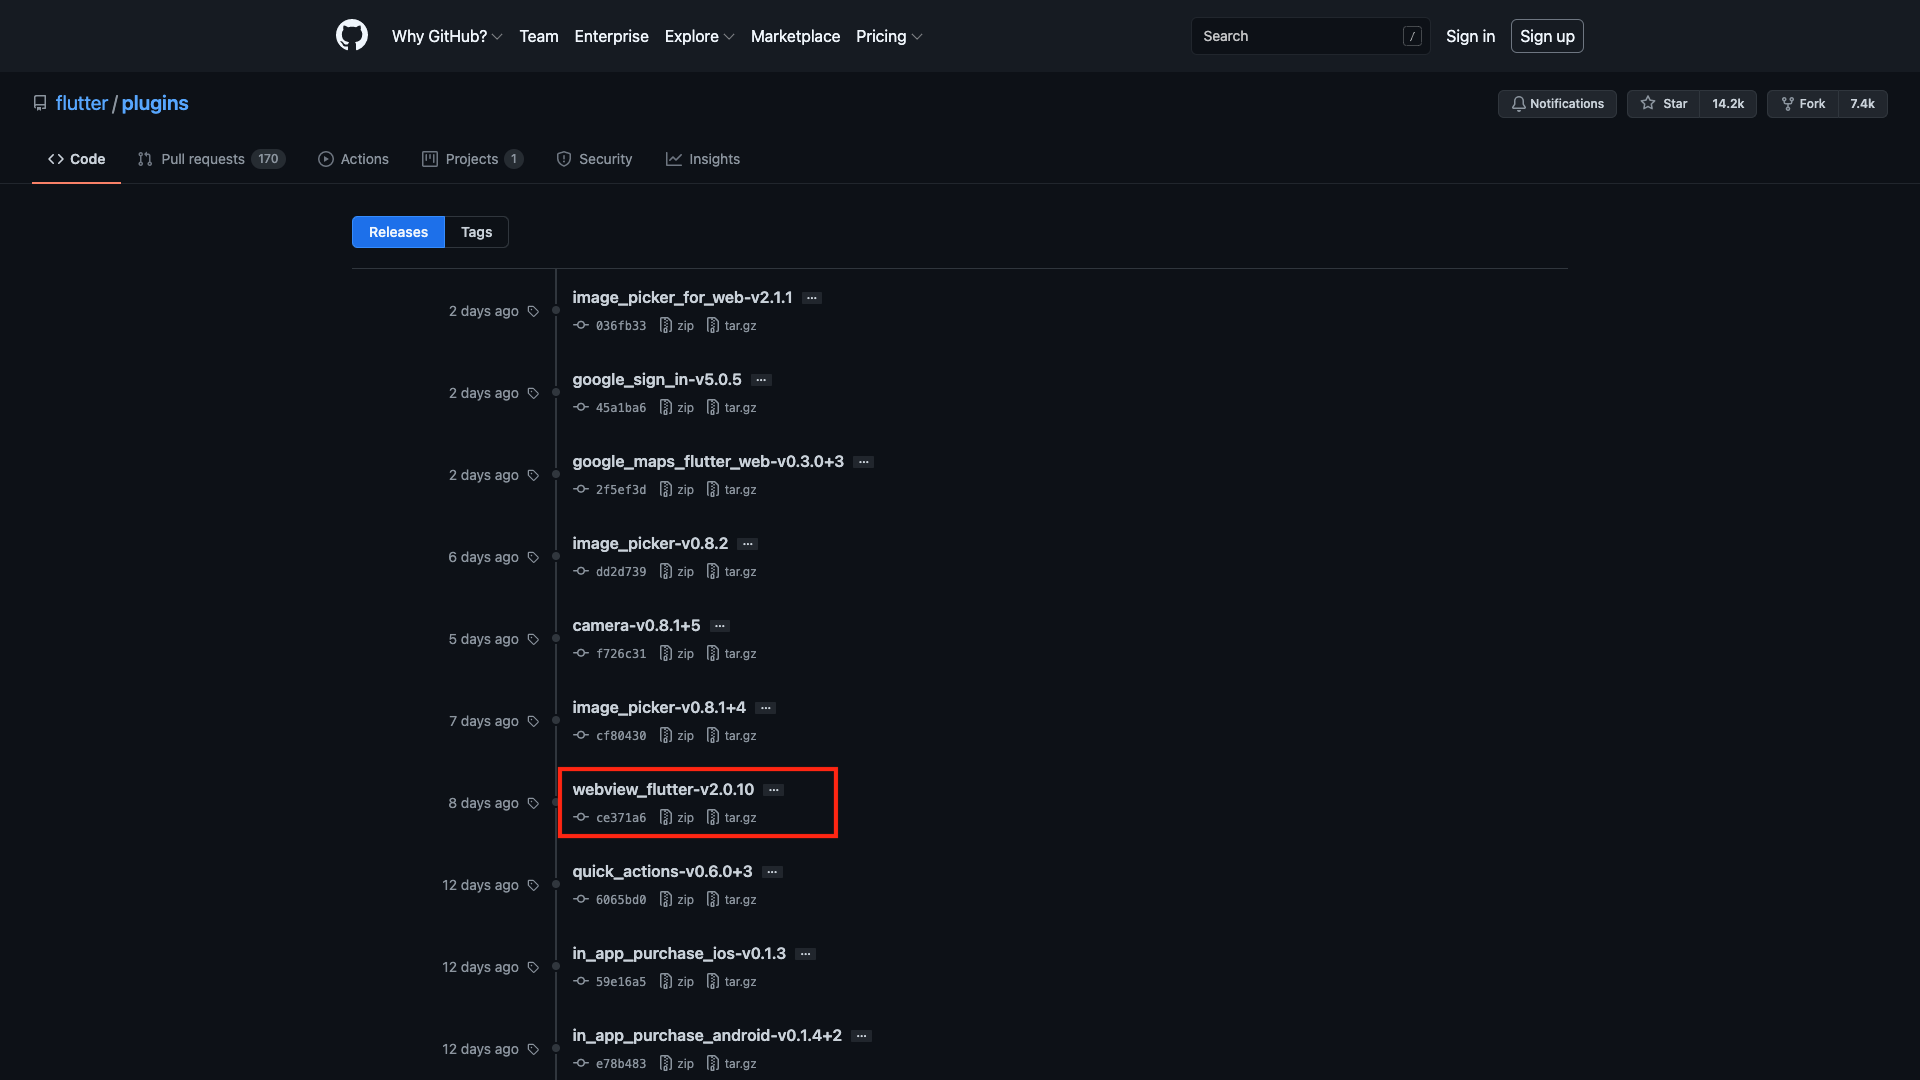
そこでwebview_flutterでカスタマイズしたバージョンのソースコードをzipまたはtar.gzでダウンロードします。
今回はzipファイルで説明します。
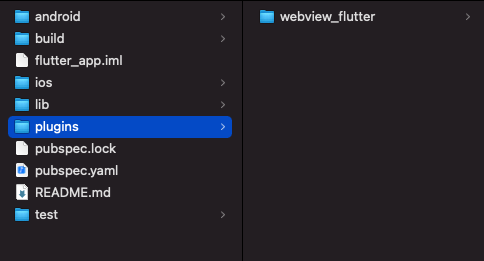
次にFlutterのプロジェクトのルートフォルダに「plugins」というフォルダを作成します。
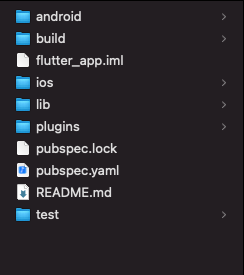
そのpluginsフォルダに上記のGitHubでダウンロードした「plugins-webview_flutter-v2.0.10.zip」を展開した中にある「webview_flutter」をこのpluginsフォルダにコピーします。
これでソースコードの入手作業は完了です。
入手したソースコードをプロジェクトに認識させる
Android Studioを開きpubspec.yamlを下記のように編集します。
dependencies:
  flutter:
    sdk: flutter


  # The following adds the Cupertino Icons font to your application.
  # Use with the CupertinoIcons class for iOS style icons.
  cupertino_icons: ^1.0.2
  webview_flutter:
    path: ./plugins/webview_flutter

dev_dependencies:通常の場合は「webview_flutter: any」等書きますが、今回はプロジェクト配下のソースコードをプラグインと認識させるためにプラグインのフォルダへのパスを記述します。
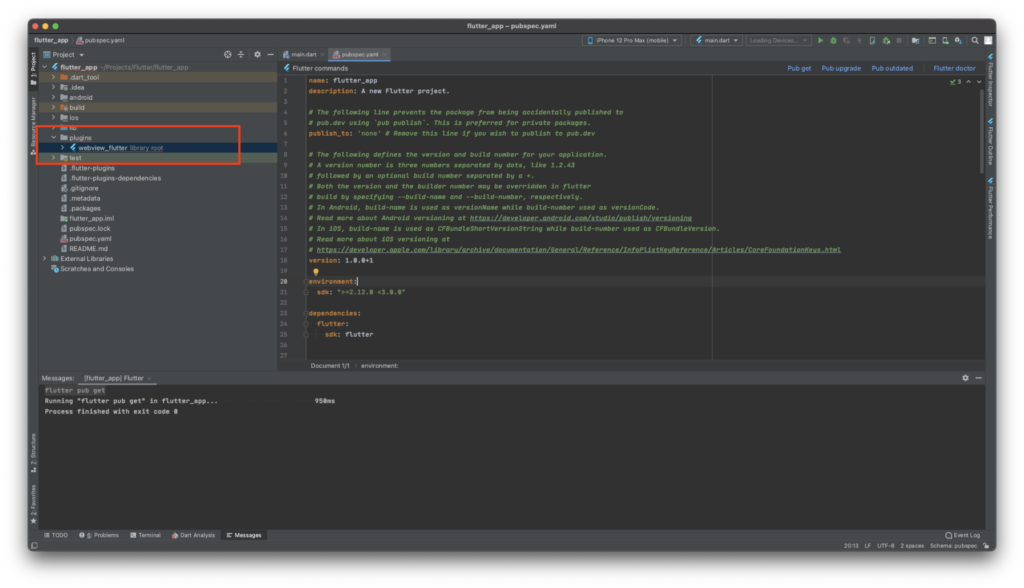
記述したら、プロジェクト配下で「flutter pub get」コマンドを実行
よくわからない場合はAndroid Studioでpubspec.yamlファイルを開くと右上に「Pub get」ボタンがあるのでそれを押して下さい。
-1024x576.png)
するとpluginsフォルダにある「webview_flutter」が…
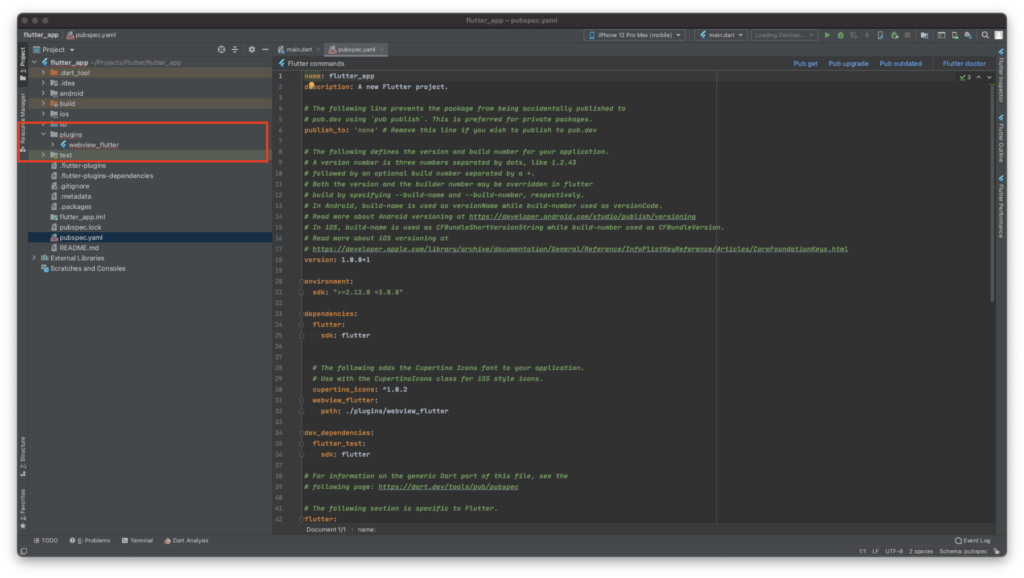
「Library root」と認識してwebivew_flutterが使えるようになります。
あとはカスマイズするだけ!
あとはplugins/webview_flutterのソースコードを自分好みにいじくるだけです。
注意点
既に「webview_flutter」を入れていてカスタマイズのプラグインに切り替えた場合に、うまくAndroid Studioが認識してくれていない時があります。その際は「flutter pub get」後にAndroid Studioを再起動させてみてください。
さいごに
意外とやり方が簡単だった。
コメント