はじめに
Flutterで自分の好きなフォントを実装するのってひと手間あってめんどくさいですよね?
今回はプラグインで簡単にGoogleFontsが実装できる方法を紹介します。
環境
- Flutter 2.0.3
- google_fonts 2.0.0
実装方法
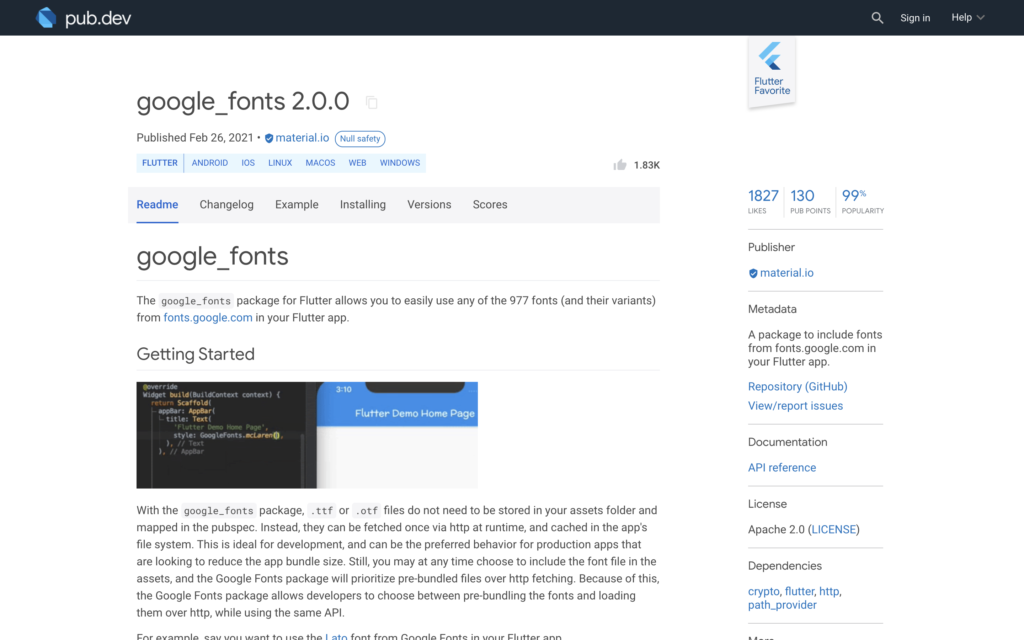
プラグインの最新バージョンを確認
下記のサイトにアクセスし、バージョンを確認します。

google_fonts | Flutter package
A Flutter package to use fonts from fonts.google.com. Supports HTTP fetching, caching, and asset bundling.
記事作成の時点では2.0.0が最新バージョンでした
プラグインのインストール
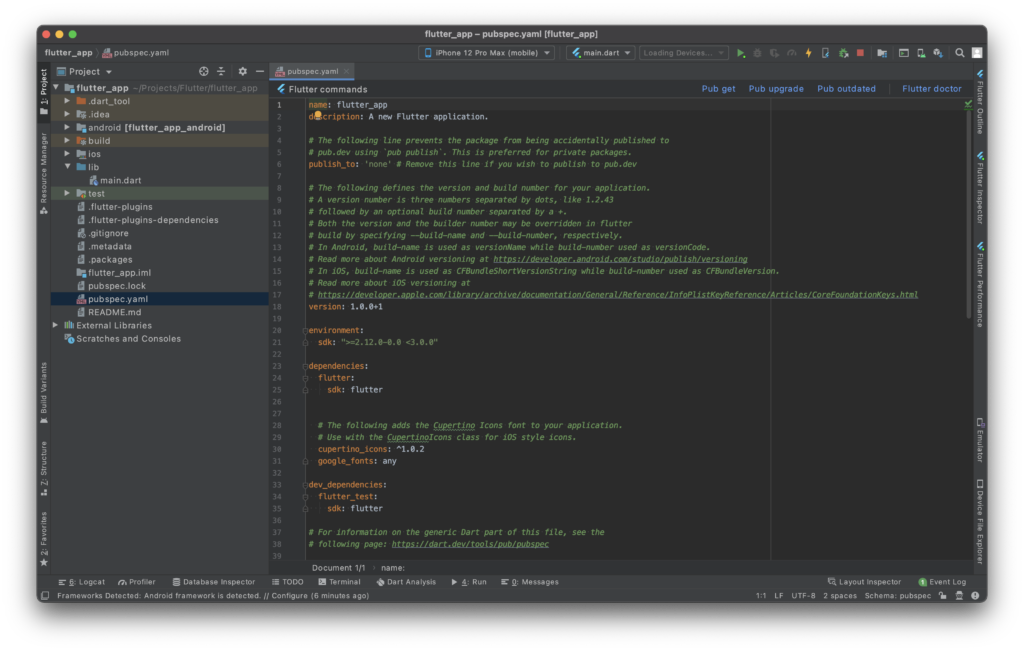
pubspec.yamlのdependenciesに「google_fonts: ^2.0.0」を追記します。もしくは常に最新版を使う設定の「google_fonts: any」を追記します。
dependencies:
  flutter:
    sdk: flutter


  # The following adds the Cupertino Icons font to your application.
  # Use with the CupertinoIcons class for iOS style icons.
  cupertino_icons: ^1.0.2
google_fonts: anyその後、プロジェクト配下で「flutter pub get」コマンドを実行
よくわからない場合はAndroid Studioでpubspec.yamlファイルを開くと右上に「Pub get」ボタンがあるのでそれを押してください。
これでプラグインのインストールは完了です。
サンプルコード
一部のみ抜粋します
下記のようにTextのstyleにGoogleFontsで使いたいフォントを使います。
import 'package:flutter/material.dart';
import 'package:google_fonts/google_fonts.dart';

...

Text(
  'You have pushed the button this many times:',
   style: GoogleFonts.notoSans(),
),
...他にもTheme全体に反映させたい場合はMaterialAppのthemeの中のtextThemeにGoogleFontsを設定します
class MyApp extends StatelessWidget {
  @override
  Widget build(BuildContext context) {
    return MaterialApp(
      title: 'Flutter Demo',
      theme: ThemeData(
          primarySwatch: Colors.blue,
          textTheme: GoogleFonts.notoSansTextTheme()),
      home: MyHomePage(title: 'Flutter Demo Home Page'),
    );
  }
}
結果
フォント変更なし
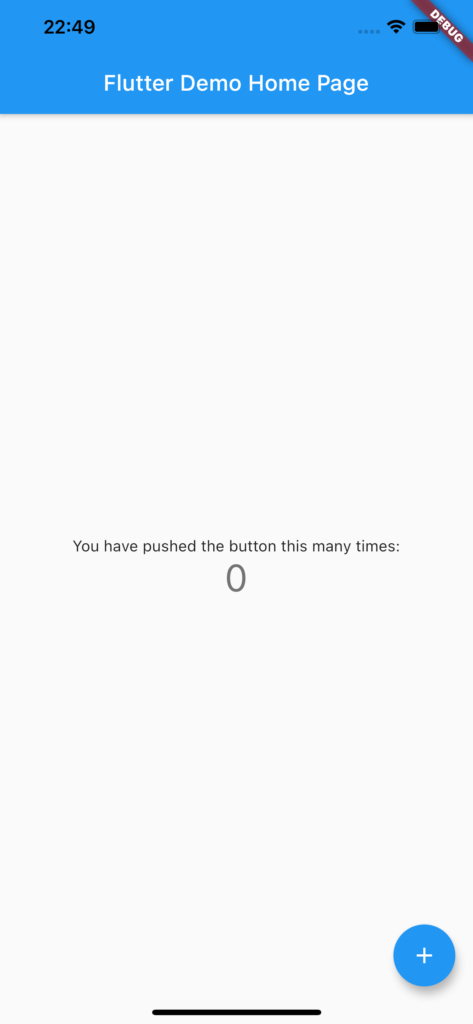
notoSans
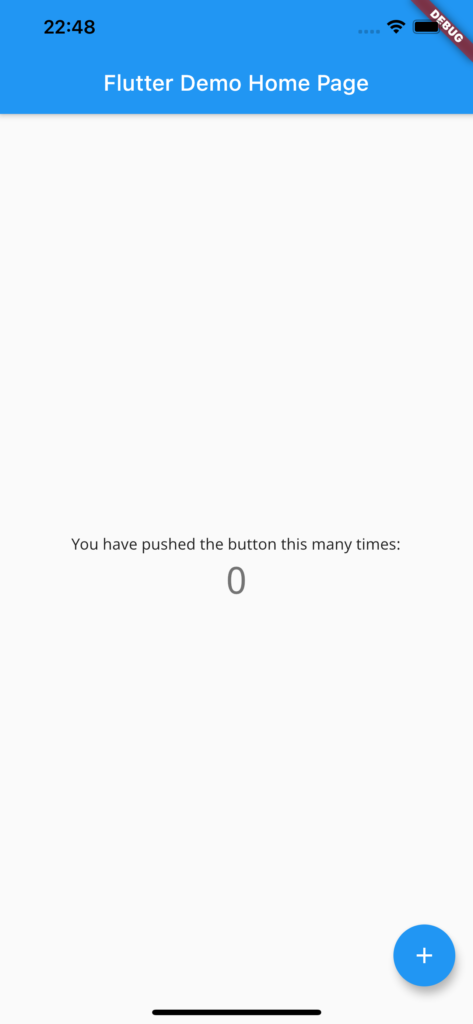
b612Mono
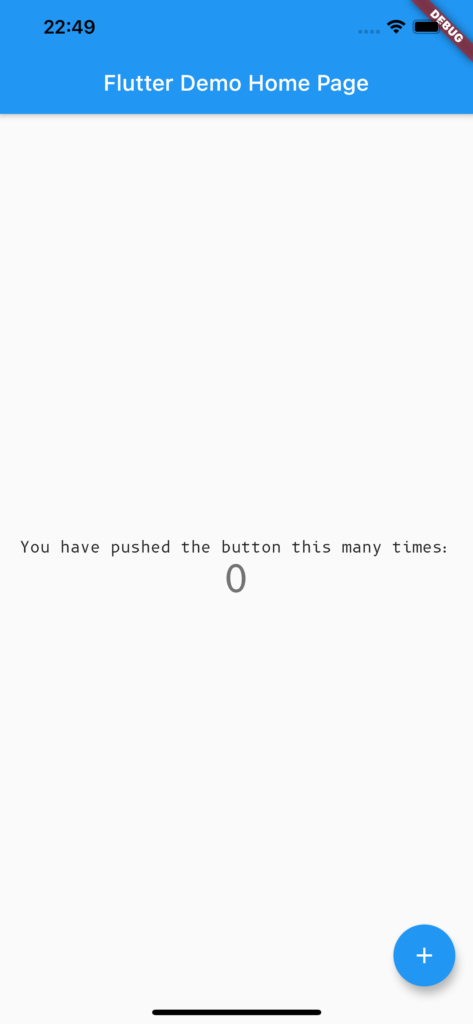
他にも設定の仕方はあるので詳しくは下記のWebサイトを見てください。

google_fonts | Flutter package
A Flutter package to use fonts from fonts.google.com. Supports HTTP fetching, caching, and asset bundling.
注意点
このGoogleFontsを使う際に注意点があります。
それはライセンス表示が必要です。
各フォントのライセンスファイルが含まれていますので、公開するアプリで必要なフォントが決定したら、適切なライセンスをLicenseRegistryに追加してください。
void main() {
  LicenseRegistry.addLicense(() async* {
    final license = await rootBundle.loadString('google_fonts/OFL.txt');
    yield LicenseEntryWithLineBreaks(['google_fonts'], license);
  });

  runApp(...);
}
さいごに
フォントでさえも簡単に実装できてしまうFlutterさん素敵です。



コメント