はじめに
前回はunity-webviewを使って、WebViewの表示をしました。しかし全画面表示だったのでゲーム内で使うにはかなり扱いにくかったです。
そこで今回はWebViewをよくあるソーシャルゲームのお知らせ風ダイアログ表示させたいと思います。
環境
- Unity 2020.2.3f1
- unity-webview 1.0.0
使用アセット
今回ダイアログのデザインは以下のアセットを利用しました。
unity-webviewの実装
unity-webviewプラグインのインストールは下記の記事を参考にしてください。
実装方法
まずはサンプルコードから紹介します。その後、UIの設定と説明をしていきます。
サンプルコード
WebViewDialog
WebViewをダイアログで表示するためのコード
using System.Collections;
using System.Collections.Generic;
using UnityEngine;
using UnityEngine.UI;

public class WebViewDialog : MonoBehaviour
{
    [SerializeField] private Button closeButton;

    [SerializeField] private CanvasScaler canvasScaler;
    [SerializeField] private RectOffset padding;

    private WebViewObject webViewObject;

    // Start is called before the first frame update
    void Start()
    {
        closeButton.onClick.AddListener(Hide);
    }

    private void Initialized()
    {
        if (!webViewObject)
        {
            webViewObject = (new GameObject("WebViewObject")).AddComponent<WebViewObject>();
            webViewObject?.Init(
                enableWKWebView: true
            );
            float coefficient = 0.0f;
            Vector2 reference = canvasScaler.referenceResolution;
            int horizon = (int)((Screen.width - (reference.x * Screen.height / reference.y)) / 2);
            int vertical = (int)((Screen.height - (reference.y * Screen.width / reference.x)) / 2);
            if (horizon < 0)
            {
                horizon = 0;
                coefficient = (float)Screen.width / reference.x;
            }
            if (vertical < 0)
            {
                vertical = 0;
                coefficient = (float)Screen.height / reference.y;
            }
            if (coefficient == 0)
            {
                coefficient = (float)Screen.width / reference.x;
            }
            webViewObject?.SetMargins(
                left: horizon + (int)(padding.left * coefficient),
                top: vertical + (int)(padding.top * coefficient),
                right: horizon + (int)(padding.right * coefficient),
                bottom: vertical + (int)(padding.bottom * coefficient)
            );
        }
    }

    public void Show(string url)
    {
        Initialized();
        webViewObject?.gameObject.SetActive(true);
        webViewObject?.LoadURL(url);
        webViewObject?.SetVisibility(true);
        this.gameObject.SetActive(true);
    }

    public void Hide()
    {
        webViewObject?.gameObject.SetActive(false);
        webViewObject?.SetVisibility(false);
        this.gameObject.SetActive(false);
    }

}
SampleSceneController
WebViewDialogを呼ぶためのスクリプト
using System.Collections;
using System.Collections.Generic;
using UnityEngine;
using UnityEngine.UI;

public class SampleSceneController : MonoBehaviour
{
    [SerializeField] private Button button;
    [SerializeField] private WebViewDialog webViewDialog;

    // Start is called before the first frame update
    void Start()
    {
        button.onClick.AddListener(OnButtonClicked);
    }

    private void OnButtonClicked()
    {
        webViewDialog?.Show("https://nobushiueshi.com");
    }

}
UIの設定
Canvas
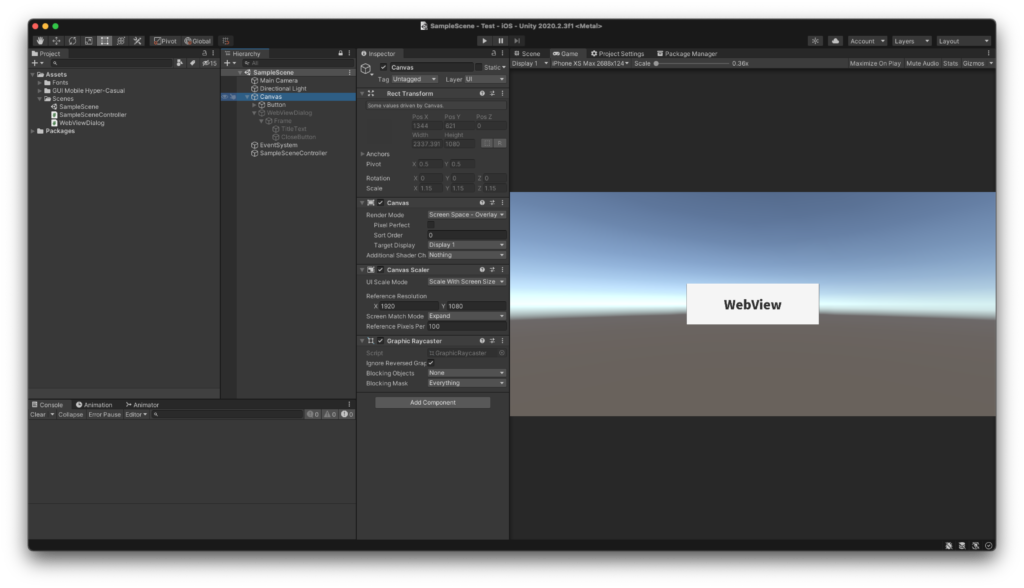
今回、解像度の基準は1920×1080の設定で行います。マルチ解像度対応のためScreen Match ModeをExpandに設定しています。
WebViewDialog
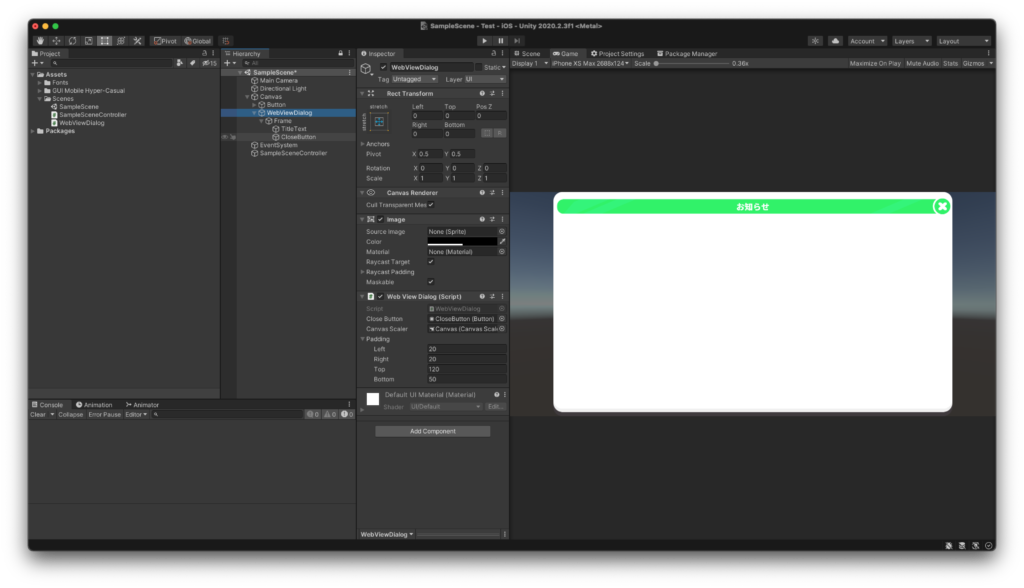
設定はこんな感じです。Paddingに設定する値は基準となるCanvasのサイズからの位置です。今回は1920×1080が基準なので、そこから良さげな位置を探します。
RectTransformをStretchにしているのはマルチ解像度対応でお知らせを表示中は画面をブロックさせるためです。
※通常は非アクティブですが見せるためにアクティブにしています。
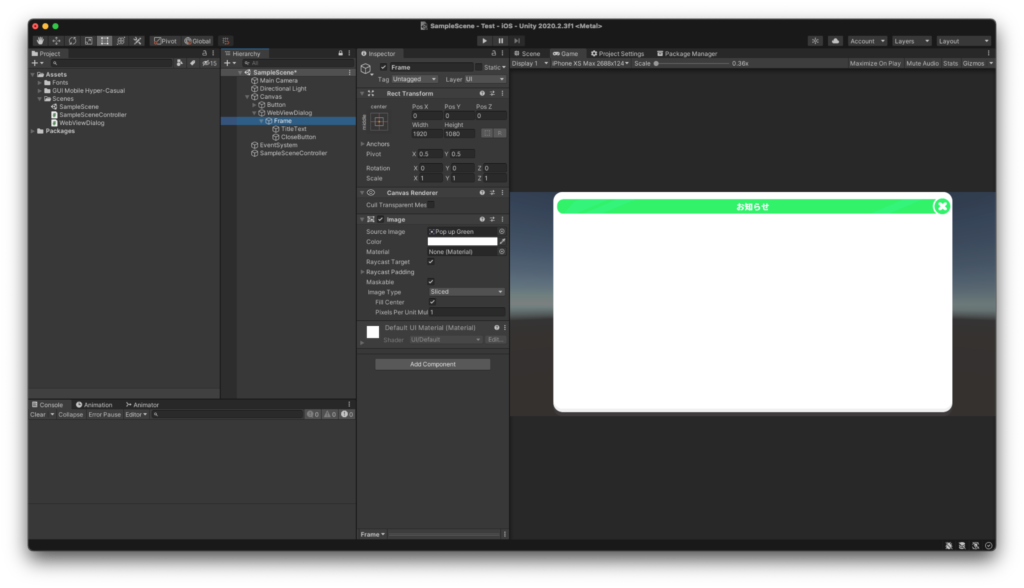
WebViewDialog – Frame
今回ダイアログ風に見せるためのダイアログのフレームです。これはCanvasの基準サイズと揃える必要があります。
説明
お気付きの通りでここでマルチ解像度対応させるための計算をしています。
referenceにcanvasScalerを渡していますが、表示するCanvasScalerと同じ値を渡せばいいのでCanvasScalerである必要はありません。
float coefficient = 0.0f;
Vector2 reference = canvasScaler.referenceResolution;
int horizon = (int)((Screen.width - (reference.x * Screen.height / reference.y)) / 2);
int vertical = (int)((Screen.height - (reference.y * Screen.width / reference.x)) / 2);
if (horizon < 0)
{
    horizon = 0;
    coefficient = (float)Screen.width / reference.x;
}
if (vertical < 0)
{
    vertical = 0;
    coefficient = (float)Screen.height / reference.y;
}
if (coefficient == 0)
{
    coefficient = (float)Screen.width / reference.x;
}
最後にunity-webviewで提供されているWebViewの表示サイズを調整できるSetMarginsに先程の計算した値を設定します。
webViewObject?.SetMargins(
    left: horizon + (int)(padding.left * coefficient),
    top: vertical + (int)(padding.top * coefficient),
    right: horizon + (int)(padding.right * coefficient),
    bottom: vertical + (int)(padding.bottom * coefficient)
);
結果
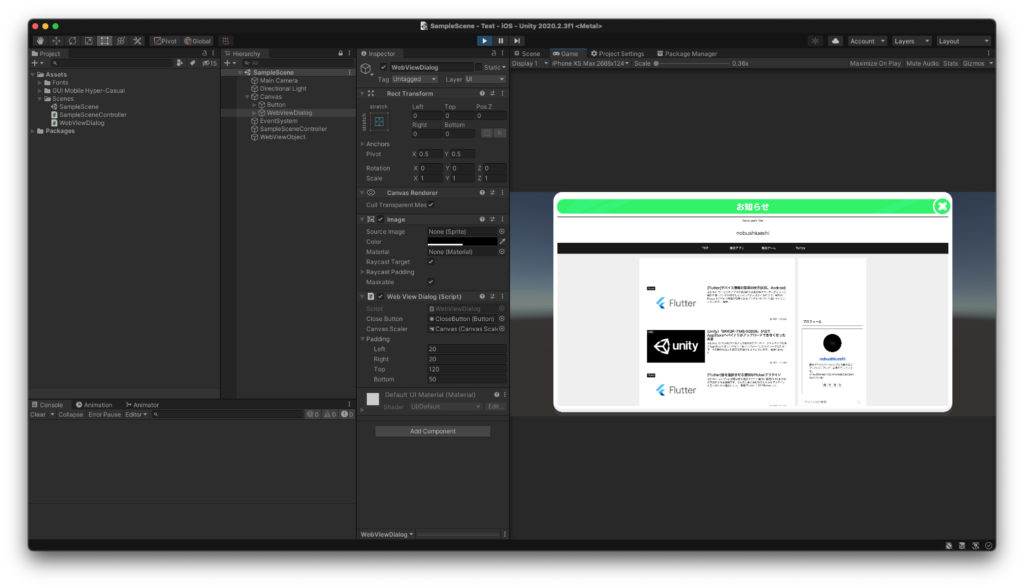
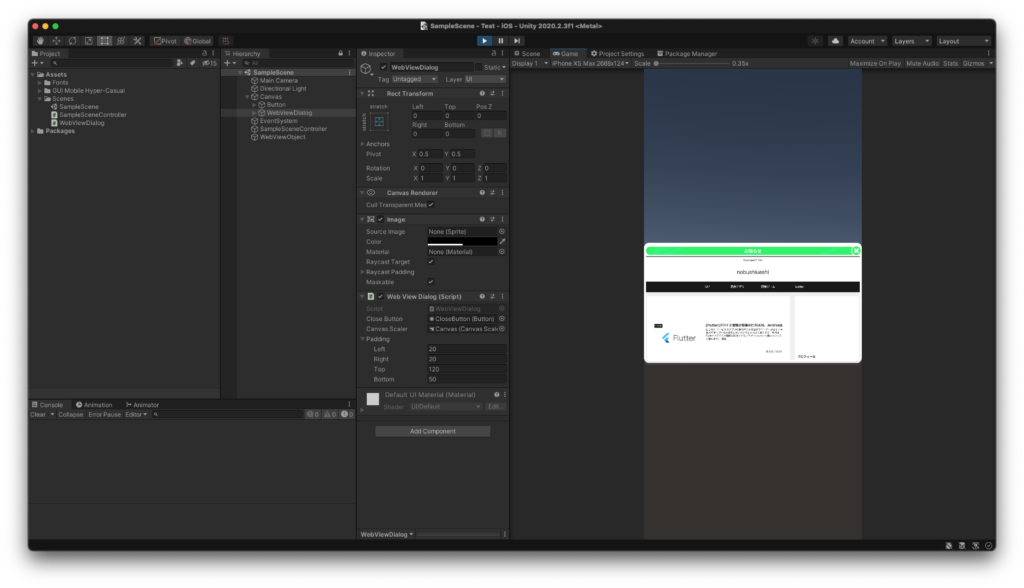
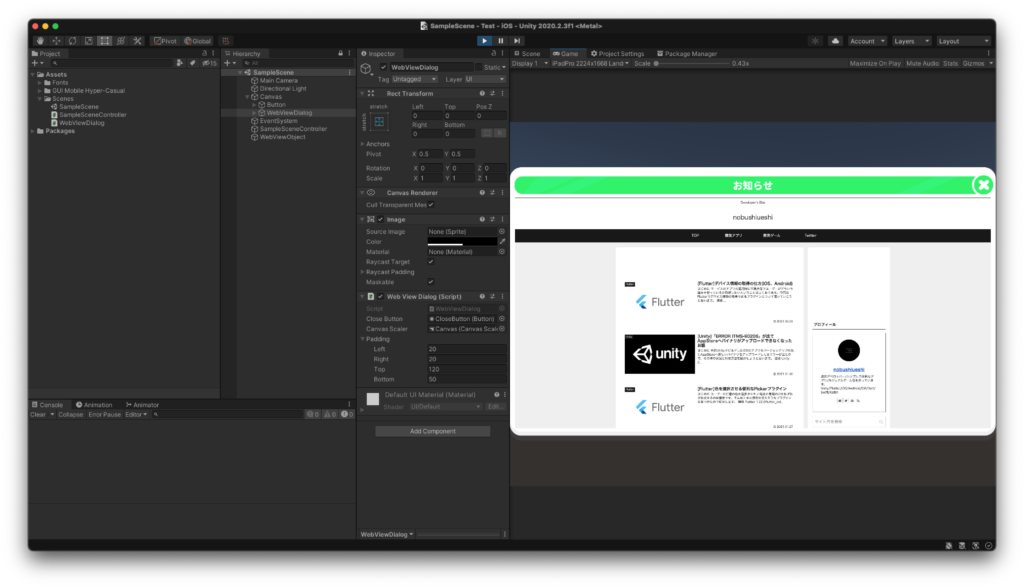
サイズの計算は初回しからやっていないので、Unityを再生/停止する必要ありますが複数の解像度でWebViewが全てダイアログ内で表示されるようになりました!
さいごに
WebView表示で悩んでいる方がおられましたら、是非参考にしてみてください。


コメント