はじめに
アプリを作っているとカメラで撮影した写真や動画、カメラロールから画像や動画を取得したいことがあります。今回は簡単にそれが実現できてしまうプラグインを紹介しようと思います。
環境
- Flutter 1.22.6
- image_picker 0.6.7+22
実装方法
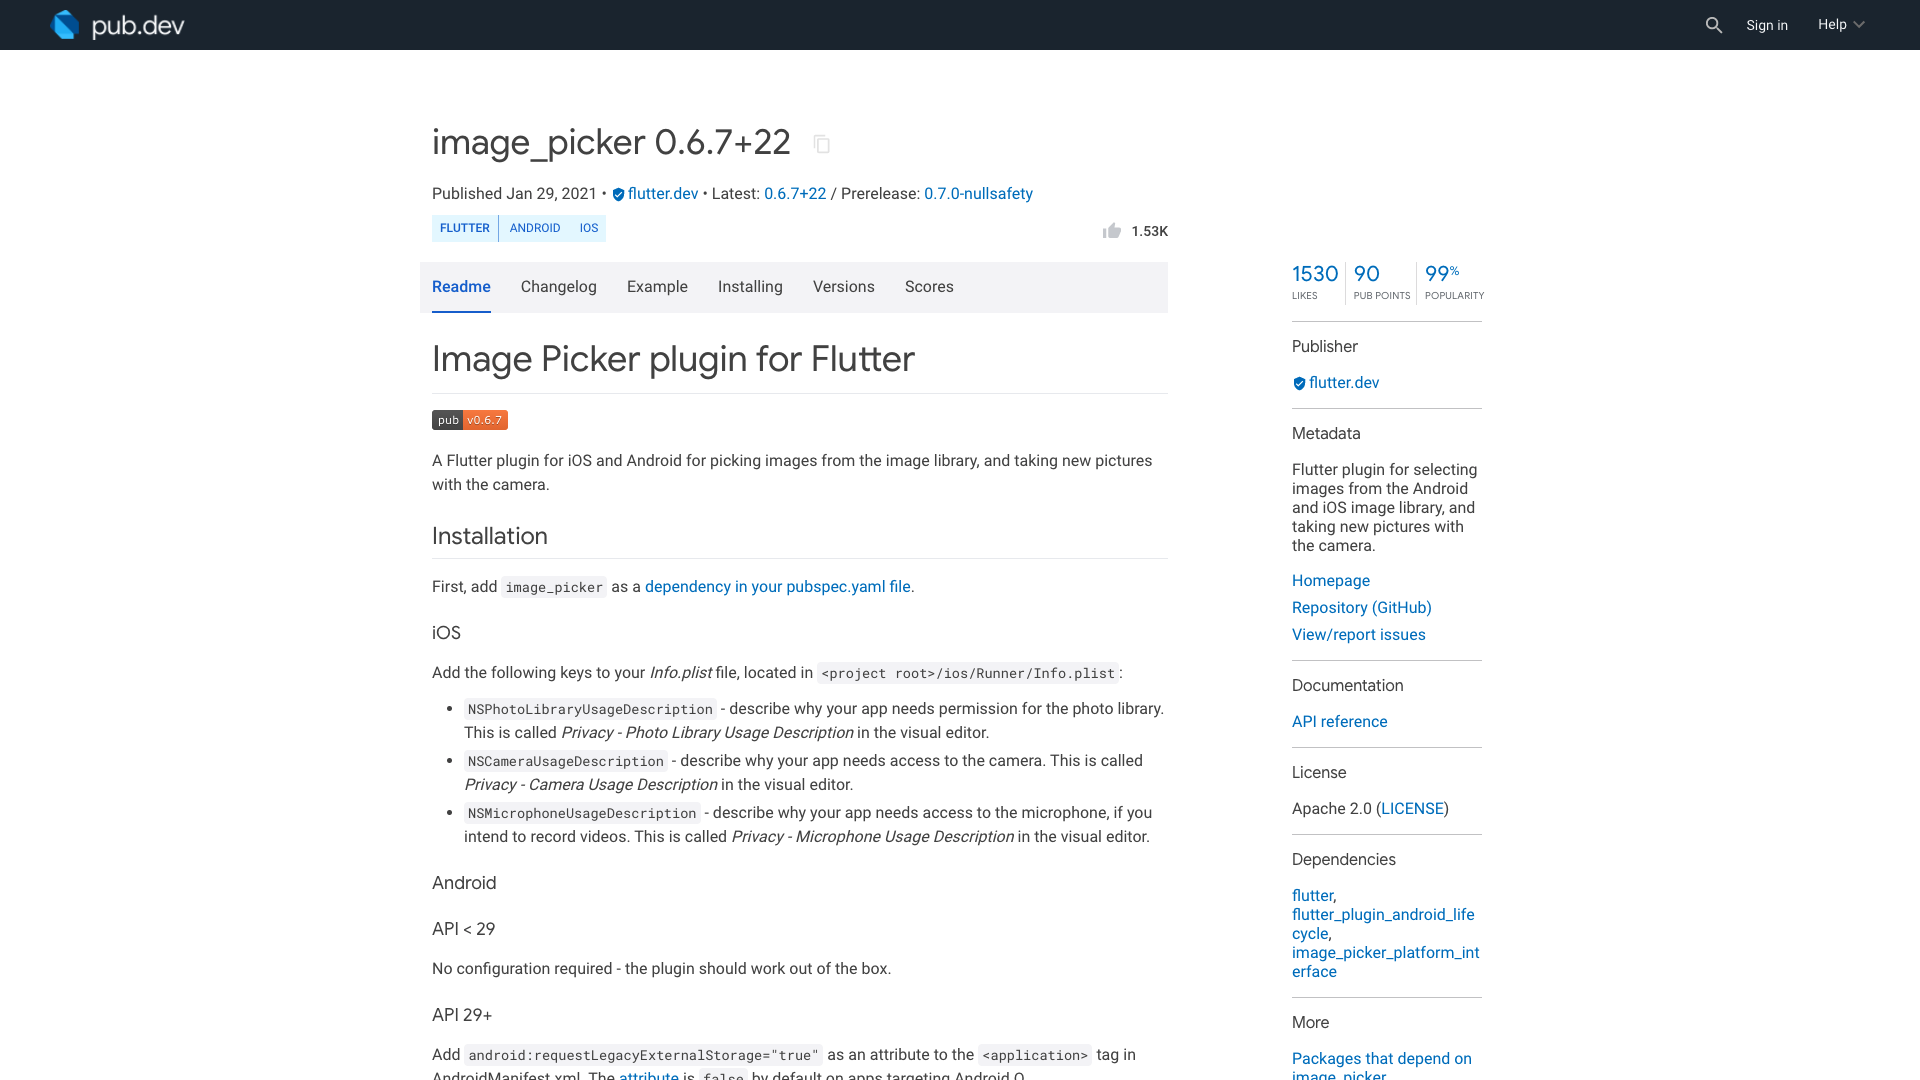
プラグインの最新バージョンを確認
下記のサイトにアクセスし、バージョンを確認します。

記事作成の時点では0.6.7+22が最新バージョンでした。
プラグインのインストール
pubspec.yamlのdependenciesに「image_picker: ^0.6.7+22」を追記します。
dependencies:
  flutter:
    sdk: flutter


  # The following adds the Cupertino Icons font to your application.
  # Use with the CupertinoIcons class for iOS style icons.
  cupertino_icons: ^1.0.0
  image_picker: ^0.6.7+22
その後、プロジェクト配下で「flutter pub get」コマンドを実行
よくわからない場合はAndroid Studioでpubspec.yamlファイルを開くと右上に「Pub get」ボタンがあるのでそれを押してください。

これでプラグインのインストールは完了です。
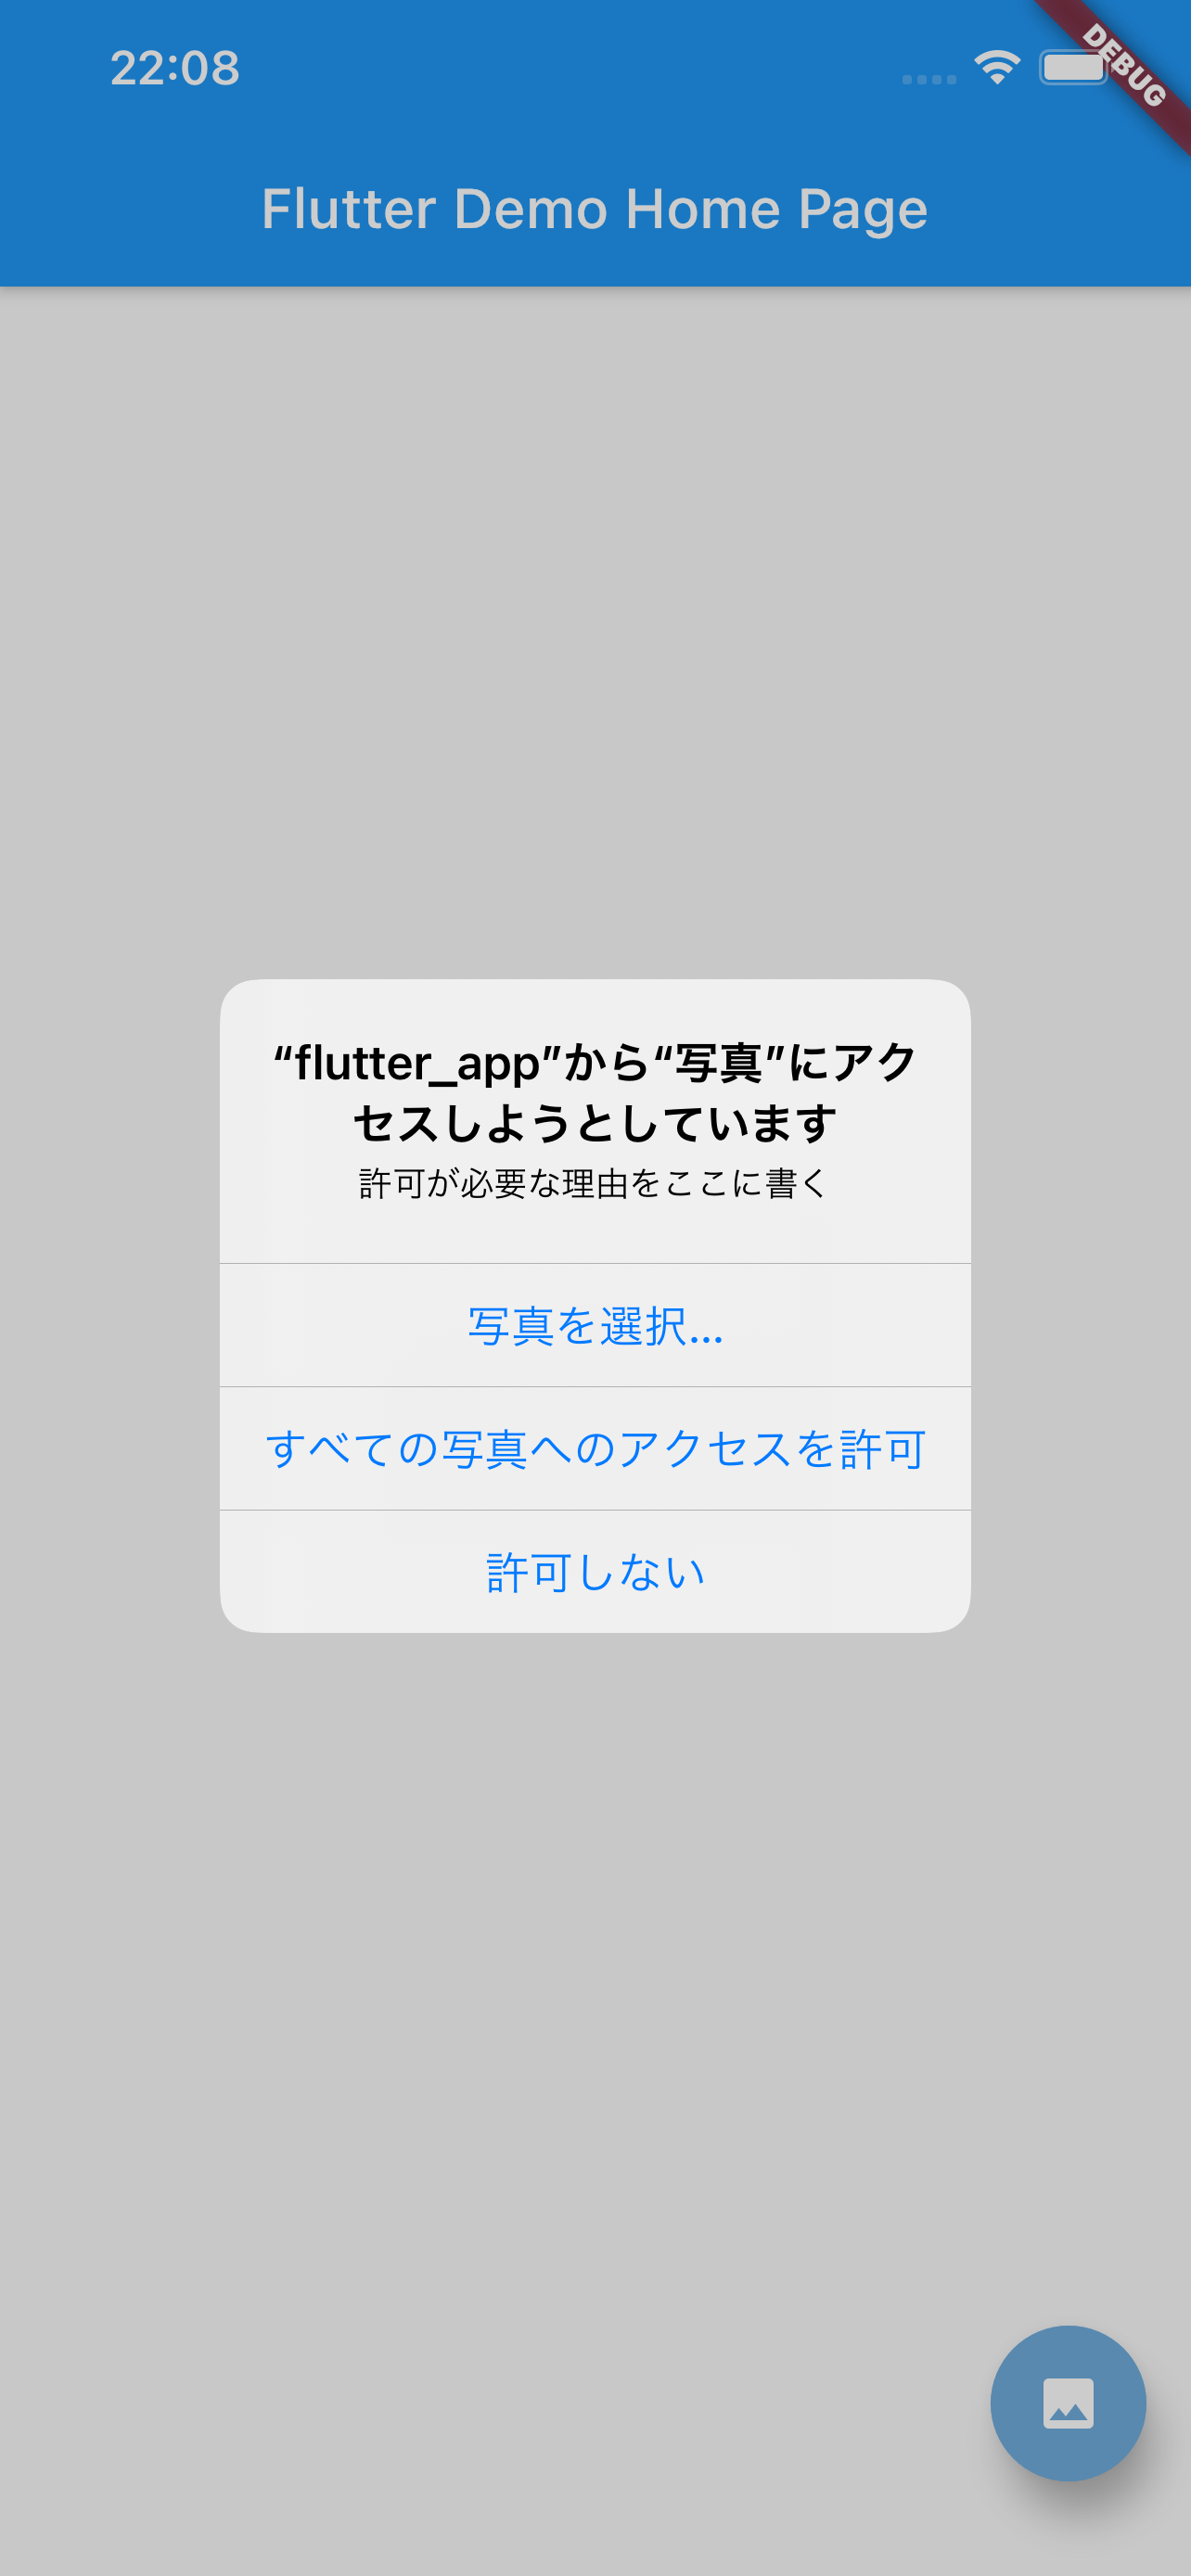
アプリの設定の追加
次にアプリの設定を追加します。この設定をしないとカメラやカメラロールにアクセスした瞬間にアプリがクラッシュするので絶対に追加してください。
iOS
iosフォルダを右クリックして[Flutter]→[Open iOS module in Xcode]を選択します。
.png)
Xcodeが開いたら、Runner/Runner/Info.plistを開きます。
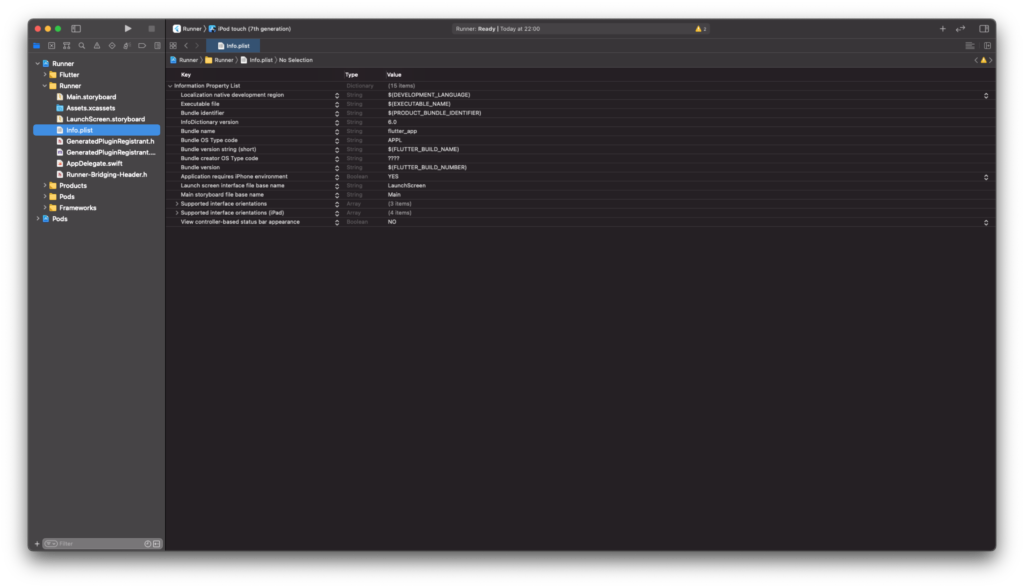
以下の3つの説明文を追加します。ここに入力する内容はユーザーに表示されます。
- Privacy – Photo Library Usage Description
- Privacy – Camera Usage Description
- Privacy – Microphone Usage Description
上からカメラロール、カメラ、マイクを利用する際の説明文です。

またInfo.plistをテキストエディター等で見た際のkeyはそれぞれ以下のようになっています。
- NSPhotoLibraryUsageDescription
- NSCameraUsageDescription
- NSMicrophoneUsageDescription
以上でiOSの設定は終わりです。
Android
targetSdkVersionが29未満の場合は設定は不要です。
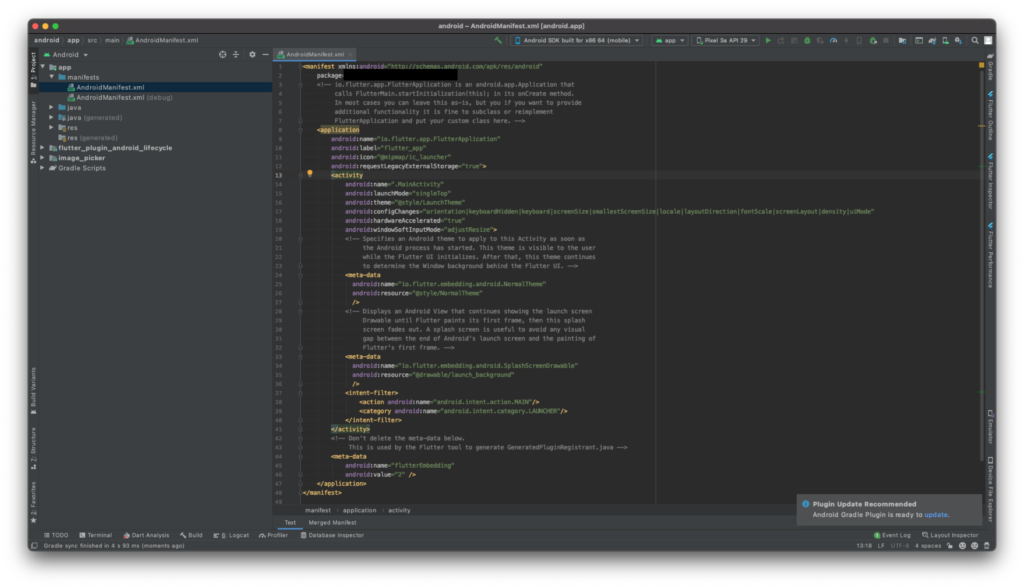
targetSdkVersionが29以上の場合は、まずandroidフォルダを右クリックして[Flutter]→[Open Android module in Android Studio]を選択します。
.png)
次にapp/manifests/AndroidManifest.xmlを開きます。
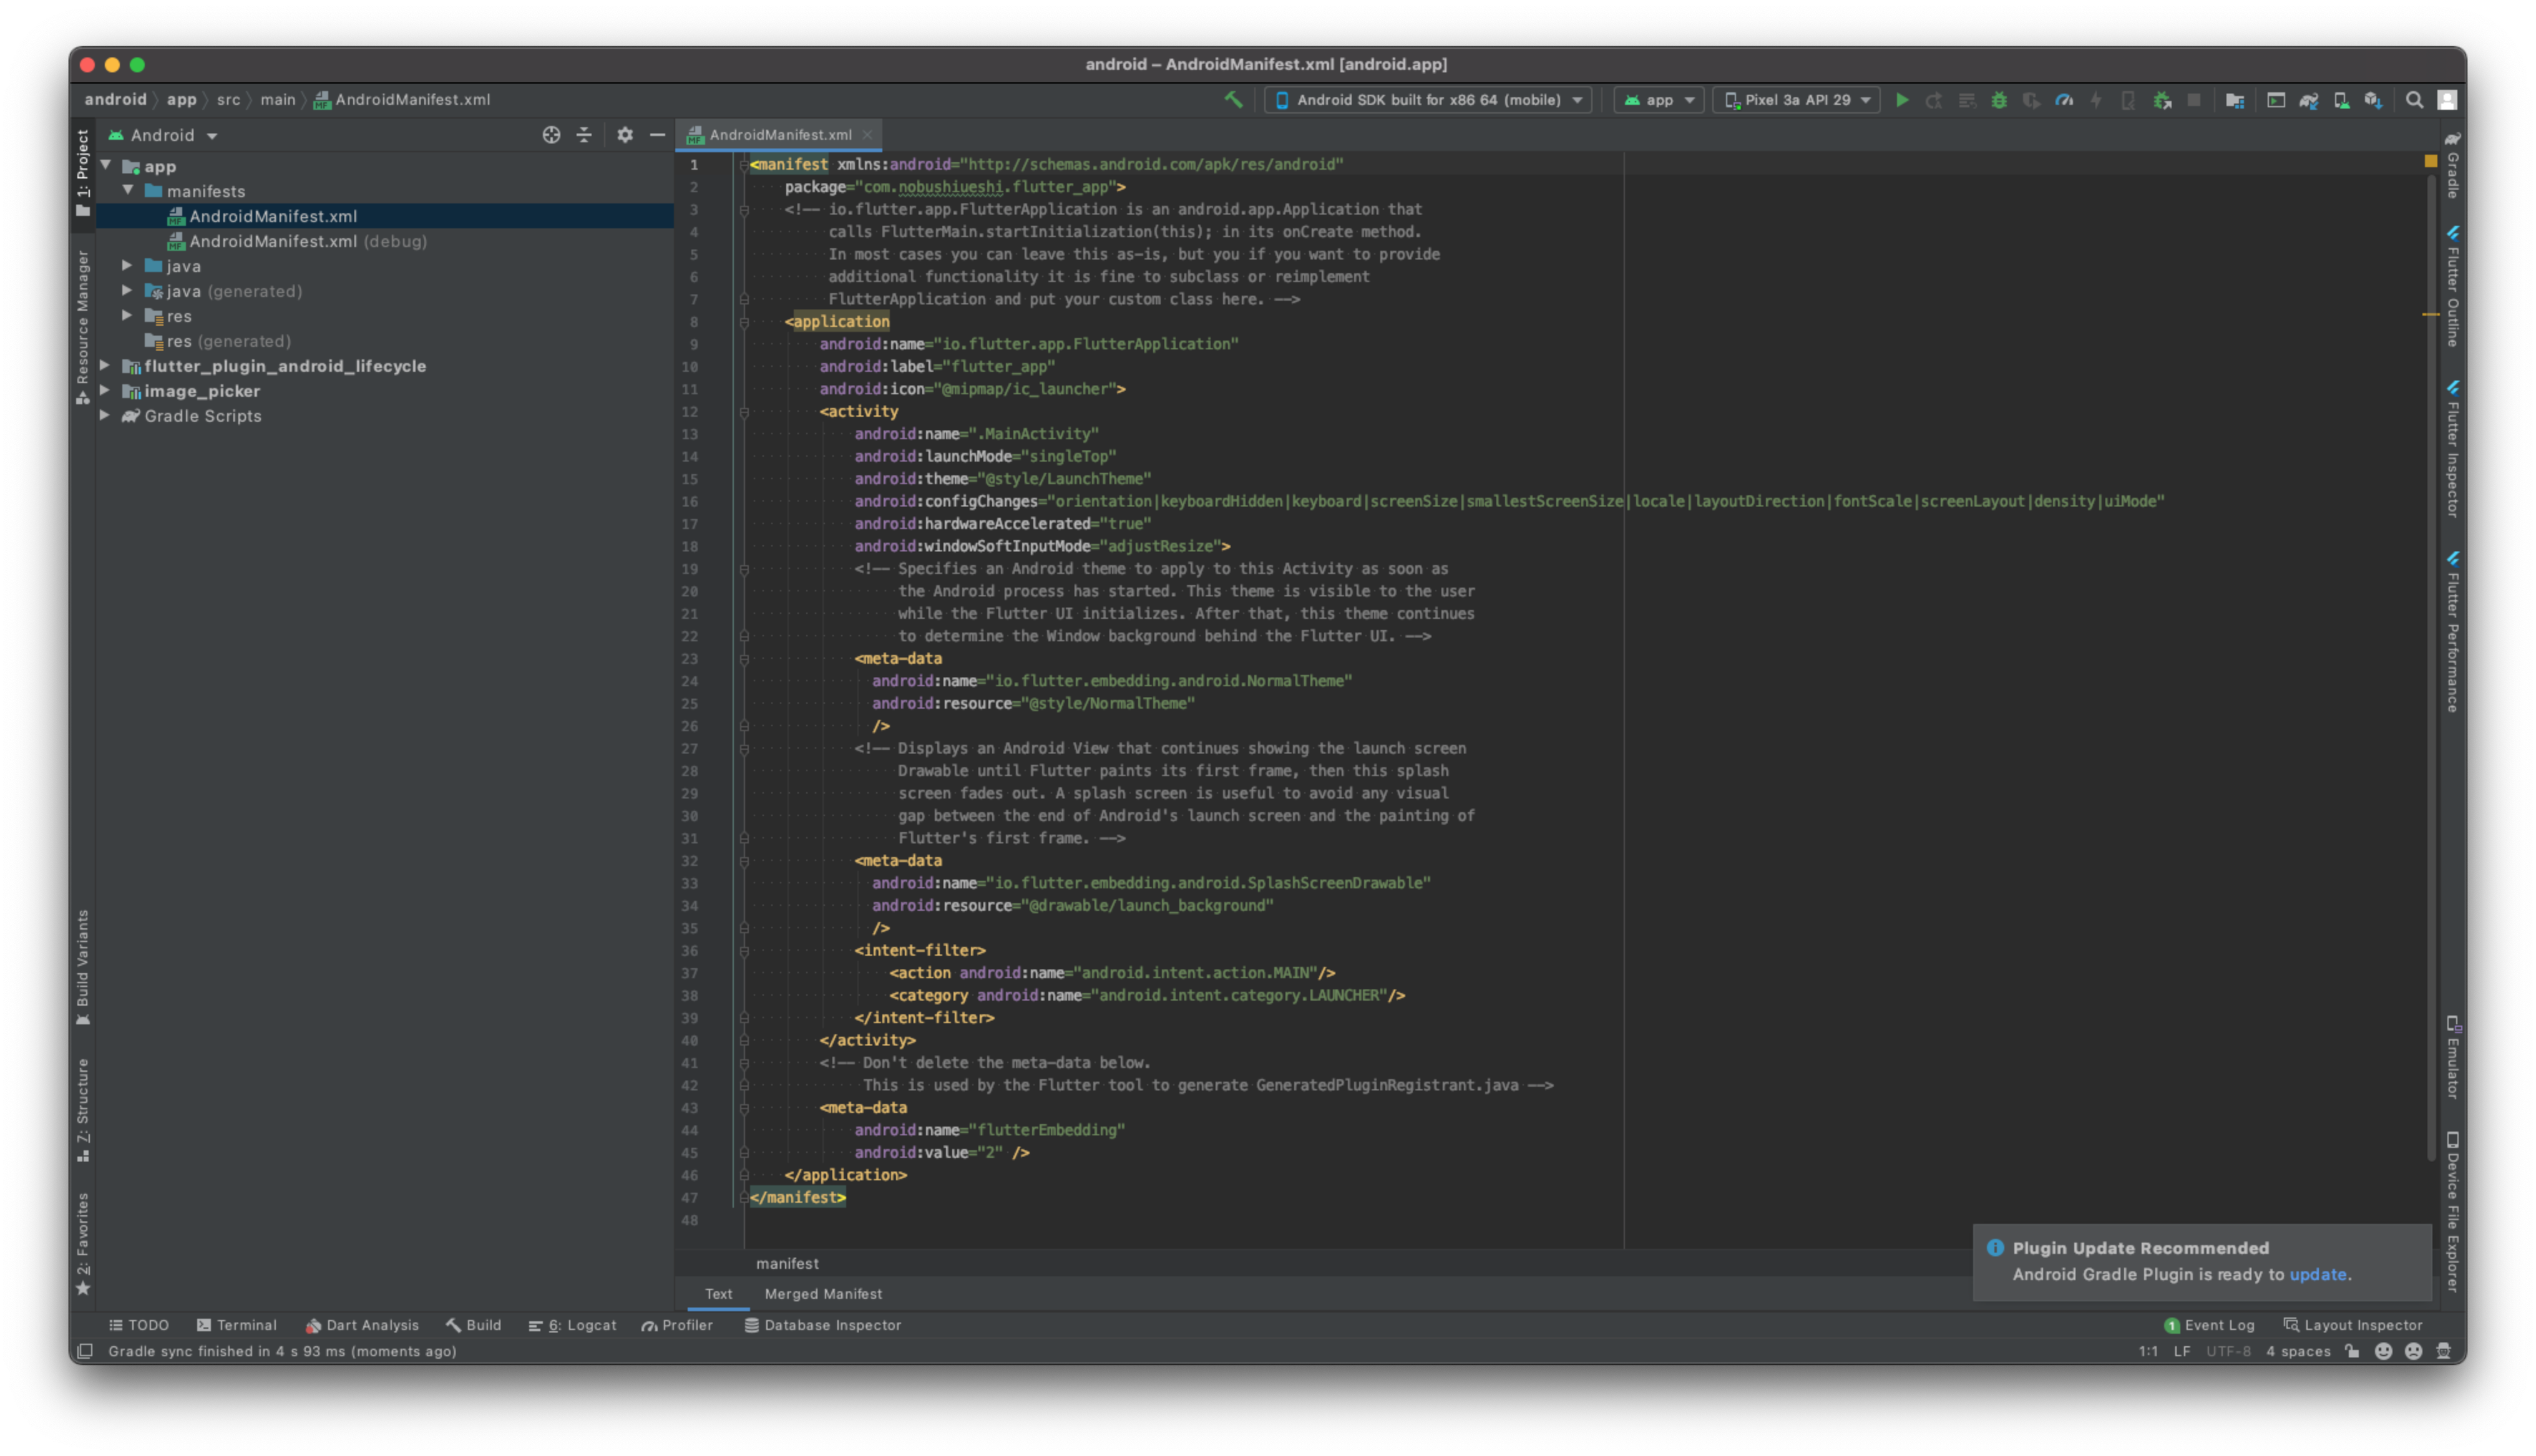
<application>タグに「android:requestLegacyExternalStorage=”true”」を追加します。
以上でAndroidの設定も完了です。
サンプルコード
カメラロールから画像を取得して画面に表示するサンプルコードです。
main.dart
import 'dart:io';

import 'package:flutter/material.dart';
import 'package:image_picker/image_picker.dart';

void main() {
  runApp(MyApp());
}

class MyApp extends StatelessWidget {
  @override
  Widget build(BuildContext context) {
    return MaterialApp(
      title: 'Flutter Demo',
      theme: ThemeData(
        primarySwatch: Colors.blue,
        visualDensity: VisualDensity.adaptivePlatformDensity,
      ),
      home: MyHomePage(title: 'Flutter Demo Home Page'),
    );
  }
}

class MyHomePage extends StatefulWidget {
  MyHomePage({Key key, this.title}) : super(key: key);

  final String title;

  @override
  _MyHomePageState createState() => _MyHomePageState();
}

class _MyHomePageState extends State<MyHomePage> {
  File _image;
  final picker = ImagePicker();

  Future _getImage() async {
    final pickedFile = await picker.getImage(source: ImageSource.gallery);

    setState(() {
      if (pickedFile != null) {
        _image = File(pickedFile.path);
      } else {
        print('No image selected.');
      }
    });
  }

  @override
  Widget build(BuildContext context) {
    return Scaffold(
      appBar: AppBar(
        title: Text(widget.title),
      ),
      body: Center(
        child: _image == null ? Text('No image selected.') : Image.file(_image),
      ),
      floatingActionButton: FloatingActionButton(
        onPressed: _getImage,
        child: Icon(Icons.image),
      ),
    );
  }
}
結果
iOS
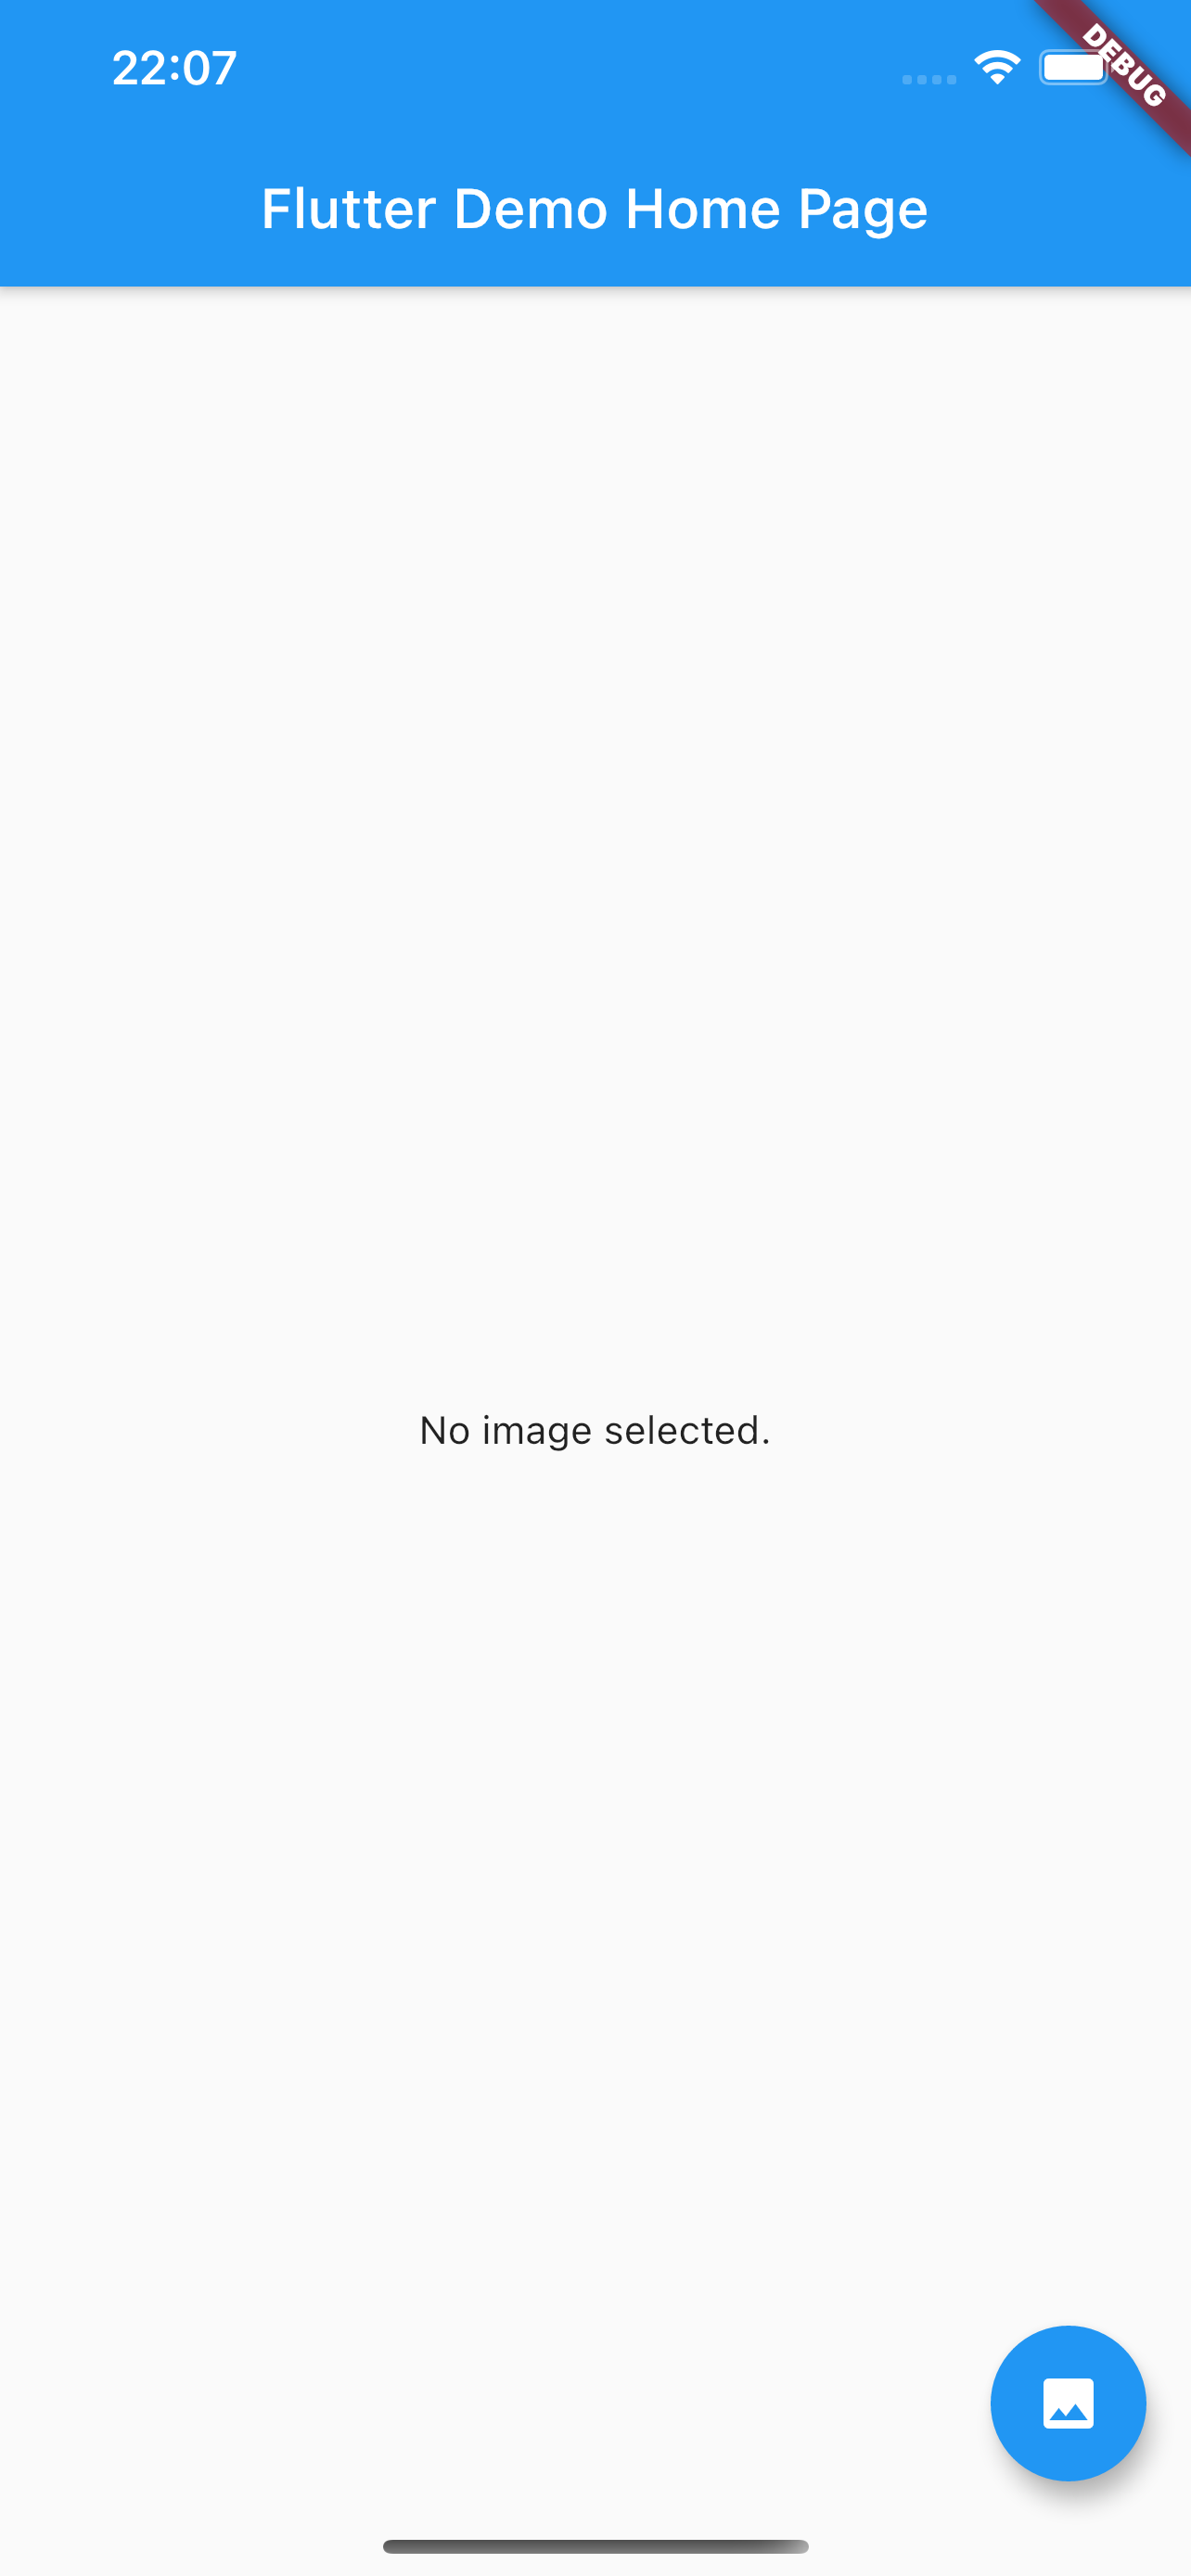
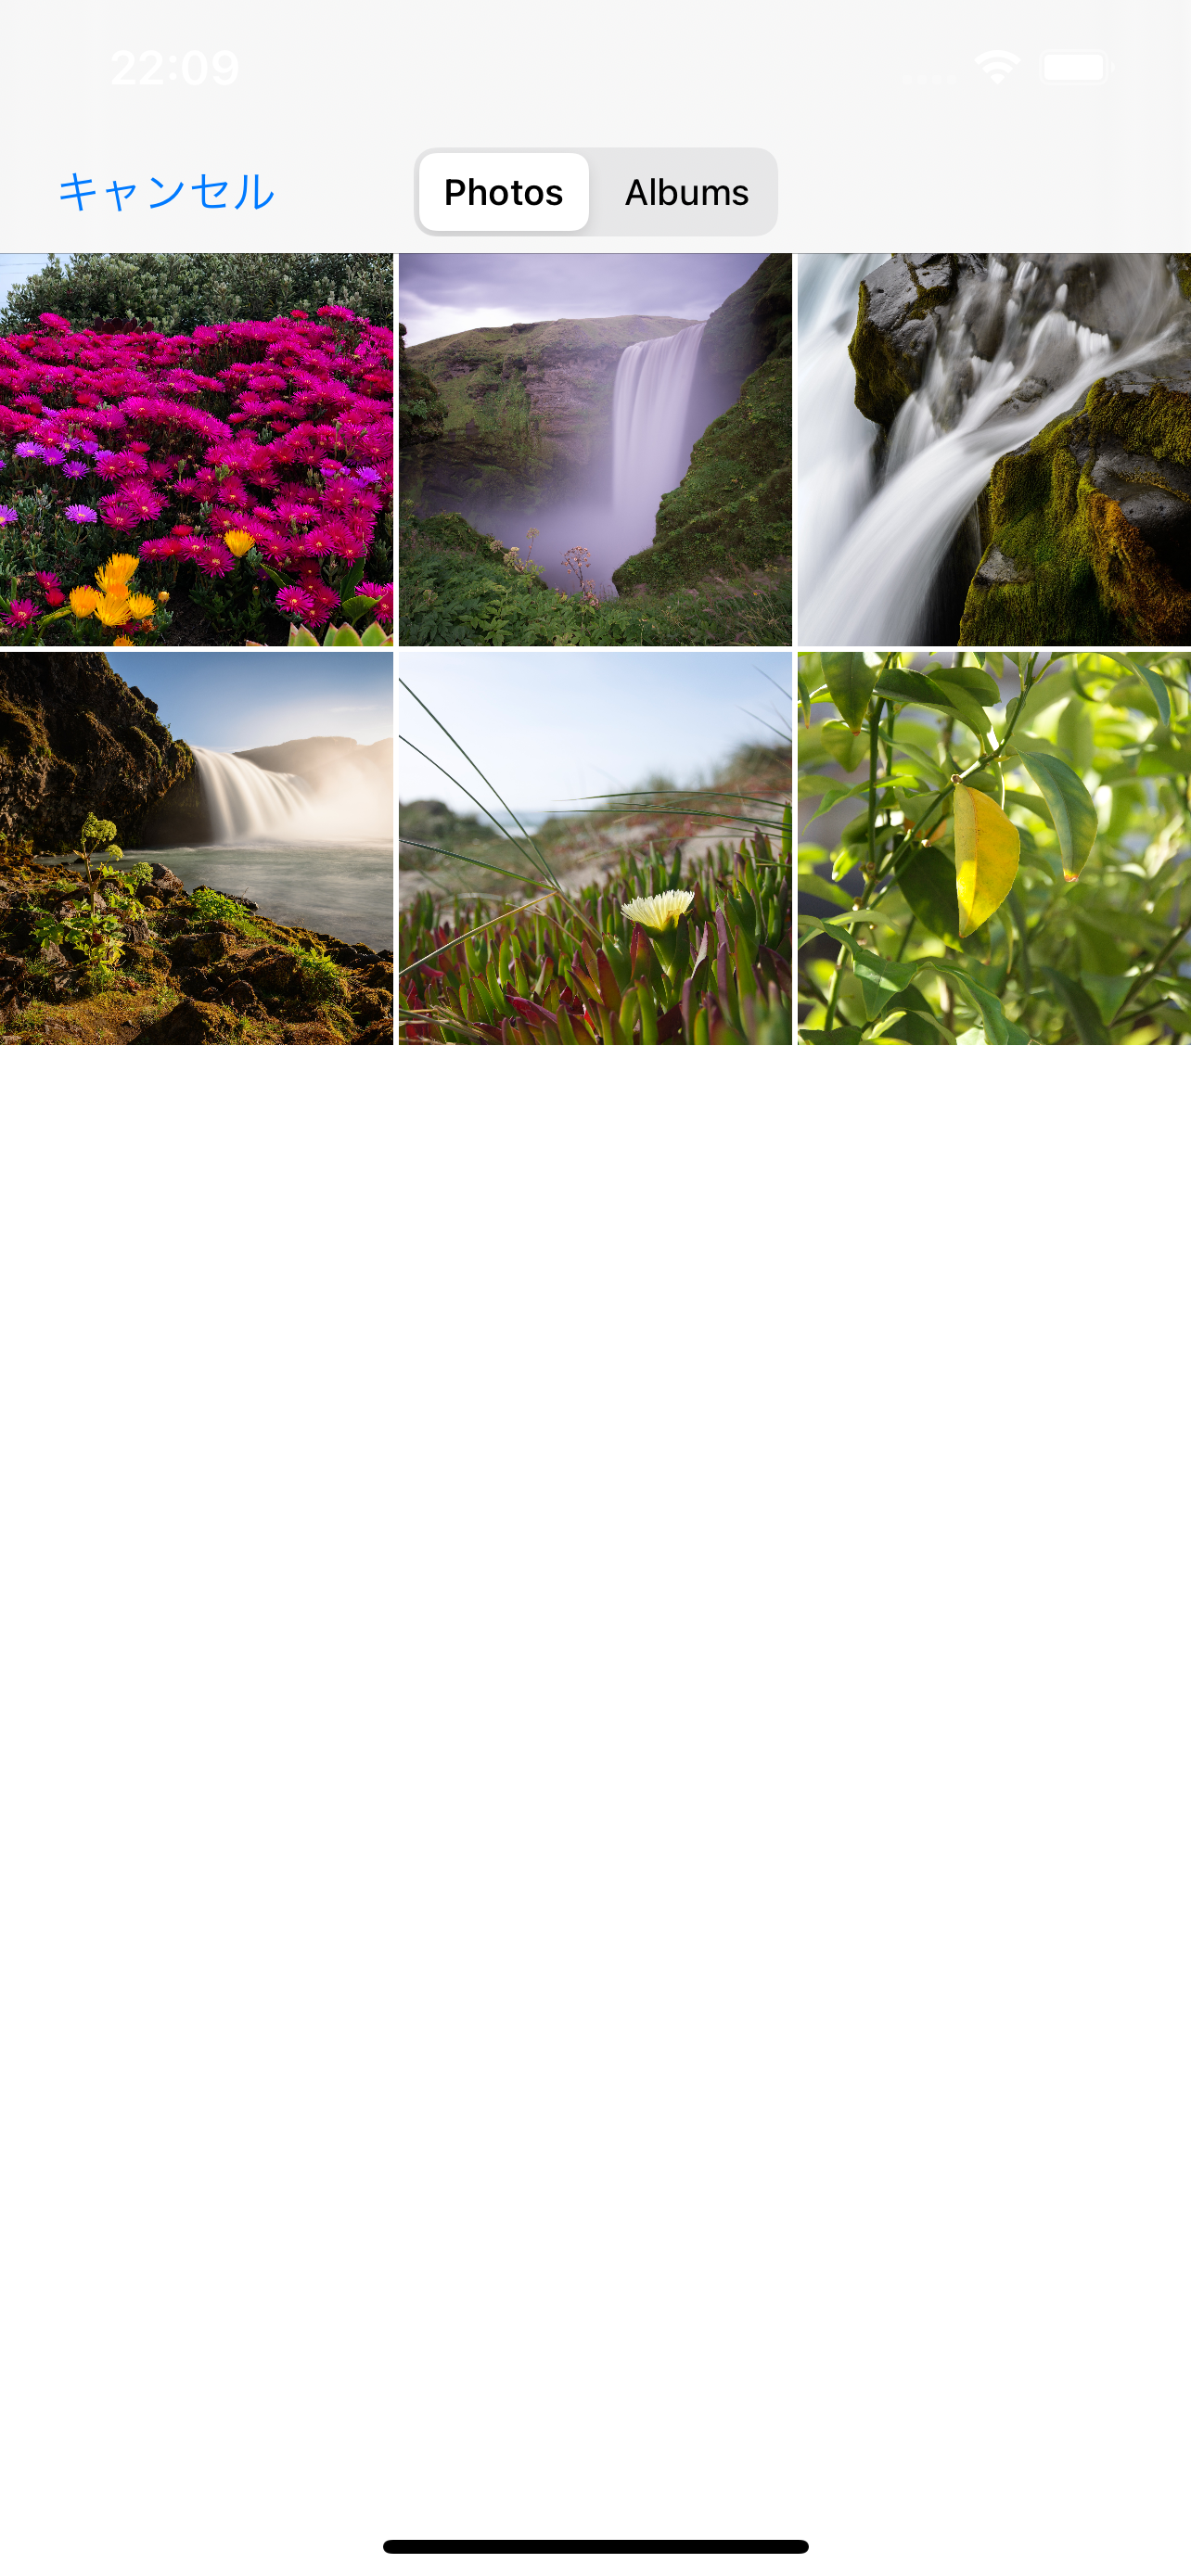

簡単に表示できました!
Android

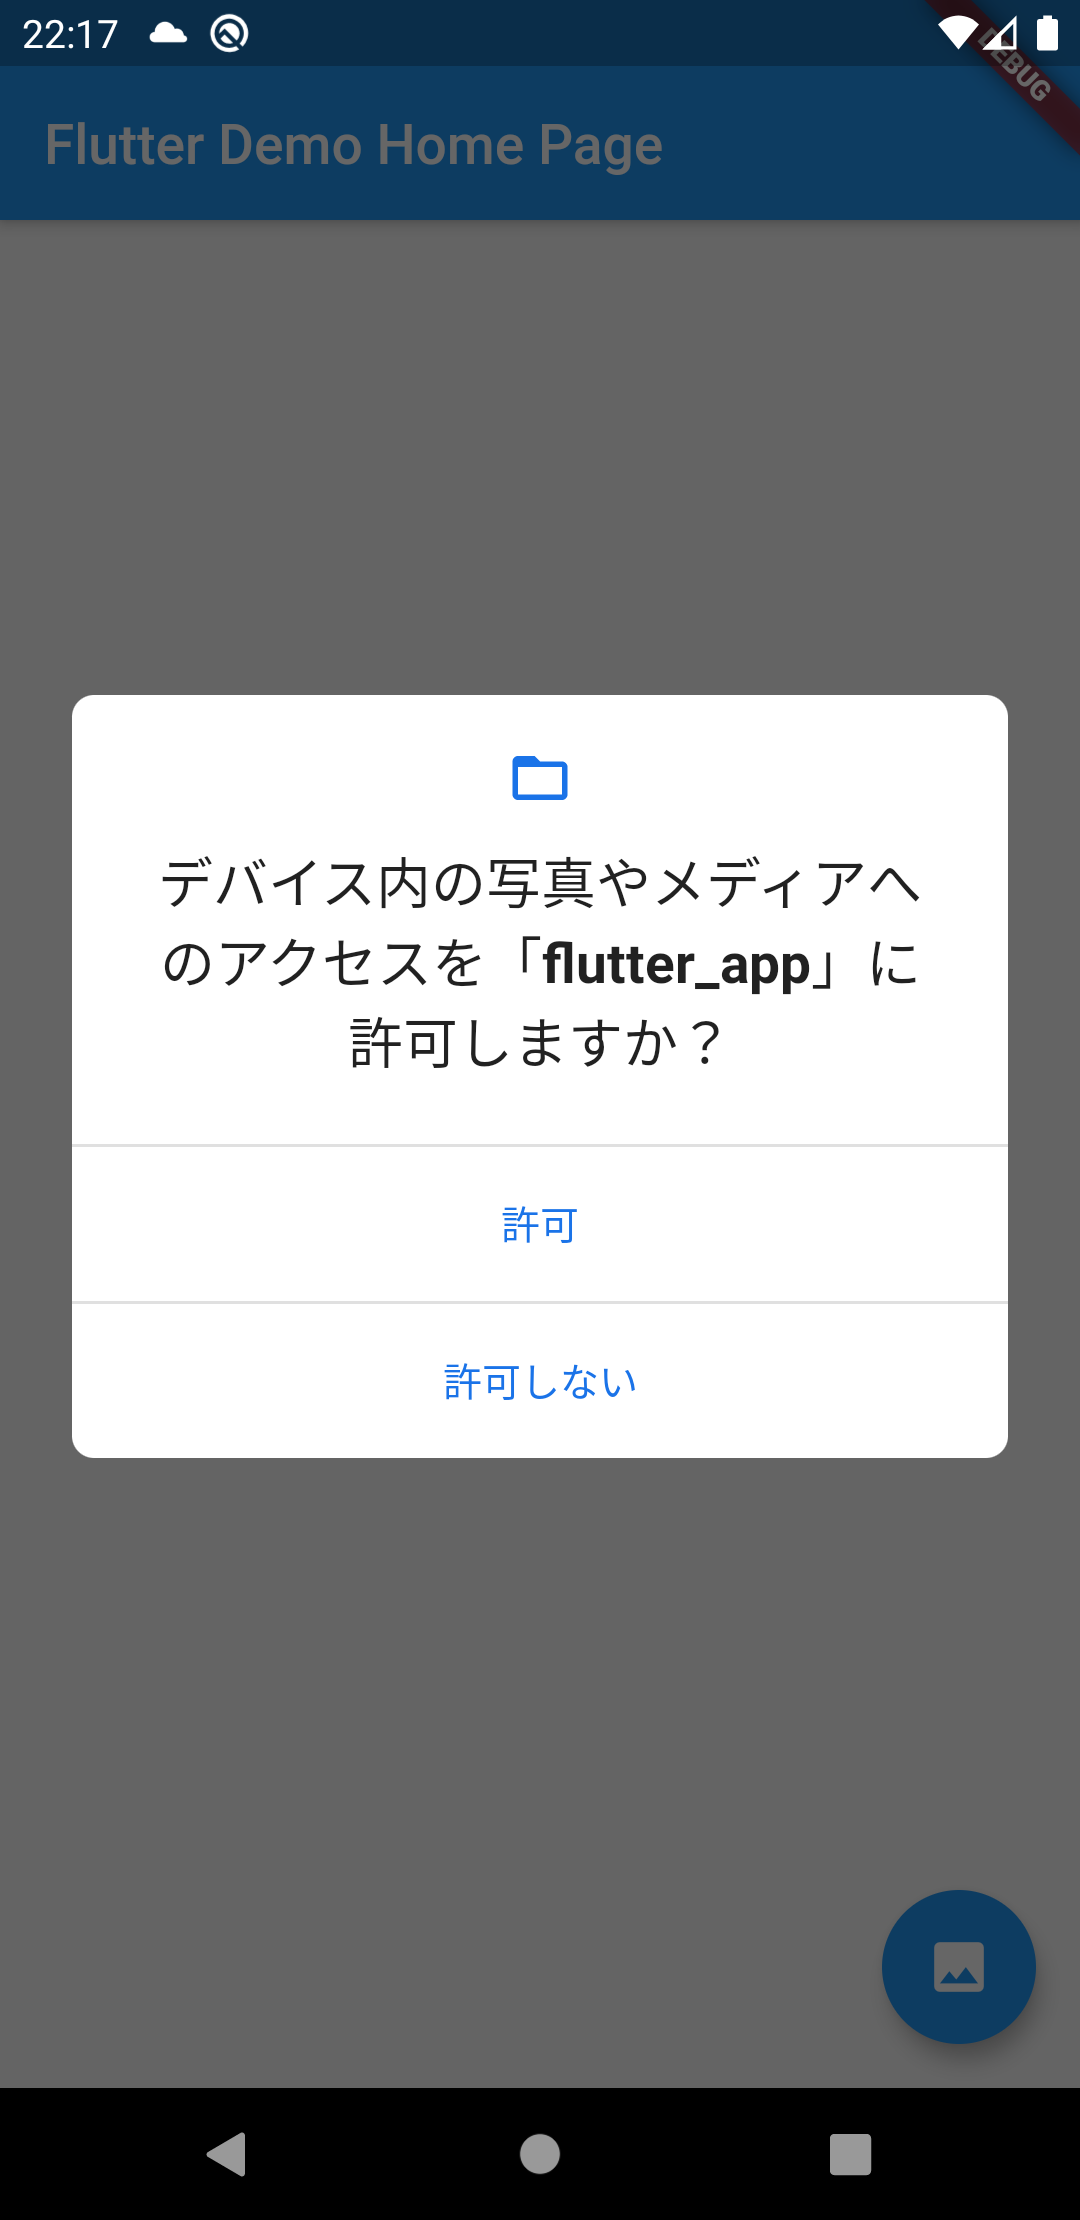

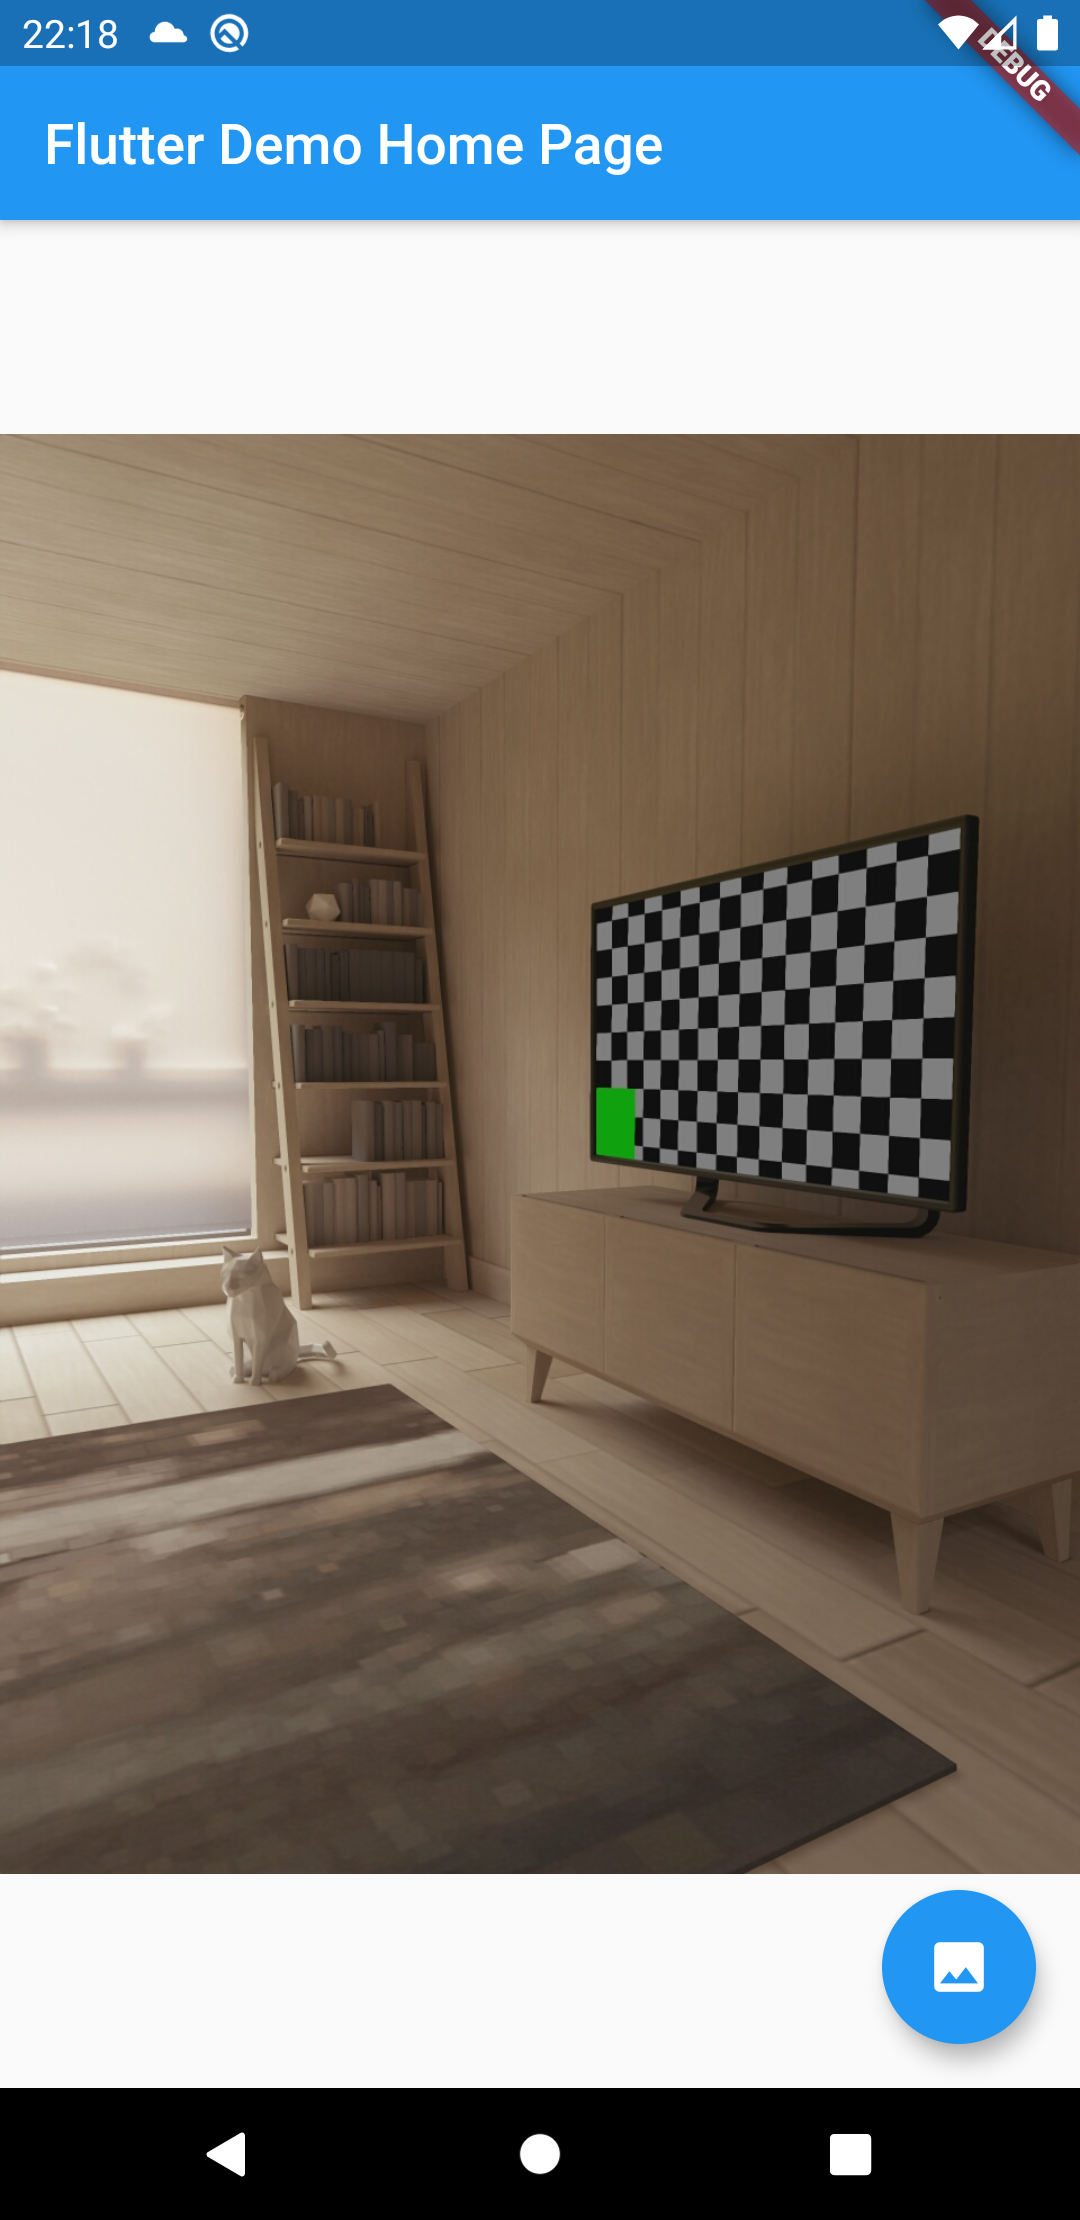
こちらも簡単に表示できました!
その他
カメラから画像を取得したい場合
 final pickedFile = await picker.getImage(source: ImageSource.camera);
 if (pickedFile != null) {
   _image = File(pickedFile.path);
}
カメラロールから動画を取得したい場合
 final pickedFile = await picker.getVideo(source: ImageSource.gallery);
 if (pickedFile != null) {
   _image = File(pickedFile.path);
}
カメラから動画を取得したい場合
 final pickedFile = await picker.getVideo(source: ImageSource.camera);
 if (pickedFile != null) {
   _image = File(pickedFile.path);
}
さいごに
簡単に画像取得が実装できてしまいますね。さすがFlutter!
ただ注意点としては権限を拒否された場合の処理が入っていないので、気をつけてください。次回記事にしようかと思います。
コメント