
はじめに
Android Studio 4.2がリリースされたことで、ついにAndroid EmulatorがARMに対応されました。
やっと「M1 MacでAndroid Emulatorが使える!」と思ったら、色々とはまったので紹介します。
環境
- Android Studio 4.2.1
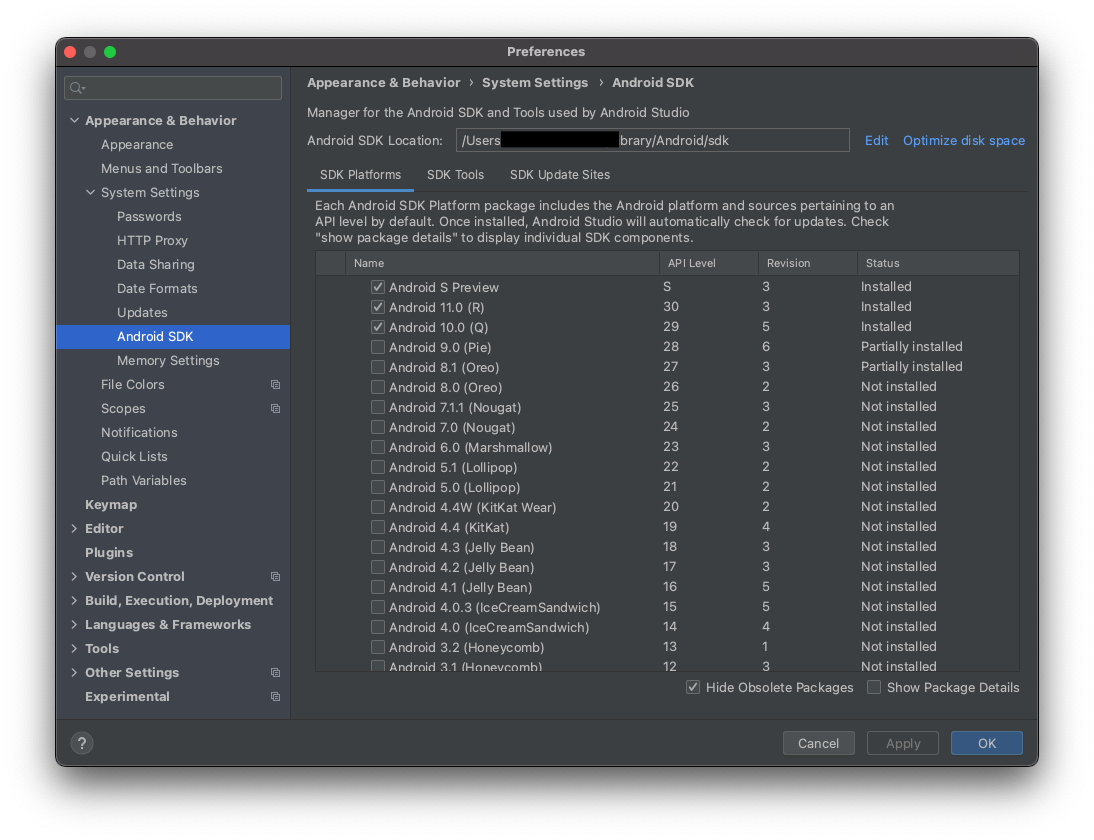
AVD Managerでarm64-v8aがAPI LevelがSしかない
Android Studioをバージョンアップして、API Level 30のarm64-v8aのエミュレーターを作成しようと思い、作ろうとしたら。。。
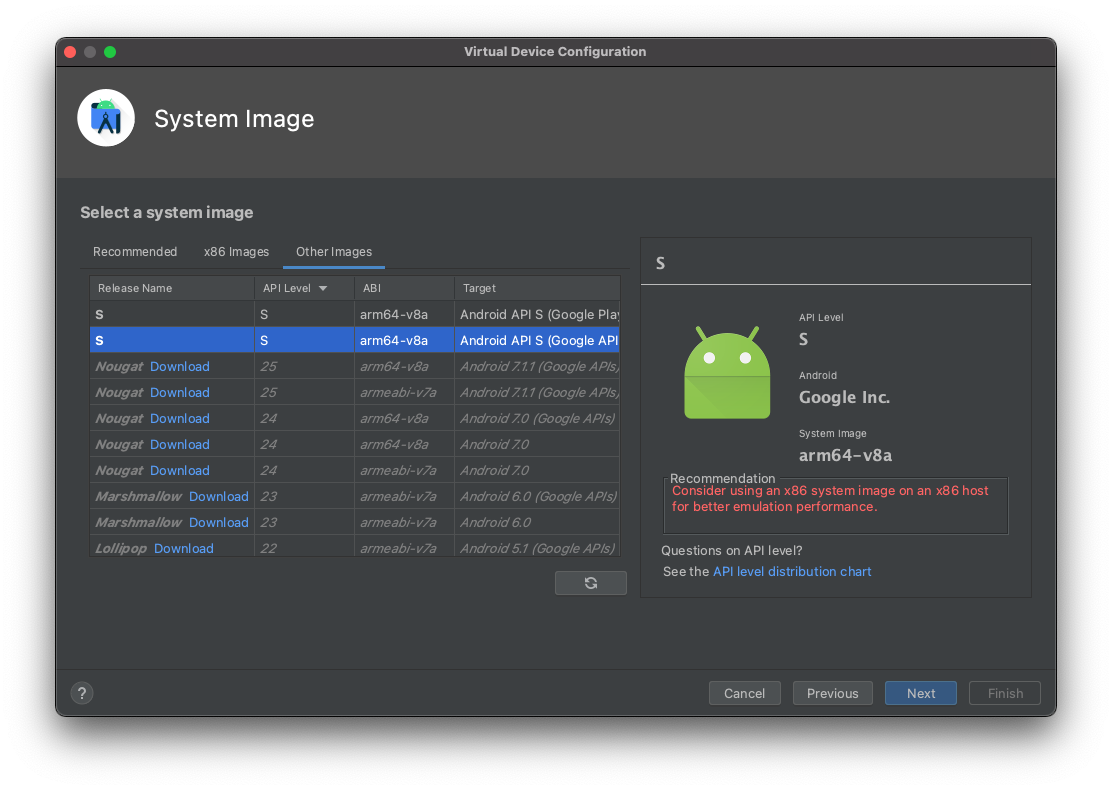
arm64-v8aがAPI Level Sしかない。。。
なんで。。。
解決方法
Android Studioの公式サイトへアクセス

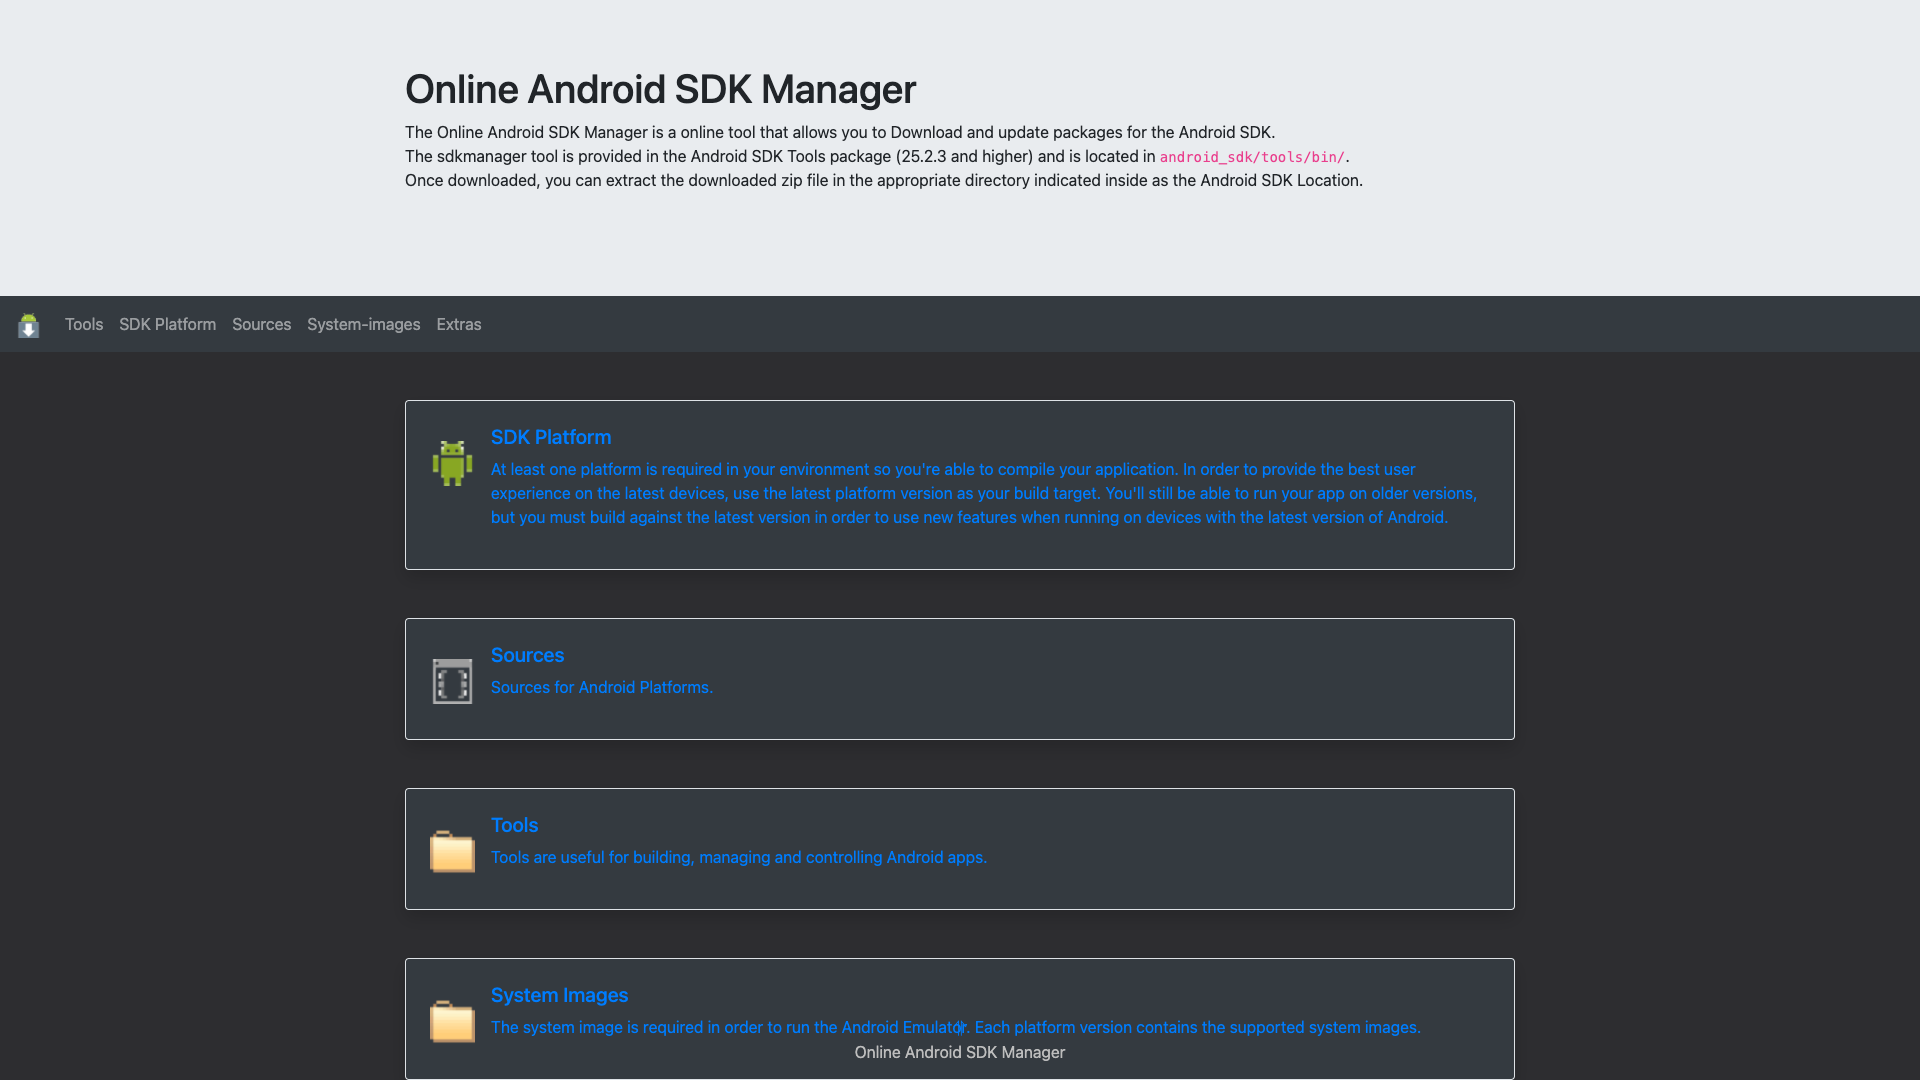
System Imagesを選択
System Imagesを選択します。すると以下のような画面になります。
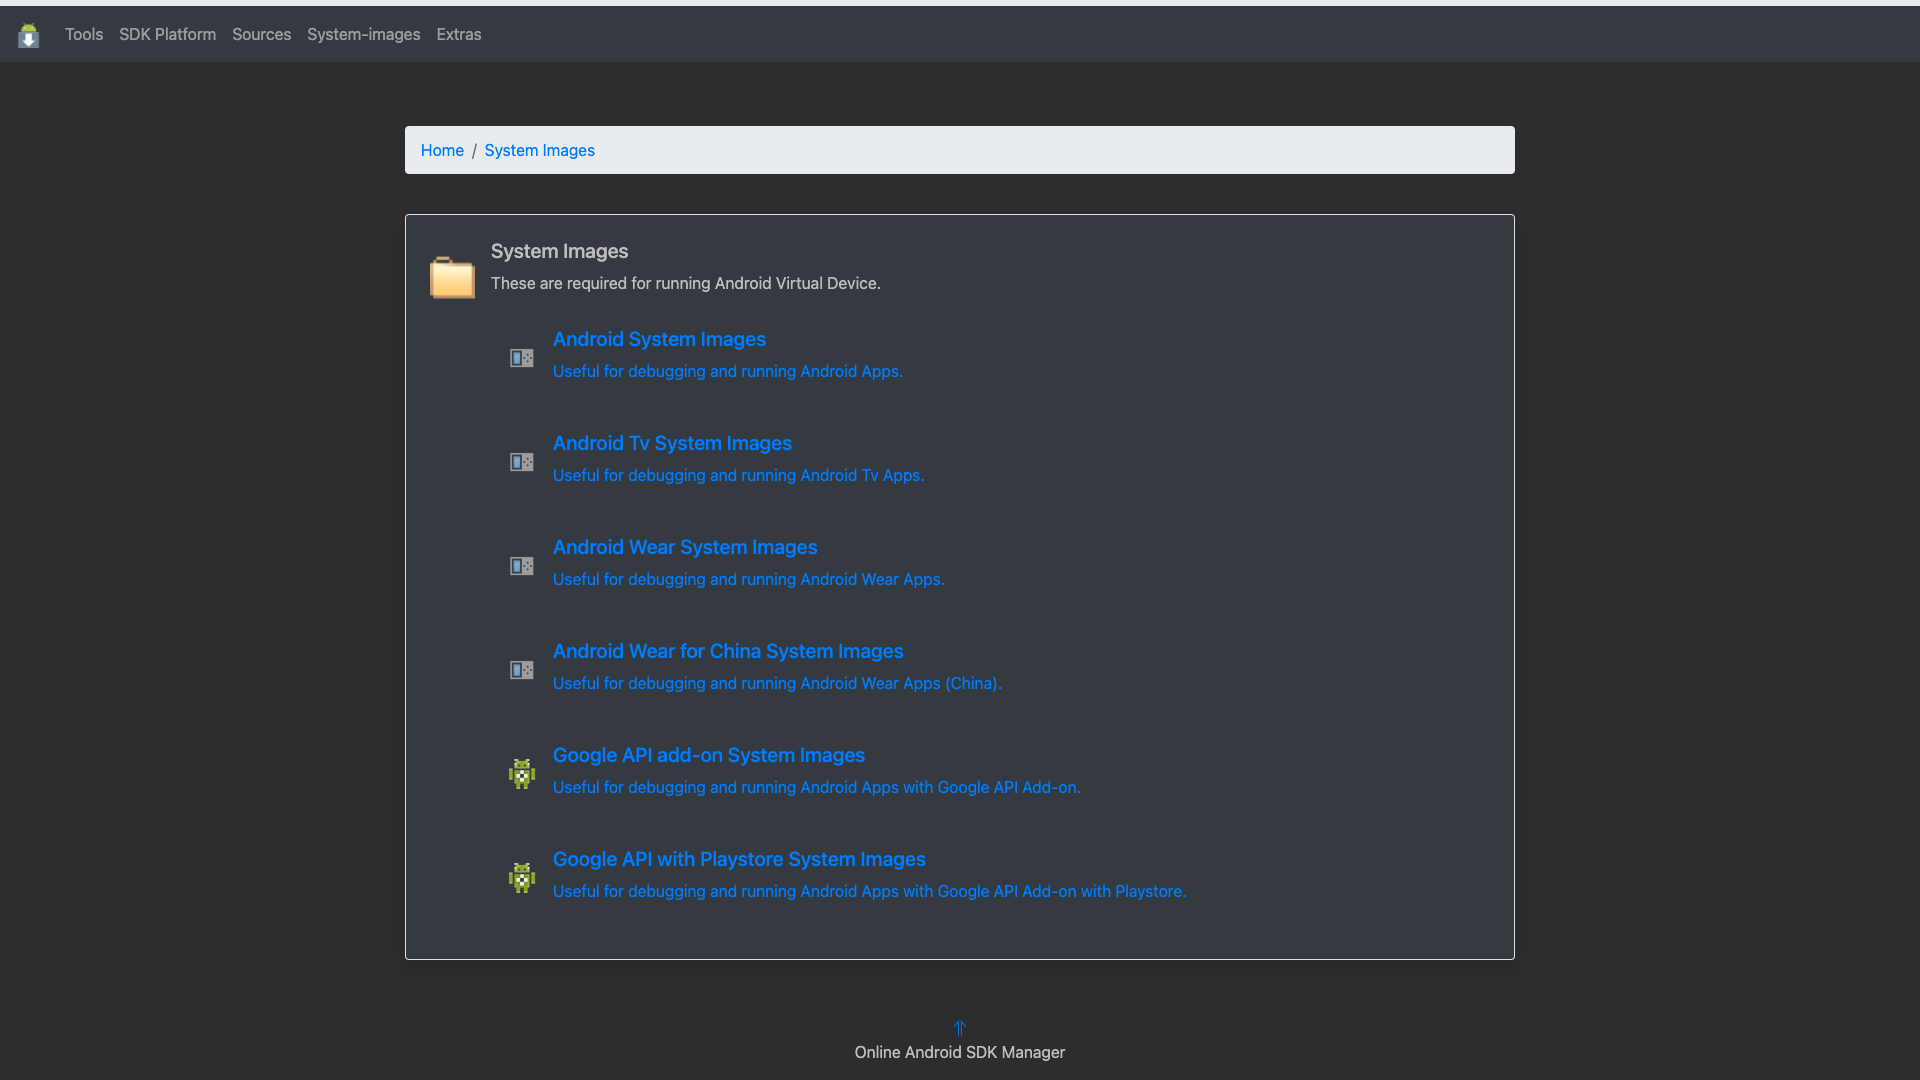
Google API add-on System ImagesまたはGoogle API with Playstore System Imageを選択
Google API add-on System ImagesまたはGoogle API with Playstore System Imageを選択します。
今回はGoogle API with Playstore System Imageを選択します。
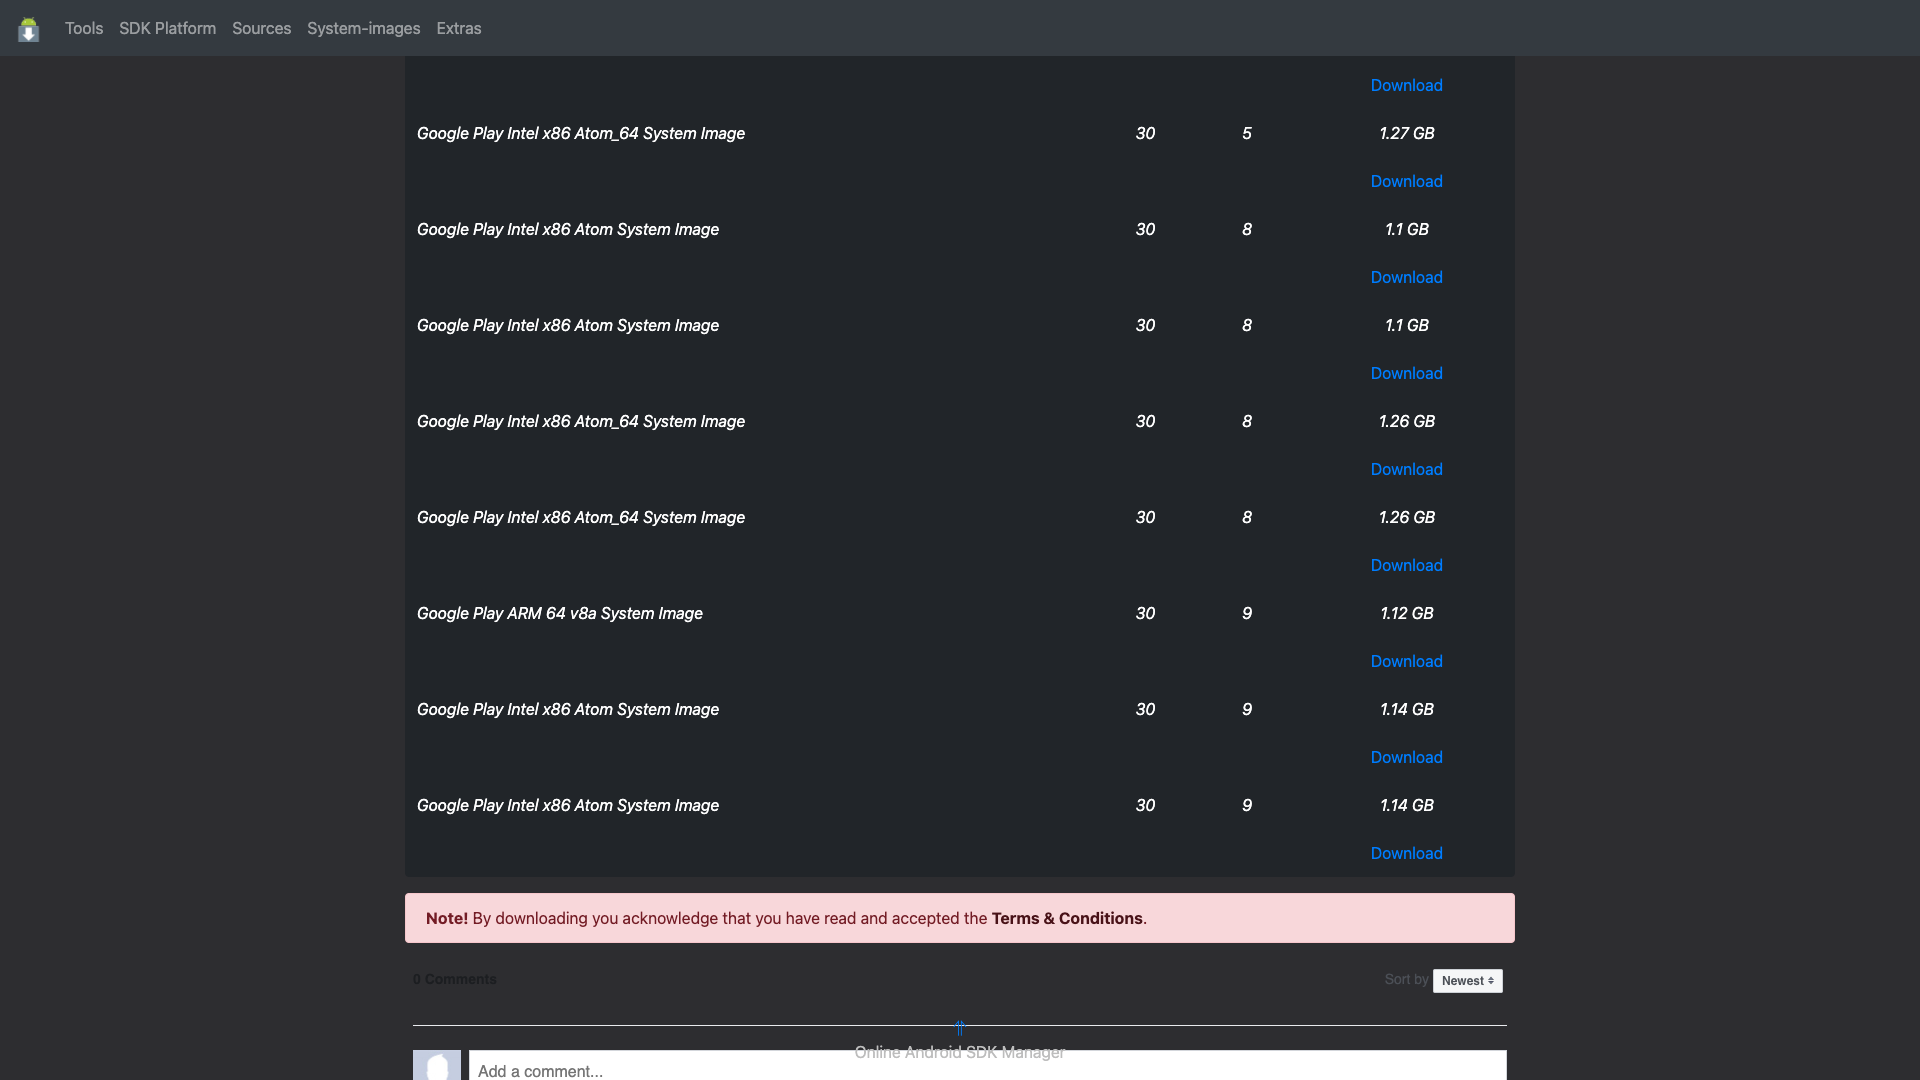
ARM 64 v8aとなっているSystem Imageをダウンロードします。
今回はGoogle Play ARM 64 v8a System Imageをダウンロードします。
ダウンロードしたものを配置
ダウンロードしたarm64-v8a-30_r09-darwin.zipを展開します。
するとarm64-v8aフォルダが作成されます。
そのフォルダをAndroid Studioに設定しているAndroid SDK Locationフォルダ配下の特定の場所に置きます。
置く場所は
/Users/XXXXX/Library/Android/sdk/system-images/android-30/google_apis_playstore
です。
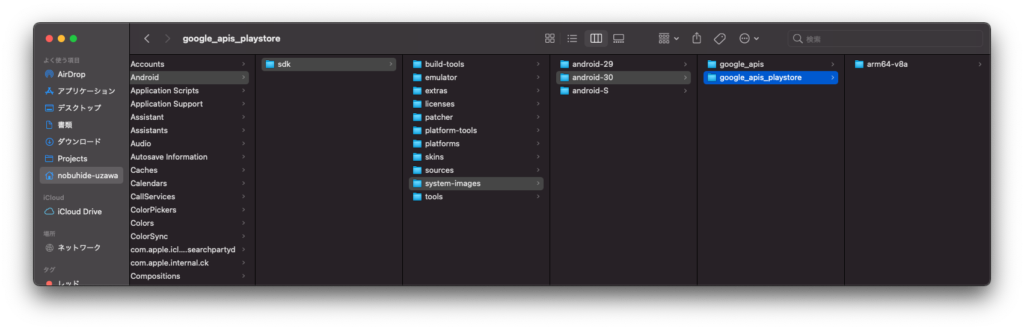
ダウンロードしたAPI LevelとPlaystore版かどうかで配置するフォルダが違います。
Android Studioの再起動
最後にAndroid Studioを再起動します。
すると。。。
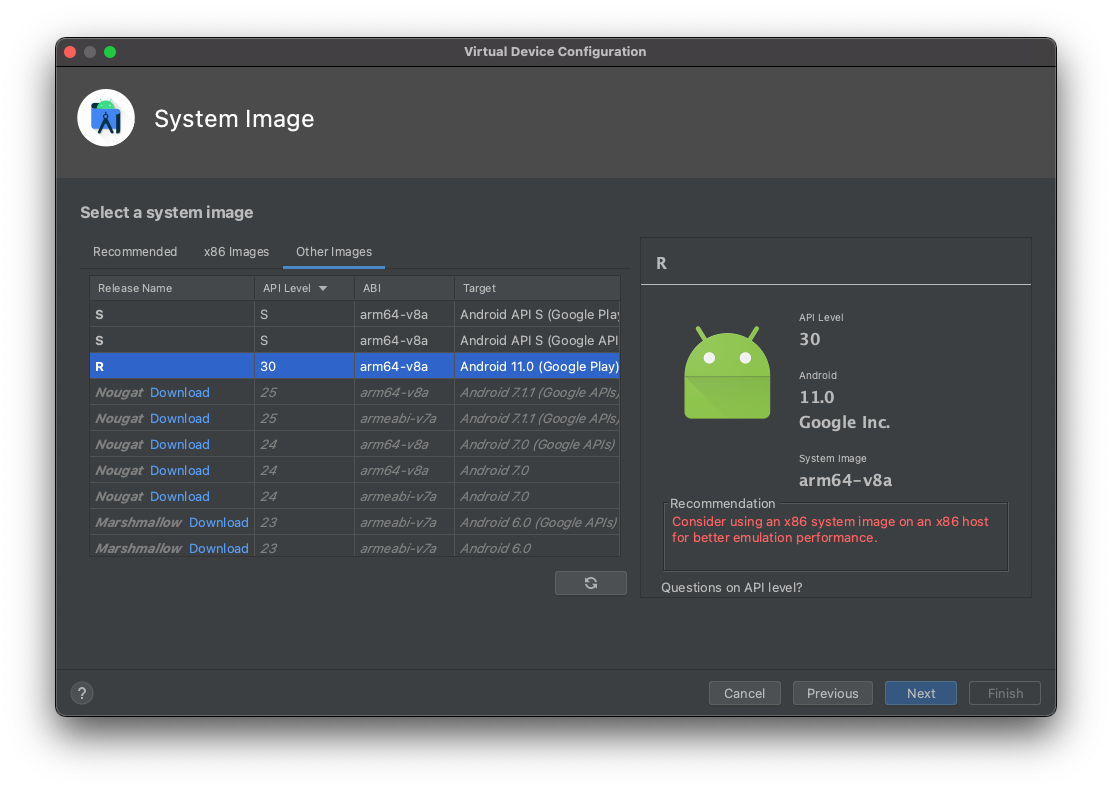
「API Level 30のarm64-v8a」が表示されました!!
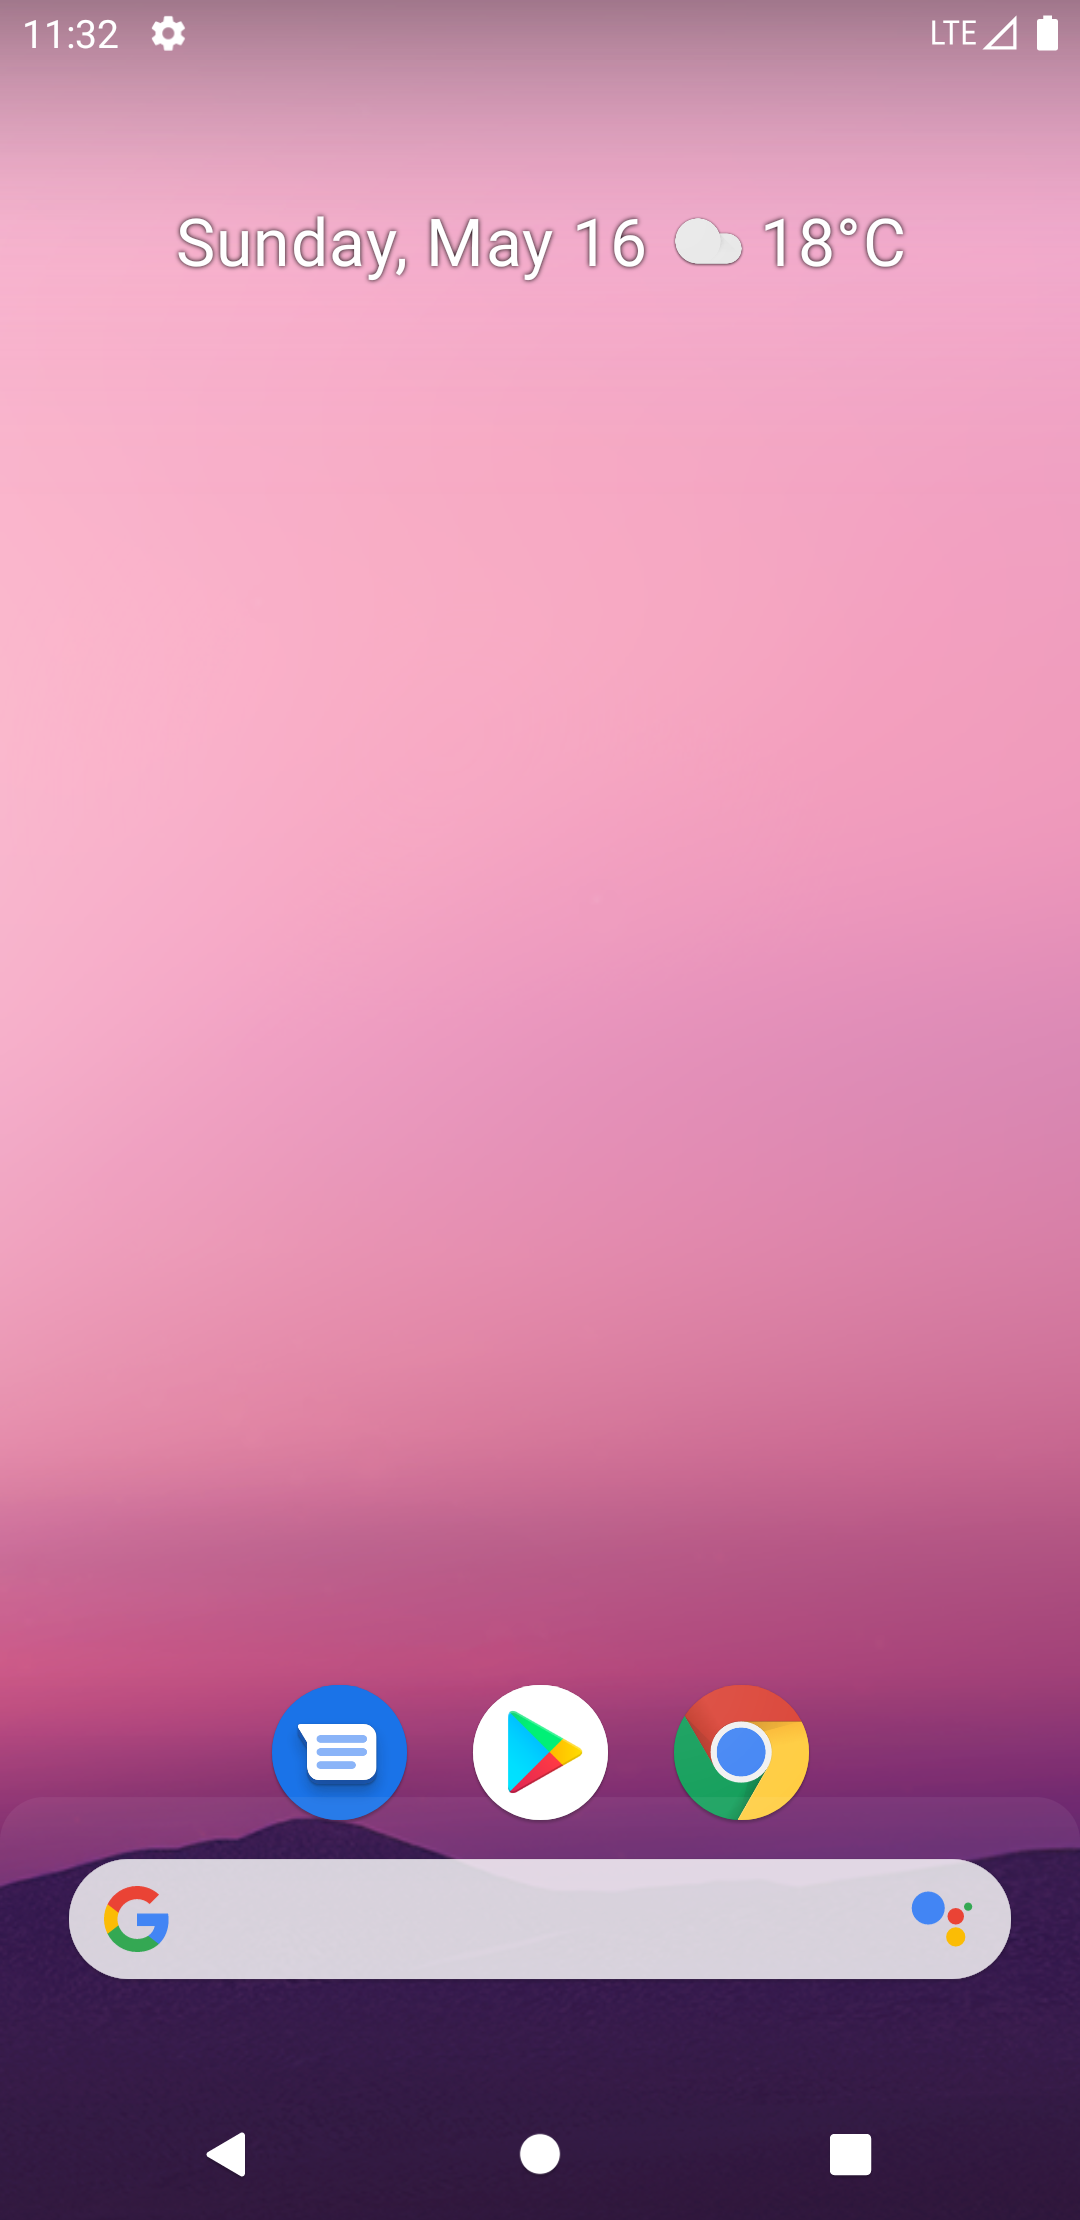
ちゃんとエミュレーターで起動できました!
最後に
今回紹介したのは正規のやり方?ではないので、もし正規のやり方を知っている人がいたら教えて下さい。
コメント