はじめに
アプリを作成していると自身のウェブサイトやプライバシーポリシー等に遷移させたかったり、お問い合わせのメールを作成したい時があります。
そこで今回は外部リンクで開く方法を紹介しようと思います。
環境
- Flutter 1.22.5
- url_launcher 5.7.10
実装方法
プラグインの最新バージョンを確認
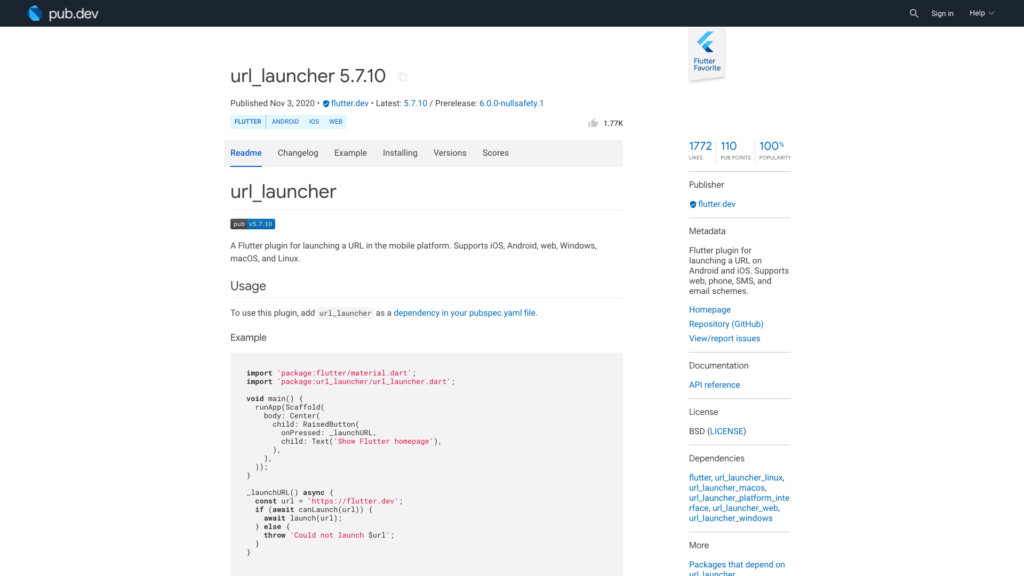
下記のサイトにアクセスし、バージョンの確認します。

url_launcher | Flutter package
Flutter plugin for launching a URL. Supports web, phone, SMS, and email schemes.
記事作成の時点では5.7.10が最新バージョンでした。

プラグインのインストール
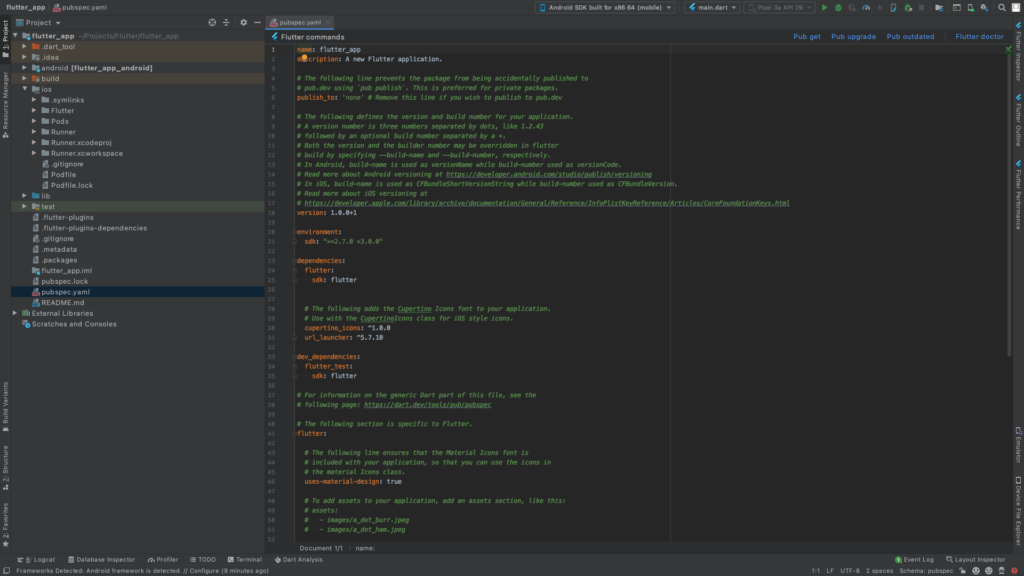
pubspec.yamlのdependenciesに「url_launcher: ^5.7.10」を追記します。
dependencies:
  flutter:
    sdk: flutter

  # The following adds the Cupertino Icons font to your application.
  # Use with the CupertinoIcons class for iOS style icons.
  cupertino_icons: ^1.0.0
  url_launcher: ^5.7.10
その後、プロジェクト配下で「flutter pub get」コマンドを実行します。
よくわからない場合はAndroid Studioでpubspec.yamlファイルを開くと右上に「Pub get」ボタンがあるのでそれを押してください。

これでプラグインのインストールは完了です。
サンプルコード
ウェブブラウザで起動
Future onLaunchUrl () async {
  final url = "https://www.google.com/";
  if (await canLaunch(url)) {
    await launch(url);
  }
}
メールの作成
URLにスペースやその他の特殊文字を含める場合は、適切にエンコードする必要があります。これは上記のサンプルのようにUriクラスを利用します。
Future onLaunchMail () async {
  final email = Uri(
    scheme: "mailto",
    path: "[email protected]",
    queryParameters: {
      "subject": "題名のサンプル",
      "body": "本文のサンプル",
    },
  );
  if (await canLaunch(email.toString())) {
    await launch(email.toString());
  }
}
電話をかける
Future onLaunchPhone () async {
  final tel = Uri(
    scheme: "tel",
    path: "09012345678",
  );
  if (await canLaunch(tel.toString())) {
    await launch(tel.toString());
  }
}
SMSメッセージを送信する
Future onLaunchSMS () async {
  final sms = Uri(
    scheme: "sms",
    path: "09012345678",
  );
  if (await canLaunch(sms.toString())) {
    await launch(sms.toString());
  }
}
さいごに
Webブラウザで起動とメールの作成はアプリでよく実装することになると思うので、覚えておいたほうが良いですね。


コメント